I’ve been feeling really crafty lately! It all started this past Wed. when Kaia and I went to a kids knitting circle. She’s been wanting to learn how to knit, but isn’t really ready to use knitting needles, so we went to the circle to see if we could get some tips for her. She ended up learning how to finger knit and loves it! She started at the circle and knit the whole way home, through the evening and until bed. Then she woke up and knit some more… and then all the way to school, and all the way home. And it stayed like this until she had over 30 feet of finger knitted yarn. She finally finished it up so she could wrap it around our solstice/christmas/yule/festive evergreen tree. Right now she’s only knitting on one finger but this shows the basic idea.
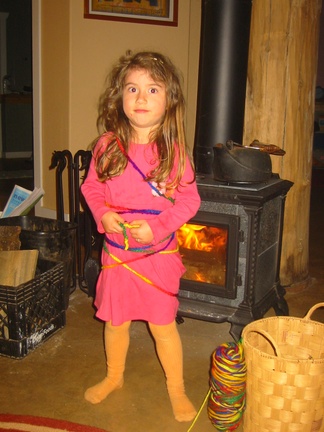
Kaia wrapped herself up in her knitting before wrapping the tree:
After Kaia’s knitting class, I just happened to be headed to a ladies night with some friends and learned how to knit hats. All I’ve ever done up until now was simple stitch scarves and blankets, but I love knitting. I stopped doing it when I tried to read patterns and couldn’t figure out what I was doing. I think I’ve got the hang of it now! Now I just need a high paying job to afford all the awesome yarn that I want to get!! Here’s my first attempt. It was supposed to be a newborn hat, but it turned out a bit wide, though not deep enough for Kaia (but she was gracious enough to model it for me).

Well, then I got inspired to make something with all the tangerine peels we have right now (I ordered one of those citrus fruit boxes!) It wasn’t as easy to do this with thin tangerine peels as I imagine it would be with oranges or lemons, but they still turned out cute!
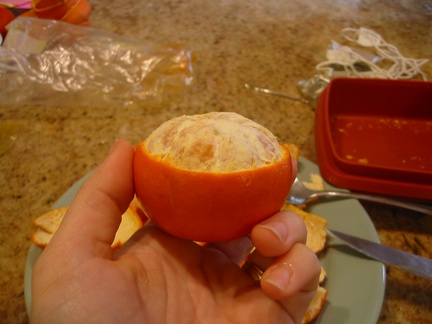
First, lightly score around the skin. I took off the top 1/3 of the tangerine.

Next peel off the top 1/3 (with the tangerines, I really wasn’t able to save this or make a candle top out of it because it was too small).
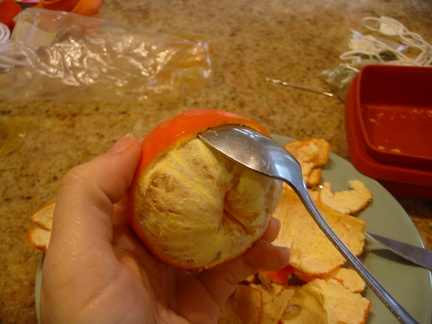
Then, slide a spoon under the remaining skin and loosen as much of it as you can, working your way around.
Once it is fairly loose, slide the peel back and work your thumb in to peel the remaining skin off of the bottom. This is tricky as it may want to break at the end, so go slowly.

Once I had a bunch of bottom peels ready, I put some candle wax in a double boiler to melt. Then I got the wicks ready. I used some putty and stuck the wick to a metal candle thingy (don’t know what it’s called) to get it to stay in place better.
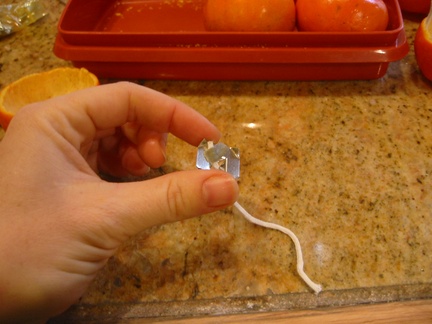
Then I pressed this into the bottom of the peel.
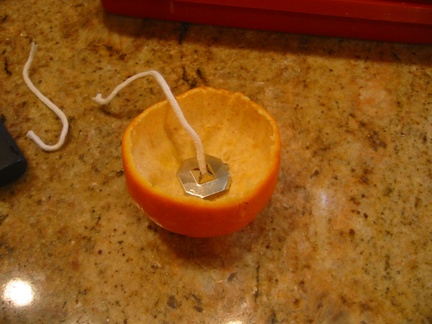
Then I poured the melted wax into the peel. After it cooled just a touch, I stood the wick up in the center (if it wasn’t already there).
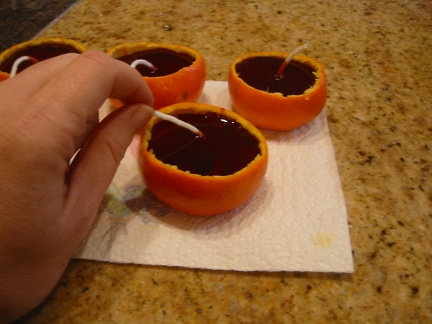
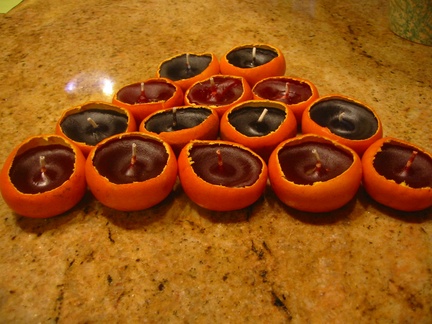
And here they are… wick trimmed and all. We used red, orange, purple, and blue colors in our wax (though it’s hard to tell from the picture)
That is SO cool, Maria!!
How cool! Thanks for sharing!
Wow! Great hat! Love the candles. You are so creative.
Oh how pretty the hat and model are.
I haven’t thought about candles like that since I was young, much younger and in 4-H.
Brings back great memories.
Thanks for sharing.
PS I love your tiger, I have a soft spot for them 🙂
~Karyn