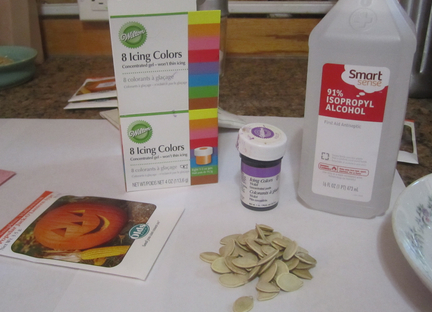
Somehow, I’ve ended up with a bag full of extra garden seeds. Many are years old and some are just varieties that I didn’t care for and don’t plan on using again. So, I thought I’d use some up in a craft. Here’s what you need:
- Seeds Pumpkin and squashes are best, but you can also use melon seeds and tiny seeds, like mustard
- food coloring
- rubbing alcohol
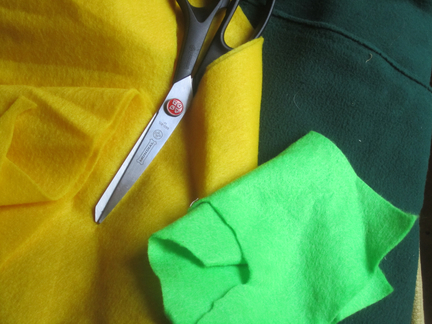
- colored felt or fleece (this will be the background color of our flowers)
- thin cardboard box, such as a cracker or cereal box
- buttons for flower centers
- hot glue gun
- Elmer’s type white school glue
- Optional: magnets, longer fleece strips for bracelets and headbands, velcro, sticks/floral wire…
First, pour a tiny amount (1/2 tsp or so) of rubbing alcohol into a bowl and mix with another tiny amount of food coloring. I have the gel type of food coloring and I simply stuck a fork into the gel and pulled it out again. What was stuck to the fork is what I then mixed into the alcohol. (You could also use water, but I like how quickly the alcohol dries on the seeds.)
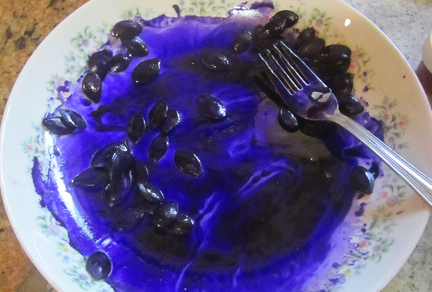
Pour some of your seeds into the mixture and coat them in coloring.
Doesn’t the purple look lovely?
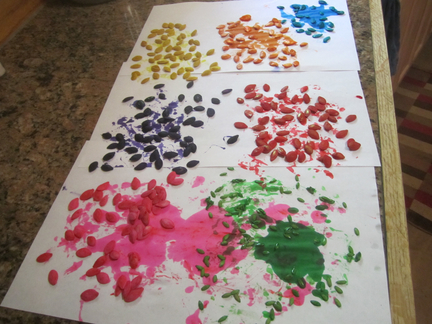
I ended up using 6 colors for the squash seeds and put a few cantaloupe seeds in green. I thought these would make nice leaves if I decided to use them. Place your seeds on paper towels (or in my case, just plain paper) to dry. I gave them a little toss every so often just to make sure they weren’t sitting in a puddle of fluid.
It takes a few hours for them to fully dry. So, while that happens you can take this opportunity to visit with the local merboys,
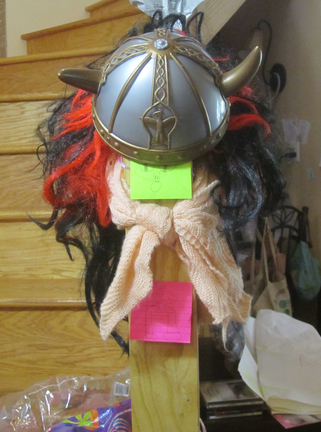
Or have a chat with the viking who lives at the bottom of your stairs.
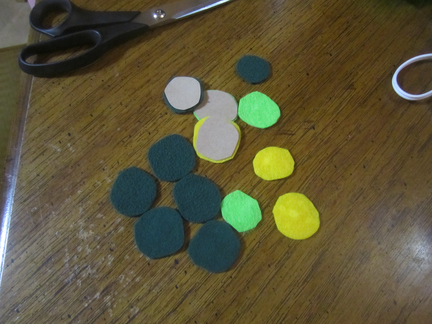
You can also take this time to get out your felting supplies and cut up some flower backgrounds
Cut 1-2 inch circles out of your felt and glue it (I used Elmer’s type glue, but the glue gun works also) onto circles of the same size that you cut out of the cardboard box. Let this dry.
Now, once everything has dried, you can start assembling your flowers.
Pick out your petal colors and arrange them on your felt circle. Then decide what kind of center you would like. It helps to lay it out before gluing anything down so you can be sure you like the arrangement and that you have enough petals.
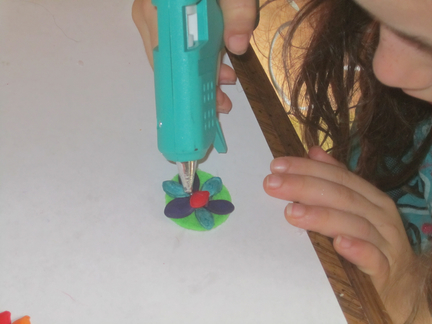
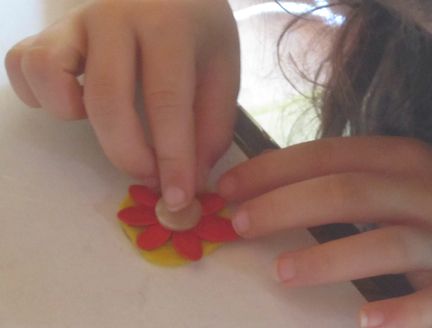
Then you begin gluing. We have a fairly ‘cool’ hot glue gun, but it can still give you a nasty burn. If you are working with younger kids, it’s best to let the adults use the glue guns.
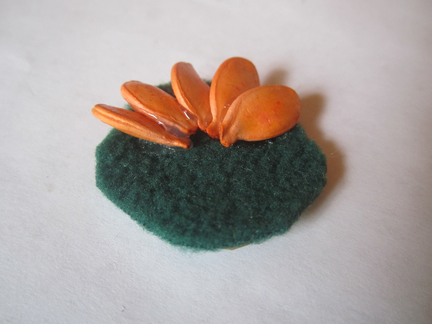
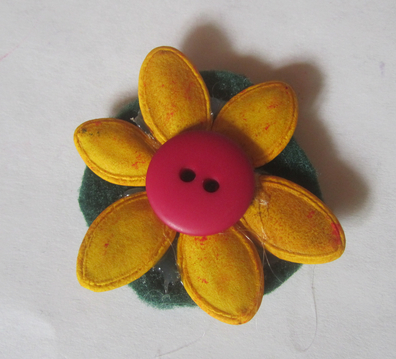
Kaia liked the look of laying the seeds flat in a circle. I went for the layered look. With the layering, be sure to angle your first seed up a bit so that there is room to slide the last seed underneath it.
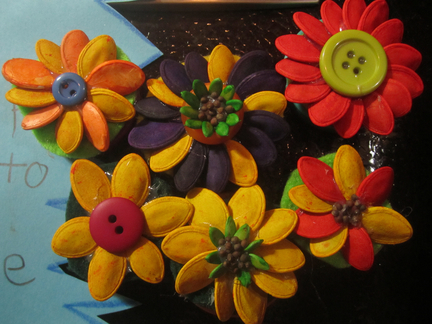
Once you have arranged your outer petals, you can do another layer of smaller petals, or use small seeds or a button for the center. (We really liked the buttons!)
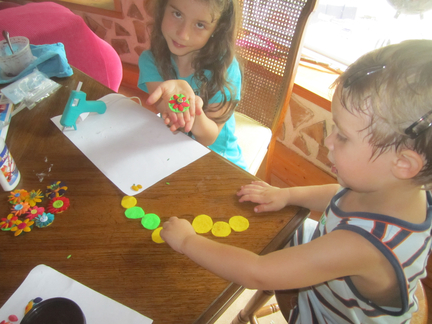
And while the older kids are working with the glue gun, the little ones can make circle trains. 🙂
Kaia and I spent ALL afternoon with this craft. In fact, we were up until way past bedtime finishing off the last ones. It was so much fun! There are endless possibilities of what you can create with your flowers and they make fabulous gifts.
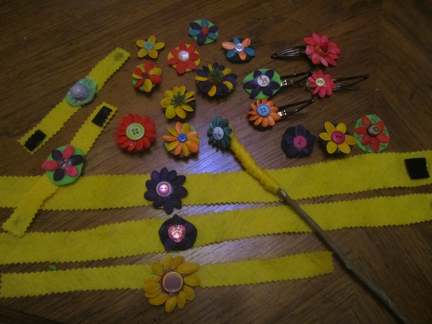
Use them as they are and tape them on presents. Glue magnets on the back to hang your favorite artwork or projects on the fridge.
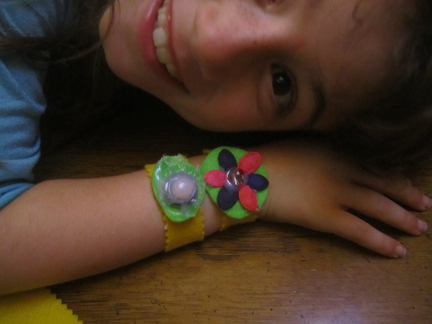
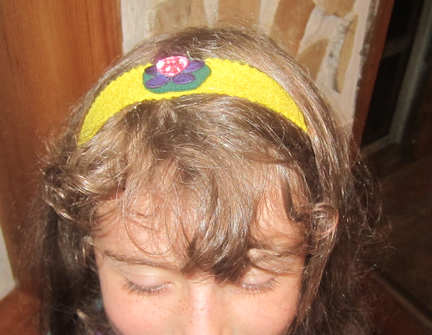
Glue them onto felt strips to make bracelets, chokers, or headbands. A little strip of velcro makes the perfect closure.
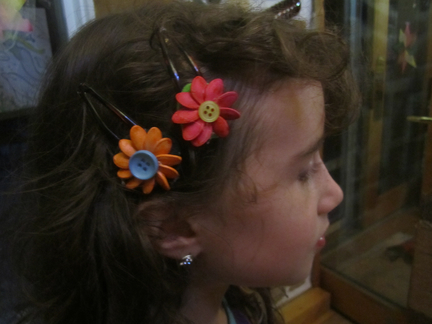
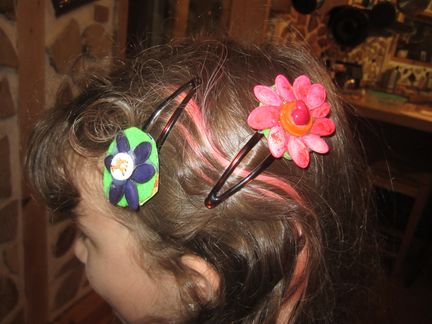
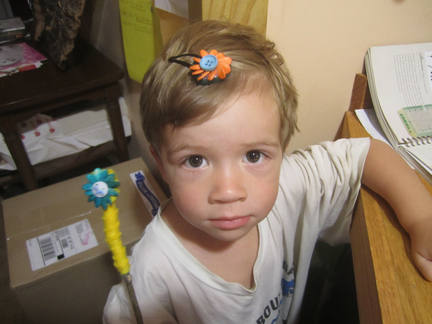
Glue them onto barrettes.
Glue them onto a stick and create magic with your new wand.
You could also glue it onto a pin and make a broach. What about attaching the flowers to green floral wire and making a bouquet for your table? What would you make??







These are very beautiful! What a clever idea.
I just came across your blog as I was searching for homeschooling information. Your blog is fun! Thanks for sharing. We’ve talked about making t-shirts for our kids. Now that I see how well yours looked, I’m sure we’ll do it. We’d like to incorporate the yome (part yurt and part dome) that we’ll be using as our “classroom” this year. We like to call it yomeschooling. 🙂
I have a blog award for you at my blog…
http://homeschooljournal-bergblog.blogspot.com/2011/07/versatile-blogger-award-from-learning.html