It’s been unseasonably warm here. So we’ve been hoping to lay some cordwood. Because we are using a lime-putty mortar mix, we need ~2 weeks without a hard freeze for it to dry. So, we are pushing it right now. The temps drop down into the low 40’s here last night, but they are supposed to be up in the 50’s (for the lows) by next week! Since it’s been so warm in the days, we may be ok. Anyway, to really start on the cordwood, we had to get the electrical done (which happened last week) and pass inspection (which we didn’t). Our electrician is from one county over and in that county they don’t require you to strip and tie off all the wires for the ‘rough inspection’. In our county, they do. So, he has to come back and do that. However, the inspector was really nice and said he has no problem with us laying the cordwood before the inspection is passed. YAY!!
So, here is a picture review of our last week.
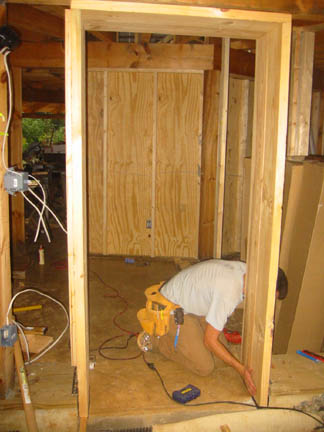
Toby and I spent time this weekend framing the front door. Because our cordwood walls are 16 inches thick, we had to make a special frame… can’t buy one of those at Home Depot!
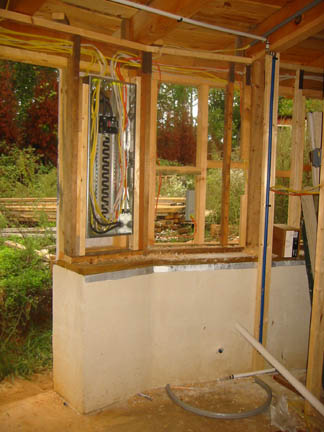
Here is the electrical box all wired up. It is in our ‘mechanical/mud room’. This is also where our water heater will go, hence the plumbing.
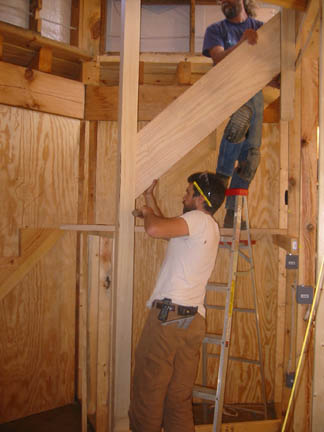
Toby and John are putting in a piece of Ash that we planed down to a beautiful piece of wood. This will be the outside of our stairs. The stairs have been taking a long time ’cause of the complicated angles, but hopefully they can be finished the next time John comes out. Luckily, the inspector didn’t say too much about having to climb a ladder.
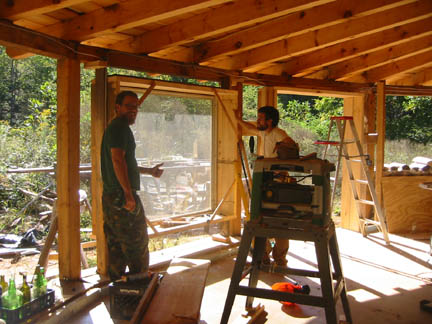
Toby and Dave set the first window! It’s huge and lovely!! It’s a stationary picture window that is in the dining area. Behind Toby you can see another 16″ door frame that Toby and I built, for the french-patio doors.

We were planning on laying more cordwood yesterday, but we realized we needed to layout the kitchen first. So we did our kitchen planning and taped it all on the floor. It’s kinda hard to see, but this is the island and where the stove will be (against the cordwood). It’s a large U shaped kitchen (YAY!!)
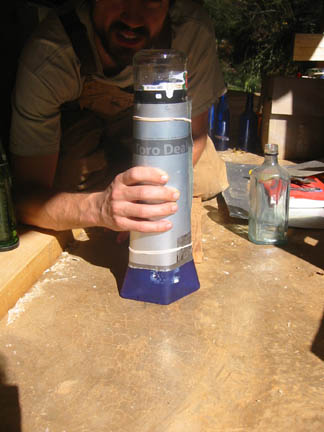
After we did the kitchen layout, we decided to start on some bottle ends. They were actually easier than I thought. We have put notes in the ones that were given to us by friends and family. I want to make sure those get put in the walls!
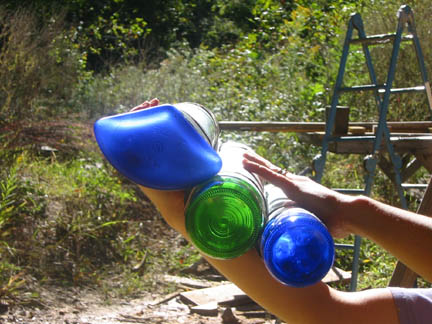
Here’s how they look with the sun streaming though.
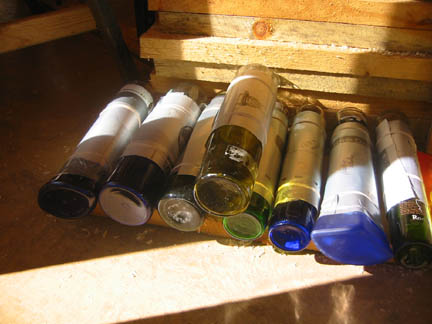
Here are the ones we did in a few minutes yesterday. Once we got the hang of it, they went fast.
You glue the bottle ends together?
Well, first we get some printers plates from a local printer (kind of like aluminum flashing, but free). Then we cut them to ~10 inches long and wide enough to wrap around the bottles. We make a tub with the aluminum by rolling it up and putting a rubberband on each end. Then we choose two bottles of similar diameter and put them in each end, with their bottoms sticking out ~3 inches. this makes a 16 inch bottle tube. If they aren’t snug in the aluminum tube, we tape them in place with some duck tape.