A few months ago I picked up a fiddle from craigslist for $50. Â I’ve wanted to learn to play fiddle for years, but a good fiddle generally starts at over $500. Â So, I thought, why don’t I try to rehab this one and see what becomes of it. Â It was made sometime around the civil war and came over from Austria. This fiddle was well loved by a sweet family. Â But when they moved into the area it got bounced around a bit and parts fell loose and cracked.
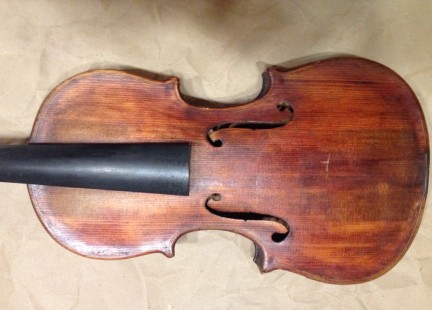
The top was coming apart from the sides.
The end button was missing and the bottom block had a crack.
The back was coming apart at the seam.
And worst of all of it, the peg box and scroll had little cracks all through it. Â Some of it had been repaired in the past and was re-cracking, some of the cracks were new. (I only pointed out one large one here.)
I took the fiddle to a local luthier (violin maker), Danny Bishop, and he walked me through all the steps to fixing it up. (I think he got sucked into my enthusiasm and wanted to hear this fiddle sing again.)
The first thing I did was place an order with internationalviolin.com.  I got some hide glue and a couple of different types of clamps.  I worked on the back first, re-glueing it.  Isn’t it lovely?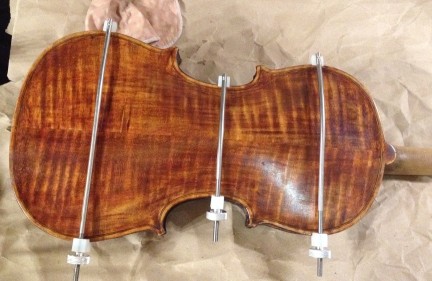
Then I worked on glueing a spot on the side where it had been poorly glued the last time it was fixed.

I fully opened the top to check out the insides and all looked good. Â 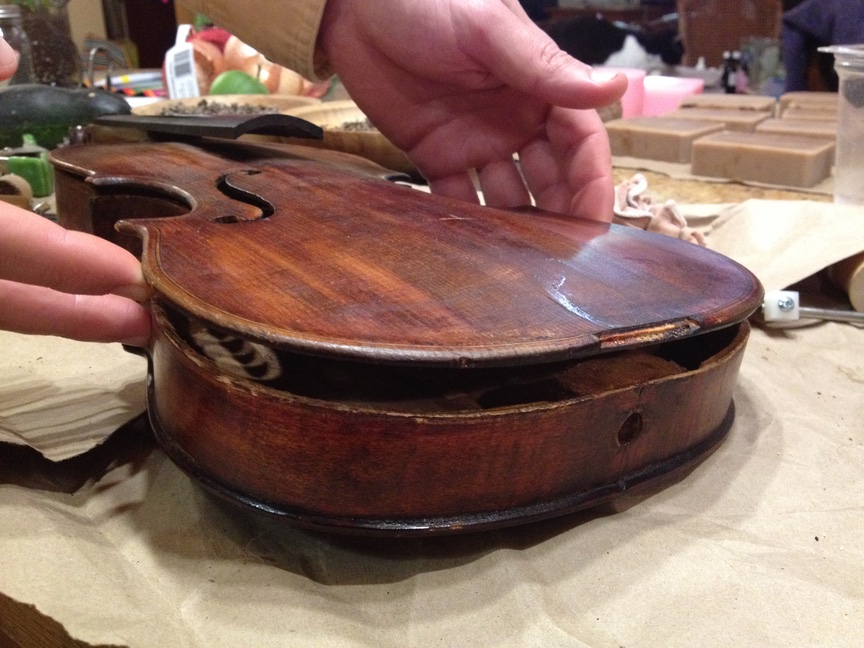
Then I glued it back tightly. Â I didn’t have enough clamps so we made some out of old wooden thread spools.
Then it was on to the peg box. Â This is a pretty delicate area, but it takes a whole lot of pressure with the strings pulling on it and the pegs pressing inward. Â You can see where a repair had been done on an old crack. Â 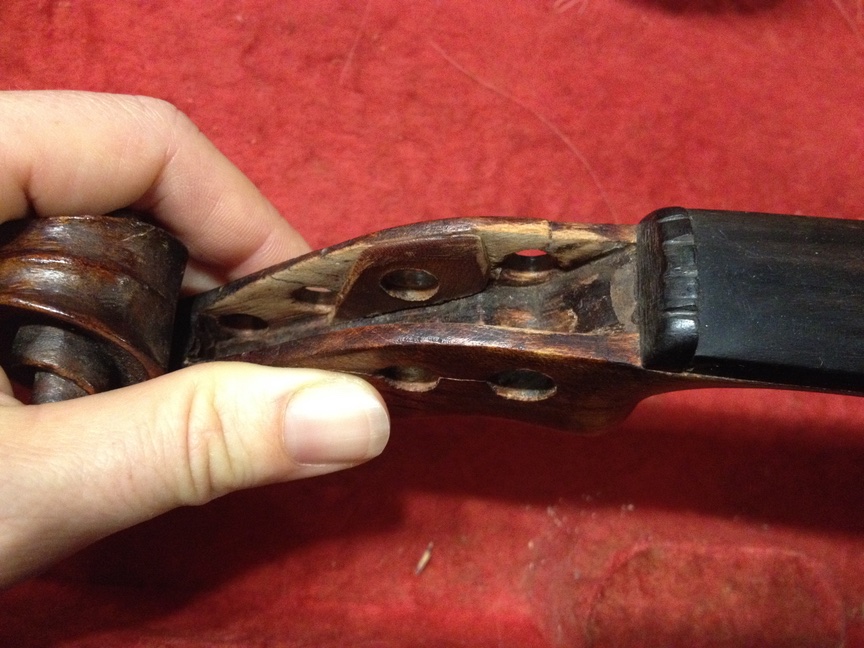
We used a very sharp razor and took this piece off. Â Then I used the razor and carved out part of the box on each side so that I could replace it with a large piece of maple.

We used card stock to make a template for the wood that would go into the peg box.
Here are the two pieces of maple that we cut (with a very sharp knife) to fit the box.
Then they were glued and clamped into place, one side at a time.
Here’s how it looks all glued in. Â I stained it later to look just like the rest of the box.
Once all of this was done, I took it back to Danny for a bit of help getting it ready to string up. Â We drilled and reamed out the new holes.

Then we fit the pegs to the holes. Â The pegs have to be sharpened, like you would a pencil, to taper them to fit the peg holes perfectly. Â Then we drilled tiny holes for the strings.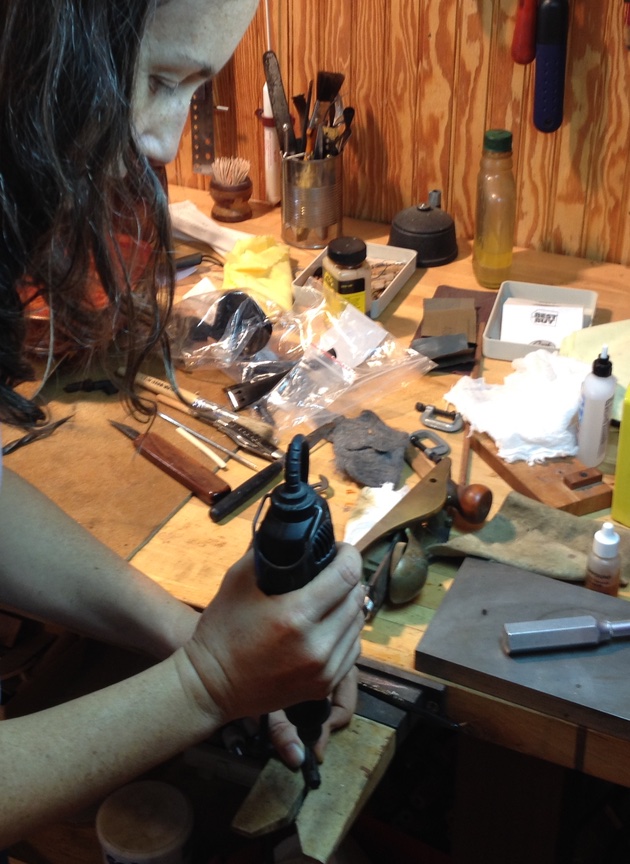
When I was fitting the pegs for the last time, I heard a loud crack and my heart stopped. CRAP!! Â Another crack in the peg box! Â With nothing to lose, Danny drilled a small hole through the crack and superglued in a piece of paperclip. Â This held the crack tightly! Â Yay!! Â He used a tiny jewelers file and cut off the top of the paper clip. Â You could barely tell it is there.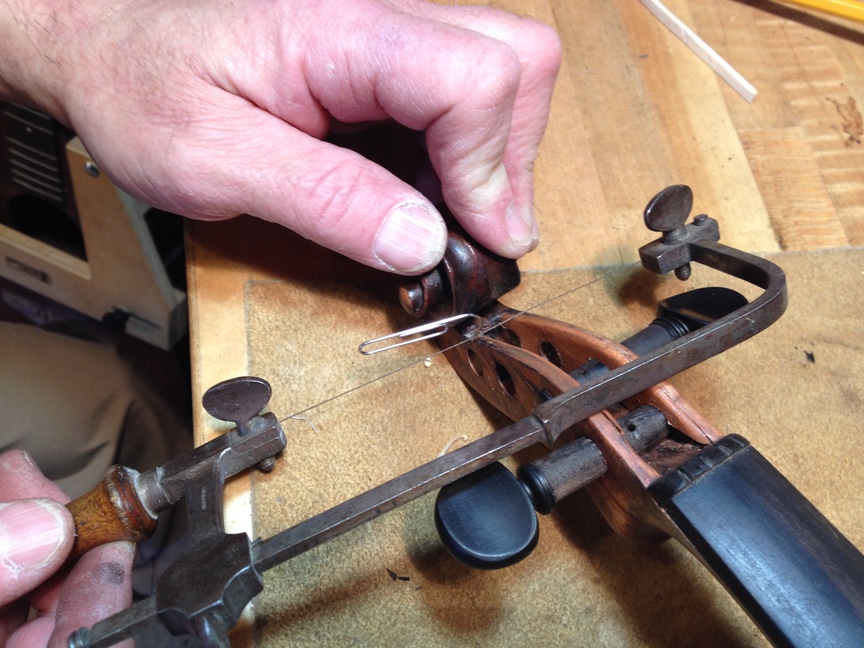
The peg box, all fixed up.
Next came the new end button. Â I filed that down just as I did the pegs and fit it nice and snug.
Then it was time to set the sound post. Â The sound post is a little piece of wood that fits between the top and bottom of the violin. Â It’s very important in getting a full, strong sound. Â Danny had made his own tools for this and made it look super easy. Â He slid the post in through the sound hole and pushed it into place with the fork.
See it in there??
Then we took some time with the top nut or top block. Â It was very tall, so he filed it down a bit and then made new notches for the strings to sit on.

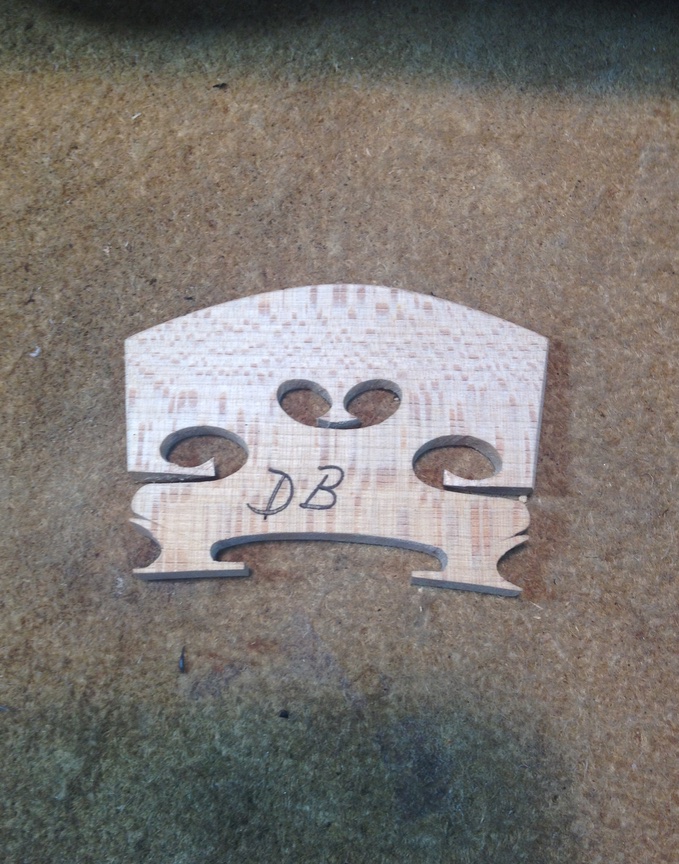
Finally, it was time for the bridge…. SO close to stringing it it up! Â Danny took a brand new bridge and fit it perfectly to the top of the fiddle. Â Then he carve it up a bit to enhance the sound. Â Â (I made him initial it before we put it on the fiddle.)
FINALLY, the moment of truth! Â I attached the fine tuners to the tail piece.
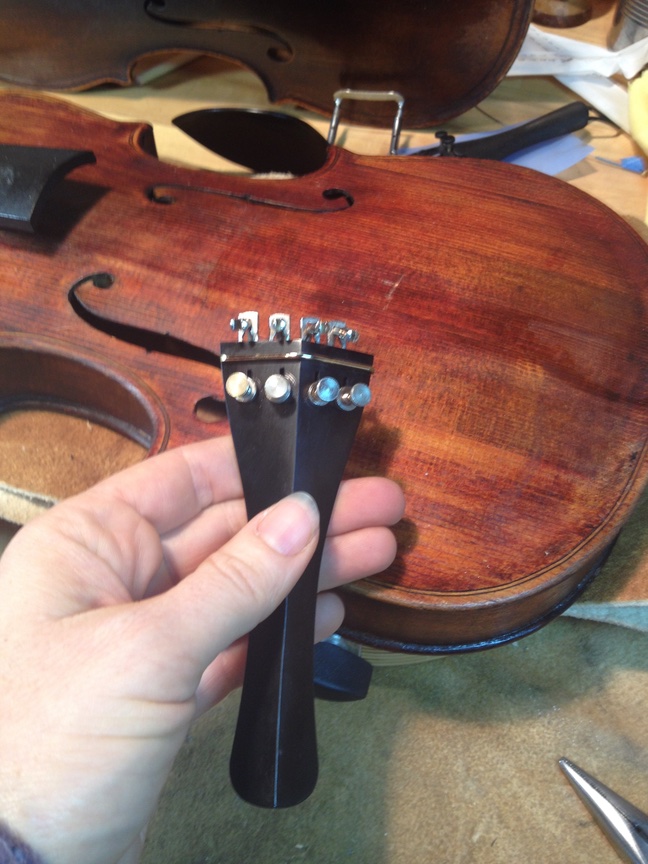
And we began putting on the strings!!!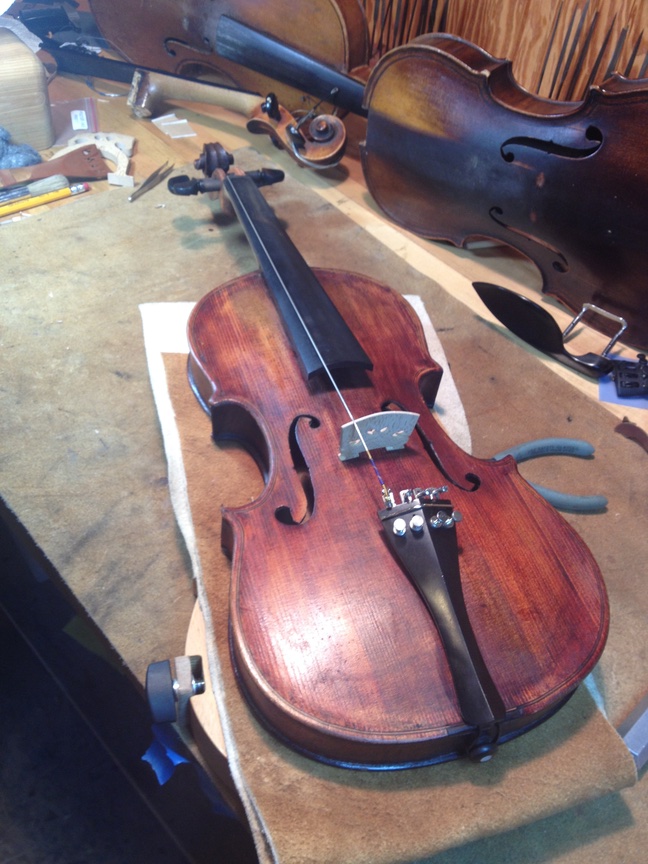
DONE! Â Isn’t she a beauty?? Â It looks completely different than the first picture.
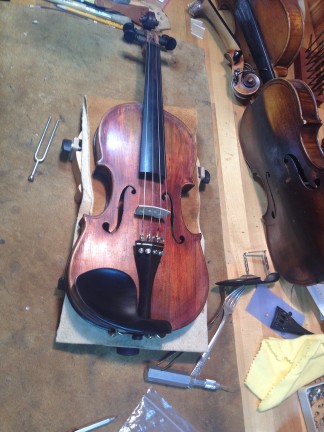
And the sound? Â Well, Danny wanted to buy the fiddle from me. Â When he was tuning it and testing it out, he couldn’t put it down. Â The sound is rich and full and warm. Â It’s just beautiful!! Â I am SO glad I took on this project. Â I now have a 150 year old Austrian violin that couldn’t be more lovely!!
Here’s a little video of Danny fiddling around 😉 Â I can’t express how thankful I am to him for taking the time to work with me. Â He was a patient and knowledgable teacher.
Â
Oh my goodness! Is there anything you CAN’T do? Apparently not! It’s a beautiful instrument and I hope you have a great time playing it.
I see that Harper has said exactly what I was about to post. You are a talented and brave woman!!
I admire your courage and talents!
The refurbished fiddle is awesome! And, I really enjoyed seeing the process you used to rehab it. I had no idea how involved it was.
Haha! Neither did I, Sheryl! The simple stuff I thought would take an hour always ended taking 4. But, it’s so worth it now!
Wow, Maria that’s incredible!!! I like how you chronicled it’s repair journey too. I was so anxious to hear her played at the end. What a beauty!
This brought back so many memories for me. I played very young, 2nd to 6th grade and my folks were very poor. I was the oldest of 4 girls and the fiddle was to be held sacred. No goofing around when it was out of the case. (My great grandfather was an esteemed violin maker in his day.) My sister and I were in the bedroom and I had been practicing but put the violin down, without closing the case. She pushed me, I landed squarely on the case and broke the neck. Oh my gosh we knew we were in big trouble. I don’t think the instrument was even actually paid for yet. If it weren’t for my grandfathers skill and ability to fix that beautiful instrument I’m not sure I’d be a grown up grandma telling you this story! God bless you and that beautiful instrument. All these years later, I wish I would have kept up with it. Danny’s video really brought me back to an earlier time as well!
Thank you, Kristy, for such a lovely story!! You know, you’re never to late to pick it up again!!