Thanks to Nikki and her birthday gift, I’ve been having a wonderful time spinning art yarn. Â But, to make art yarn, you need art batts. Â These can be on the pricey side when you are just learning how to spin. Â So, I thought I’d make them myself. Â Usually they are made using a drum carder. Â I don’t have one of these and they cost just as much as a new spinning wheel (expensive). Â But, last year, something new appeared on the market called a blending board. Â It’s less expensive than a drum carder, but still pricey. Â So, in an attempt to create my own batts to spin, I’ve made my own blending board for under $100.
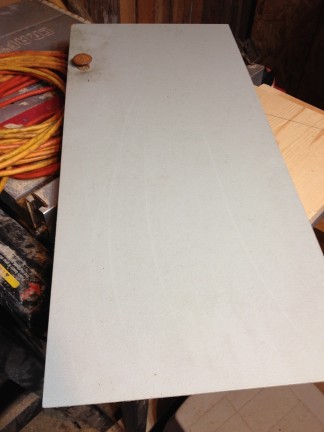
I ordered a piece of blending cloth from Natural Fiber Yarns. Â While I waited for it to arrive, Toby found an old cabinet door that was the perfect size to attach the cloth to. Â He trimmed one end a bit and removed the knob.
Once we had the cloth, we put some wood glue on the door and placed the cloth securely onto the glue.

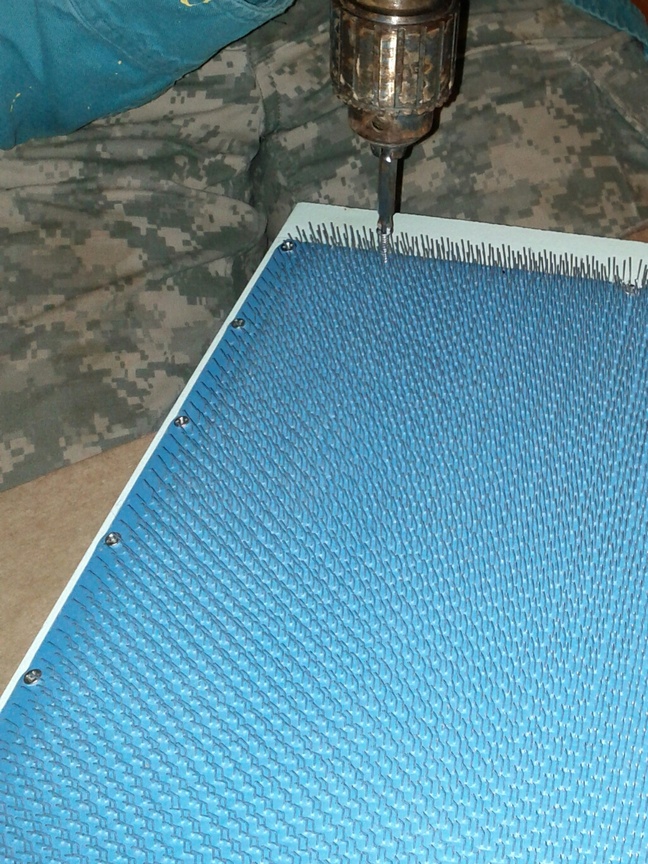
After the glue dried, Toby used tiny screws to attach the cloth on all edges. Â You could also use a staple gun, but we had lots of little screws laying around.
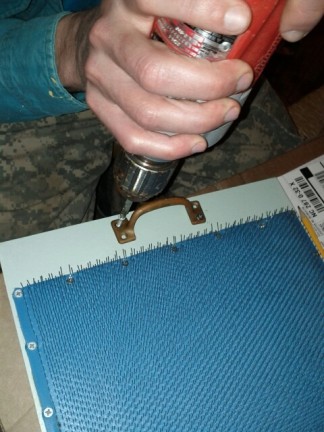
Then, he attached a cabinet handle to the top edge so that it will be easier for me to carry and hold on to when I’m blending fiber.
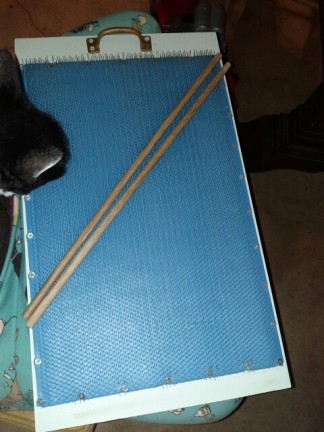
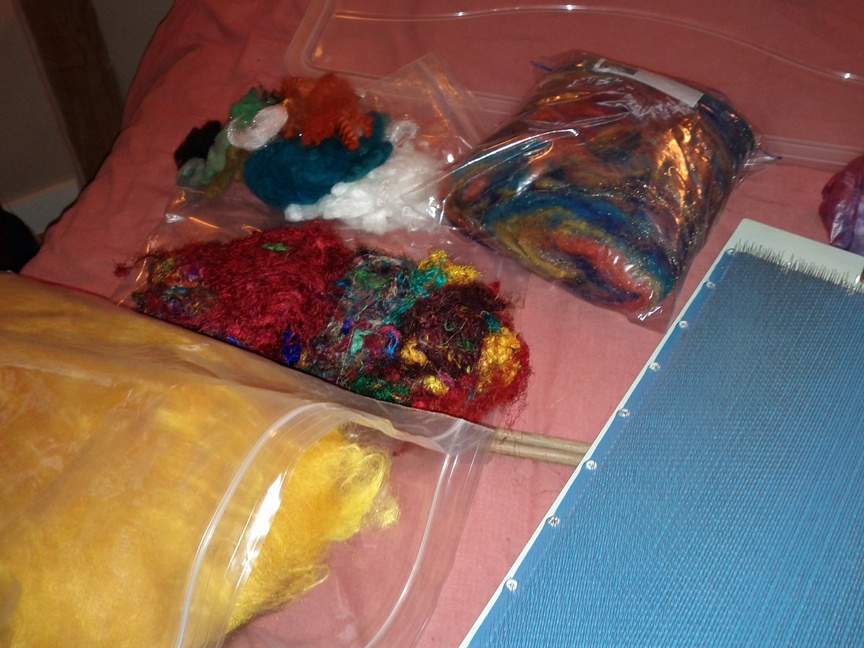
I found a 3 foot long 3/8″ dowel that I had laying around the house and cut it in half (photo bomb by the kitty!) Â These will be used to roll the fiber up into a batt.
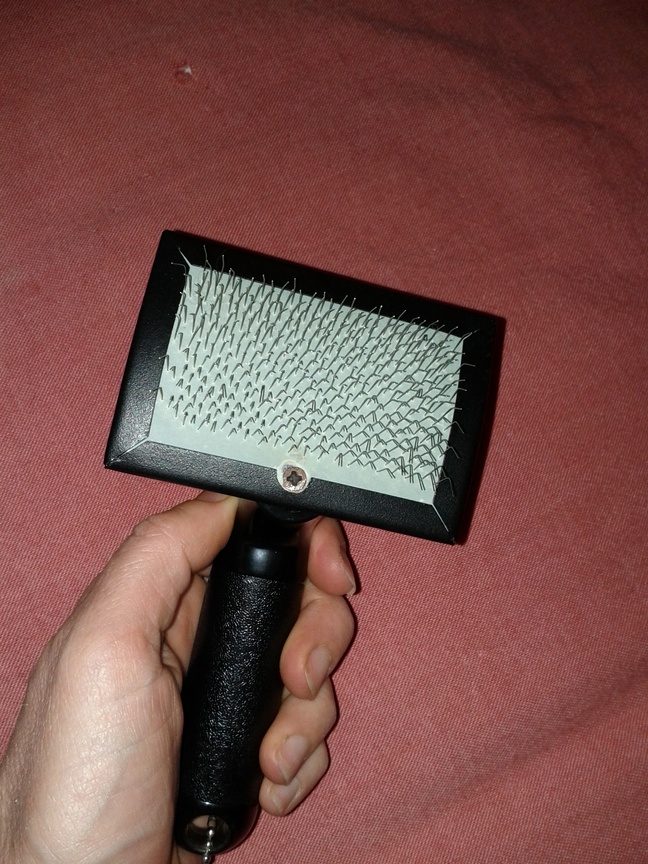
And I found a cat brush to help with pushing the fiber into the blending cloth.
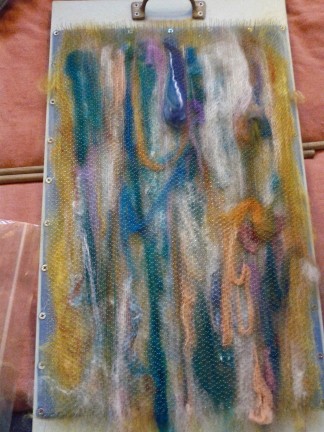
 Then I got to blending. Â Here’s how the process looks. Â I gathered all my goodies and began ‘painting’ them onto the blending board.
First was a beautiful yellow that the kids and I had dyed with turmeric (wool and bamboo). Â You drag it along the pins so that it catches and stretches.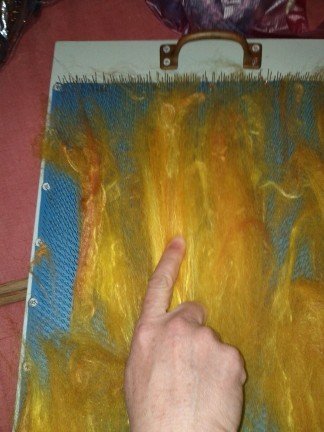
Then, you can use the cat brush (The pins are at an angle so you use the brush upside down so it doesn’t pull the fiber right back out) to push the fiber deeper into the pins.

Keep adding stuff until it’s full. Â These are blue and white mohair locks.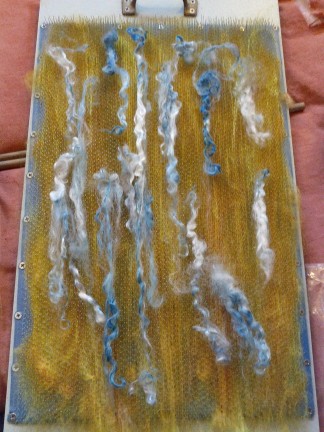
I added sari silk, silk cocoons, tinsel, more wool of different colors, and whatever else I could find.
Once it is full, you pull up the end a bit to loosen the fiber. Â Then you place the dowels, one on each side of the fiber, and begin rolling it.
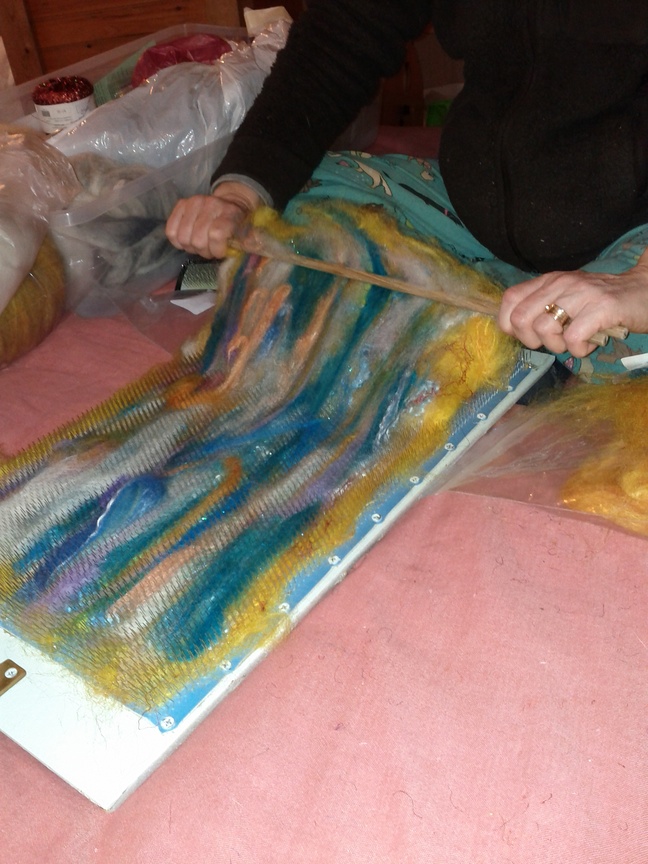
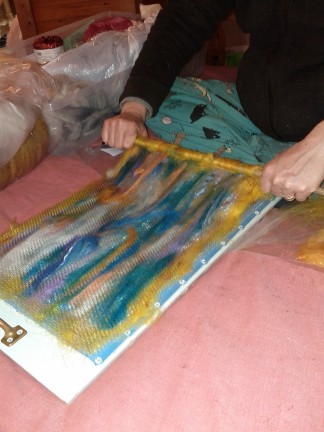
Some of the fiber may stay stuck in the blending board. Â You can pull those up with your fingers or the cat brush and wrap them into the rest of the fiber.
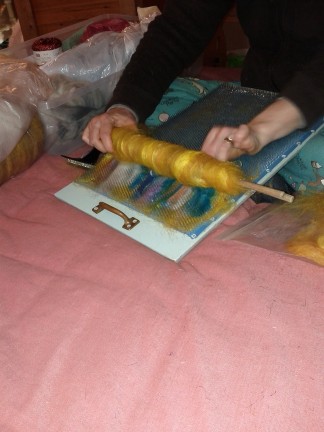
Once you are done, just slide the dowels out and you have yourself a mini batt. Â You pull from one end to start spinning your art yarn.

That’s it! Â Now, I must get to spinning!

Love it! Love the dowel idea. Gonna.try it on my carders too
Looks very interesting. Next time you need a staple gun, there is an electric one you can borrow just down the mountain.
I made my own blending board a while ago, too. I adore it. The woman I talked to about it (who also made one that looks much more professional than mine) said that you shouldn’t glue the cloth down because it prevents the teeth from moving a bit. With that advice I just stapled mine and it seems to be working out fine. I’d be interested to know if in a year you find that yours is also working fine (in case I ever need to make another one – it’d be good to know if I should do it another way). Either way – welcome to the blending board crowd. (:
Hi I’ve just stumbled into this & everything looked very clear except how you attached all of those pins in( or perhaps I’m just being a bit thick tonight, it is at the end of the day)
Hey Mary,
The pins are part of the ‘blending cloth’ It comes with the pins already in it when you buy it. So, no need to attach anything. (Is that what you mean?)
Thank you for your message, yes, that is exactly what I mean. I just have to get my husband to make me one.
I just got a blending board. Interested in how the cat brush is working out. Would like to try a dog brush. Much cheaper than a flick. Thank you.
The cat brush worked well while I used it, but I was gifted a small carding brush that I switched to. So, I didn’t use the cat brush for long. The bristles on the cat brush were much softer, so I imagine that it wouldn’t have lasted too long.
Does your wool need to be carded before you load it onto the blending board? I was thinking I would like to comb my wool on one.
Darla, you can use it straight from the fleece, as long as most of the vegetable matter is out. No carding needed.
What is the number of teeth on the blend in mat you have? Was there a reason you chose it over the others. Want to give it a try one day
Hey Teresa,
I chose wider spaced teeth for my blending board. 72/sq. in. I believe. I like doing art yarns with locks and crazy fibers. With wider teeth you get most chunks of stuff. The more teeth, the finer it pulls the fiber.
Hi
To make your board non-skid, on the backside of the board, try gluing on a non-slip utility mat. Just about any store that carries kitchenware will have it. I haven’t done this, so I’m not sure about the glue, would love to hear back from someone who has.
Leigh
Brilliant! Thanks so much for sharing. Unfortunately your link for buying the blending mat doesn’t work anymore.
Perfect instruction. I wonder if the tines face up or down? Are they turned so that the top tines are facing the top of the board? Thank you
Yes! The tines have a slight bend to them and they are pointing towards the top of the board where you would hold on to the handle.