Southeast Women’s Herb Conference


I spent this last weekend with Kaia at the Southeast Women’s Herb Conference.  And what a wonderful weekend it was!!  Though the wind threatened to blow our tent away a few times, Kaia came through her first conference with a big smile on her face and asked to go again next year.  She went with me to learn about aromatherapy and candle making, and then headed off to play with friends while I went to classes on fermentation, the respiratory system, biodynamic gardening, and more.  We danced the night away at a bhangra/bollywood party.  We fell in love the Rising Appalachia (if you haven’t heard their music, you should get a CD right now!!!).  It was a great mother/daughter weekend!


I know…

I’ve been seriously slack in posting here.  That’s because I’ve not been slack in the rest of my life.  We are working hard in homeschool, playing hard in the beautiful fall weather, reading great books, picking apples, eating well, and enjoying life!  That’s how it should be, right?!  I have a feeling new posts will continue to be sporadic.  I love you sweet blog friends, but once the kids are in bed and there is little time to blog, I just don’t want to be on the computer.  I’m trying to make it work, though, because I want to keep in touch with you all.  I will often post new homeschool, craft, and food ideas on pinterest.  You are welcome to come find me there!

So, here are a few pictures of what fills out life lately:

Late night dance parties with crazy dad.

Woah!  Step back!  He’s going turbo!

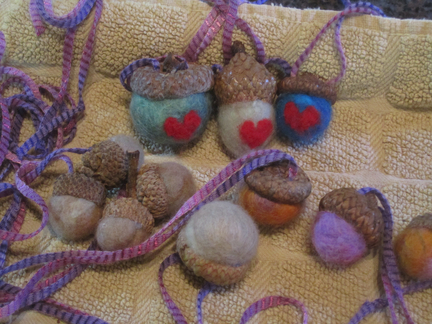
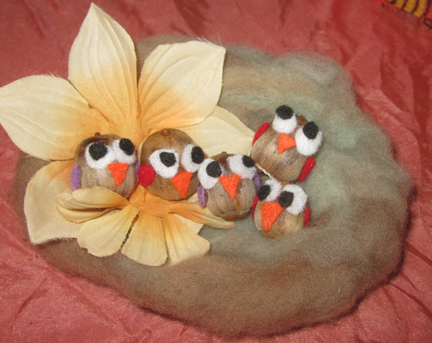
Acorn crafts of all sorts

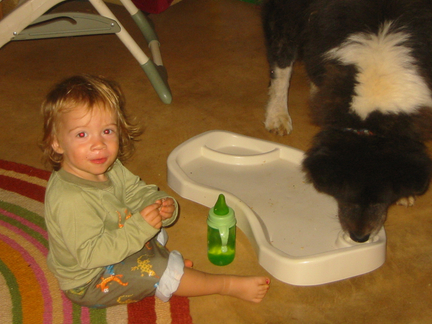
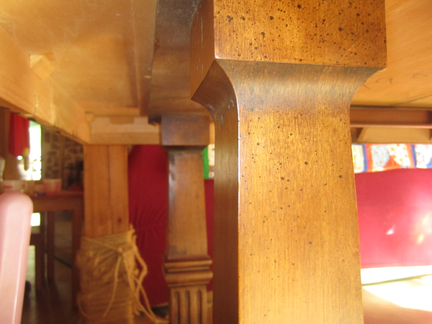
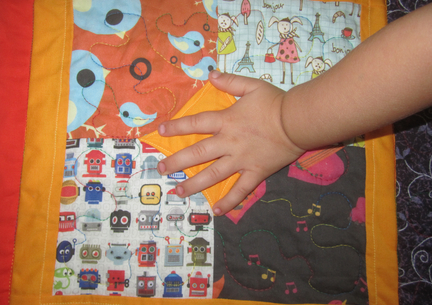
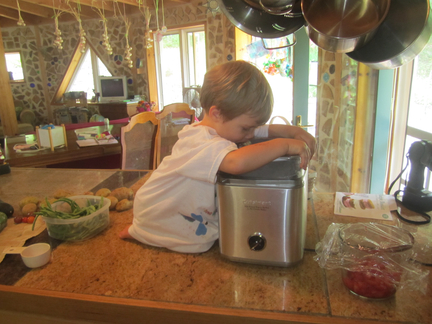
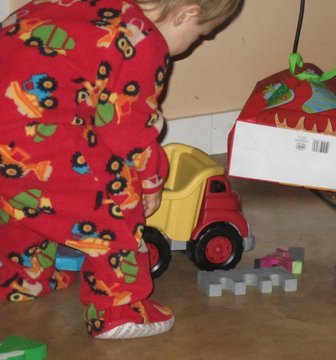
Life from the perspective of a 2 year old (Leif spent an hour with my camera this afternoon to show you what he’s been up to.  I think he’s a fabulous photographer!)


DONE!

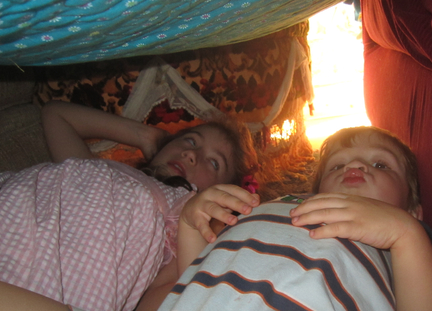
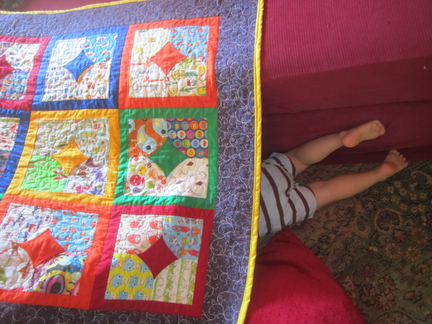
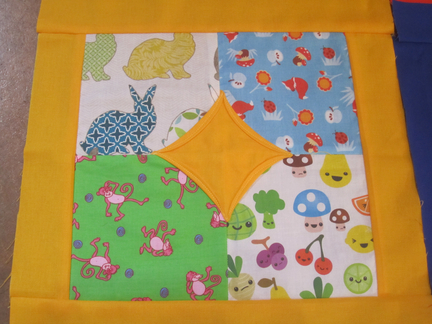
Here it is!  My first quilt!!  I’m so excited!  And I love how it turned out!  We spent much of the afternoon playing I-Spy, building forts, and snuggling under it.  Kaia really wants to keep it on her bed, but I think it will be a while before I want to hide it away in her bedroom.  I got the basic idea for the blocks from this video.

I had a friend attach the front, back, and batting.  She did a freehand swirl with a rainbow colored yarn.  Very cool!

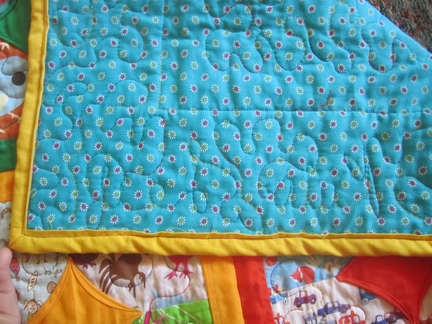
She even put Kaia and Leif’s names on the side.  It’s easier to see from the back, but the names are backwards in this photo.

“Look Mommy, hop grassers!”

Yes, they were attempting to make faces here!

I LOVE IT!

My little splurge

I brought in a little bit of money last month with some herb sales.  So, I bought myself a fancy, new ice cream maker.  I’ve never had one and boy, have I been missing out!!!  So far, we’ve tried mint chip, peach yogurt, and strawberry.  Leif waits patiently as the ice cream maker finishing churning…

Crafting flowers out of seeds

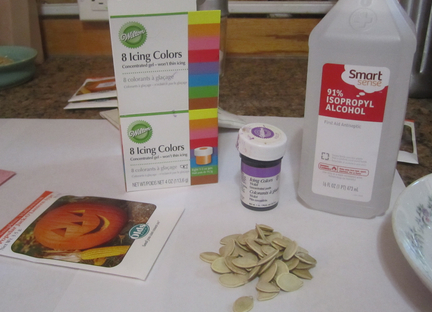
Somehow, I’ve ended up with a bag full of extra garden seeds.  Many are years old and some are just varieties that I didn’t care for and don’t plan on using again.  So, I thought I’d use some up in a craft.  Here’s what you need:

  • Seeds Pumpkin and squashes are best, but you can also use melon seeds and tiny seeds, like mustard
  • food coloring
  • rubbing alcohol
  • colored felt or fleece (this will be the background color of our flowers)
  • thin cardboard box, such as a cracker or cereal box
  • buttons for flower centers
  • hot glue gun
  • Elmer’s type white school glue
  • Optional: magnets, longer fleece strips for bracelets and headbands, velcro, sticks/floral wire…

First, pour a tiny amount (1/2 tsp or so) of rubbing alcohol into a bowl and mix with another tiny amount of food coloring.  I have the gel type of food coloring and I simply stuck a fork into the gel and pulled it out again.  What was stuck to the fork is what I then mixed into the alcohol.  (You could also use water, but I like how quickly the alcohol dries on the seeds.)

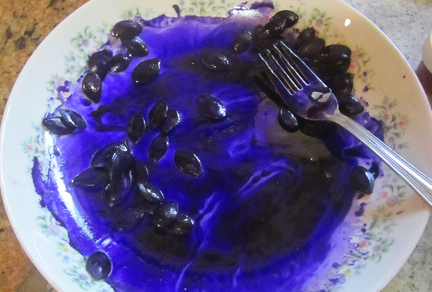
Pour some of your seeds into the mixture and coat them in coloring.

Doesn’t the purple look lovely?

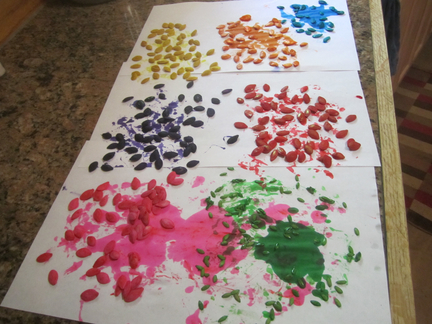
I ended up using 6 colors for the squash seeds and put a few cantaloupe seeds in green.  I thought these would make nice leaves if I decided to use them.  Place your seeds on paper towels (or in my case, just plain paper) to dry.  I gave them a little toss every so often just to make sure they weren’t sitting in a puddle of fluid.

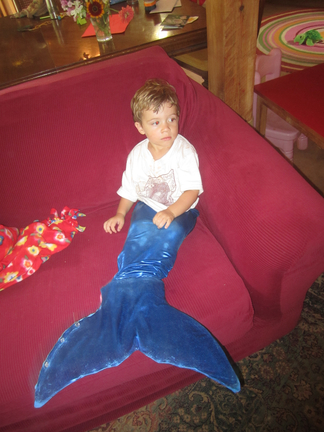
It takes a few hours for them to fully dry.  So, while that happens you can take this opportunity to visit with the local merboys,

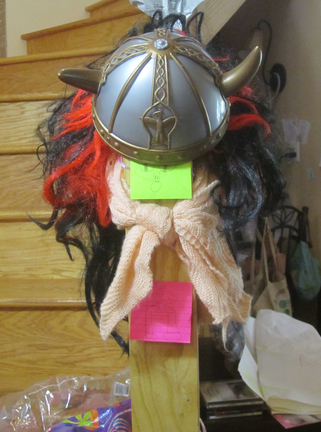
Or have a chat with the viking who lives at the bottom of your stairs.

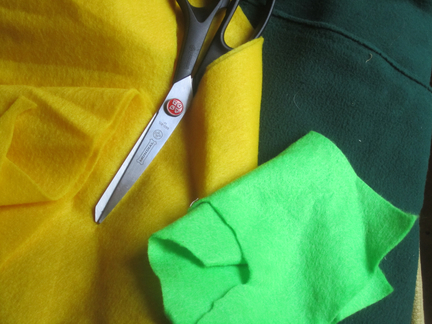
You can also take this time to get out your felting supplies and cut up some flower backgrounds

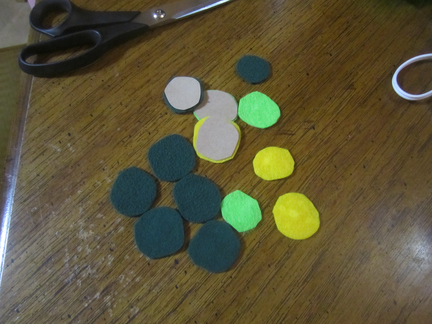
Cut 1-2 inch circles out of your felt and glue it (I used Elmer’s type glue, but the glue gun works also) onto circles of the same size that you cut out of the cardboard box.  Let this dry.

Now, once everything has dried, you can start assembling your flowers.

Pick out your petal colors and arrange them on your felt circle.  Then decide what kind of center you would like.  It helps to lay it out before gluing anything down so you can be sure you like the arrangement and that you have enough petals.

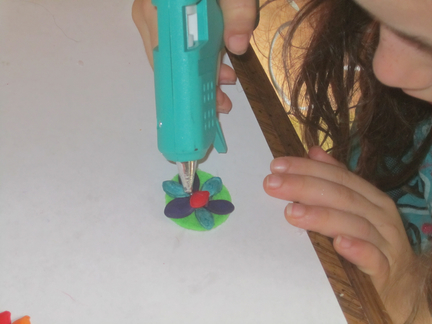
Then you begin gluing.  We have a fairly ‘cool’ hot glue gun, but it can still give you a nasty burn.  If you are working with younger kids, it’s best to let the adults use the glue guns.

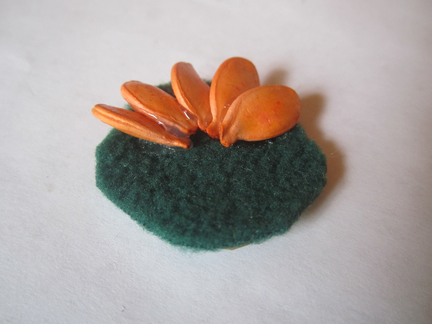
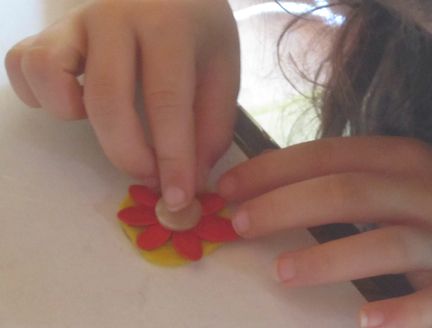
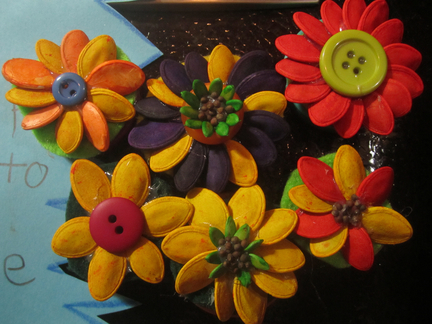
Kaia liked the look of laying the seeds flat in a circle.  I went for the layered look.  With the layering, be sure to angle your first seed up a bit so that there is room to slide the last seed underneath it.

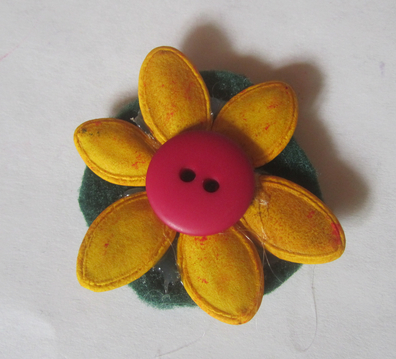
Once you have arranged your outer petals, you can do another layer of smaller petals, or use small seeds or a button for the center.  (We really liked the buttons!)

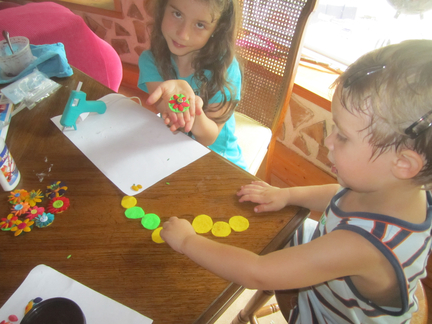
And while the older kids are working with the glue gun, the little ones can make circle trains. 🙂

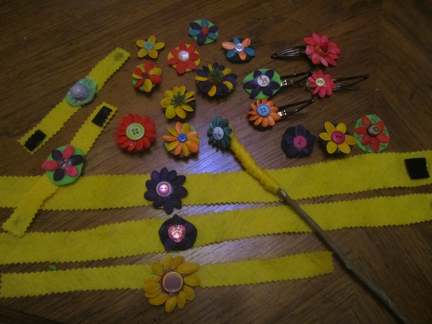
Kaia and I spent ALL afternoon with this craft.  In fact, we were up until way past bedtime finishing off the last ones.  It was so much fun!  There are endless possibilities of what you can create with your flowers and they make fabulous gifts.

Use them as they are and tape them on presents.  Glue magnets on the back to hang your favorite artwork or projects on the fridge.

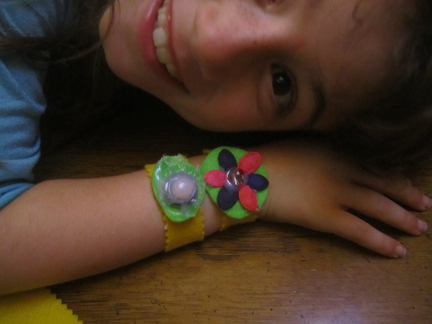
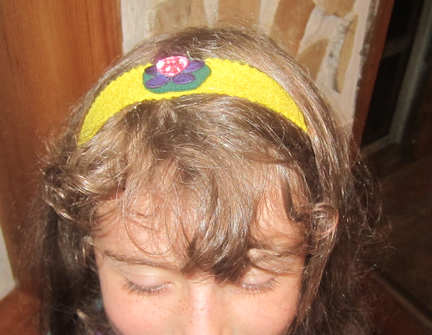
Glue them onto felt strips to make bracelets, chokers, or headbands.  A little strip of velcro makes the perfect closure.

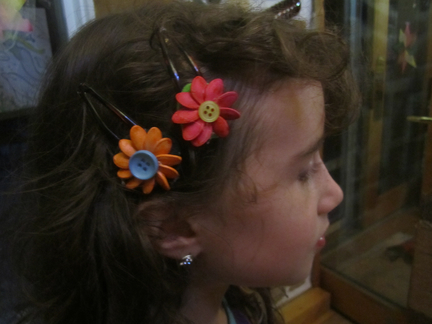
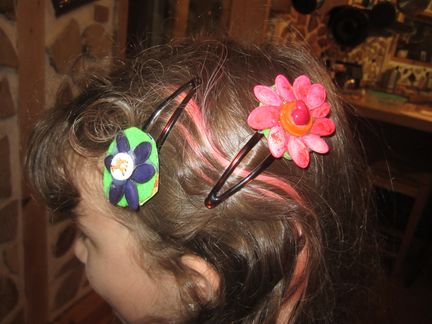
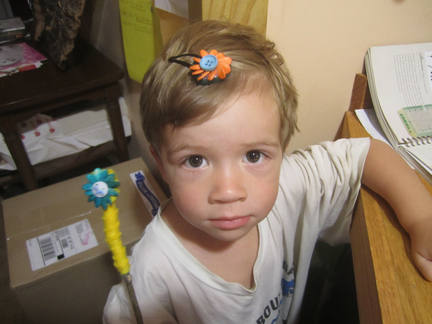
Glue them onto barrettes.

Glue them onto a stick and create magic with your new wand.

You could also glue it onto a pin and make a broach.  What about attaching the flowers to green floral wire and making a bouquet for your table?  What would you make??


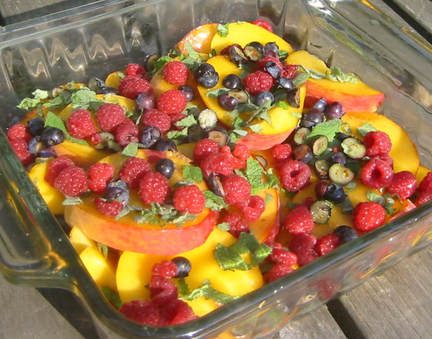
Peaches, Blueberries, and Ginger… what a perfect combination

Our kitchen is full of ripe peaches and blueberries, and what better way to dispose of those nasty critters, than to eat them… in pastries and jam!!!

I started off by canning up some peaches and blueberries and thought I’d throw in some crystallized ginger for a little punch.

PEACH – BLUEBERRY – GINGER JAM

2lbs Peaches – peeled and sliced (for me, this turned out to be 12 large peaches
1lb Blueberries
1 cup sugar (I used organic sugar, but I bet honey or maple syrup would be nice here too)
1 cup crystallized ginger – chopped
2 Tbsp Lemon Juice (fresh is best)
2 tsp. Nutmeg, freshly grated
1 Tbsp Cinnamon powder

–Put all of your ingredients in a large pot and stir it up.
–Cover and put in the refrigerator for at least 8 hours or overnight
–Remove from fridge and heat until the liquid thickens a bit. I used my candy thermometer and got it to 215 F degrees.  (If you are at a lower elevation you may want to bring it up to 225 degrees.  I’m at 3000 feet.)
–Ladle into sterilized jars and process in a boiling water bath for 15 minutes.
This turned out to be a thin jam, but boy is it YUM!!!  I doubled the recipe and made 14 pints.
But I couldn’t stop here.  No, no!  There was still way too much fruit on my counter tops and I needed that room to prepare meals.  So, I moved on to the Peach, Blueberry, and Ginger pie!!
  • 1+ pounds peaches, pitted and sliced (this was 7 large peaches for me)
  • 2 pints blueberries
  • 1/2 cup brown sugar
  • 1 cup crystallized ginger, chopped
  • 2 Tbsp lemon juice
  • 3 tablespoons cornstarch

–Move the oven rack to the bottom third of the oven and preheat the oven to 400F degrees F.

–Mix all ingredients in a large bowl.

–Divide the pie filling into two pie shells.  You can make your own or use store bought.

–Put the pies on a baking sheet (I beat one egg and brushed it on the edge of the pie shell to glaze it a bit) and bake about 50 minutes. Cover the pie with aluminum foil if needed to prevent the crust edges from burning.

–Cool and serve it up.  Vanilla ice cream goes best with this, but we didn’t have any.  So, I whipped some cream with maple syrup and vanilla extract and topped it up.  I have to say, I think this was the best pie I’ve ever made!  SOOOO delicious!


Play Tents

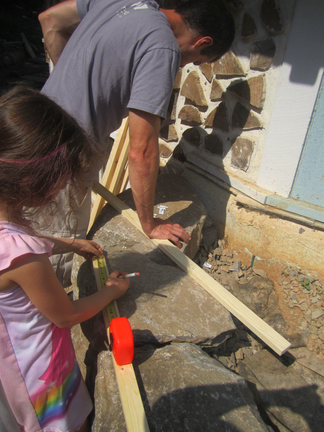
Kaia and Leif LOVE playing in tents, so when I saw this project, a little A-Frame play tent, I knew we had to do it!

It was so simple, we were able to make both kids their own tent in less than an hour!  Kaia made the measurements while Toby drilled the holes.

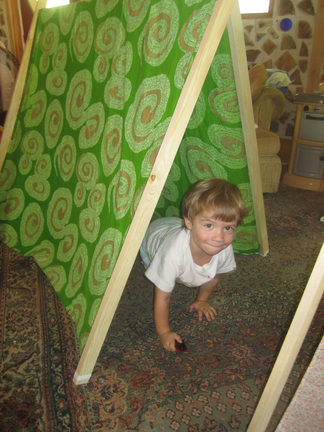
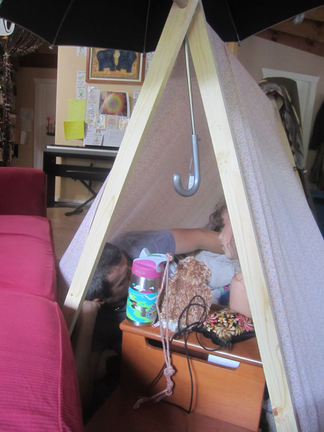
Then I sewed up a couple of tents and voila!

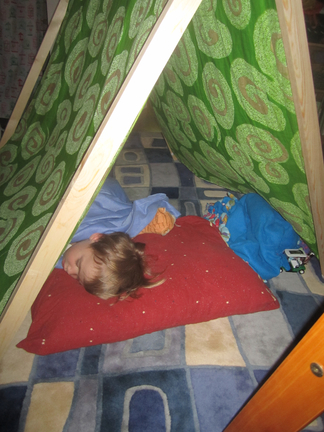
A place for playing, reading, eating, napping, and even traveling to the Amazon with your dad!

Natural Orchard Care

For the last few years, I’ve been letting my fruit trees and berry bushes grow as they please, not doing much maintenance other than pruning.  But most of them have been in the ground for 3+ years now and are starting to produce, so I wanted to follow a better care plan to ensure a good harvest.

I am doing a modified version of this checklist by Michael Phillips.  It looks daunting at first, but is actually pretty simple.  So far, I’ve been using a spray of neem, effective microorganisms, and fish/seaweed fertilizer.  Once the trees dropped their flower petals, I added Surround to the mixture (I’ll probably only use the surround on the fruit trees and not the berries.  The berries don’t seem to have the same bug problems as the trees.)

I’ve so excited to see how this works.  We are a fruit loving family, so the more the merrier!  (Oh, I’m also using the fertilizer spray on the strawberries and roses.)  I’ll keep you updated.

Surround on apple leaves

Addendum: I’ve noticed that the two pear trees have some black spots on them that only appeared after using the neem.  I think it may have burnt them a little.  I’ve read that you can use neem on pears, but also that new growth can be susceptible to burn from neem.  I’ll hold off on neem-ing the pears for now.


Snowed in and having a blast!

It was almost exactly this time last year that we had the big snow of ’09 and got snowed in for a week.  Well, we are snowed in again and actually have been since Christmas.  We’ve played in tents, made snow cream, baked, gone sledding, read, and just relaxed.

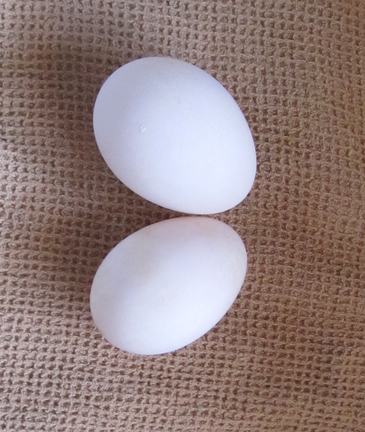
The duck surprised us on Christmas morn with their first eggs (finally!!)

I didn’t have any other eggs on hand for comparison, but these eggs were Large and Extra-Large!  Can’t wait to see how big they are going to get after they’ve been laying for a while!  Very tasty!

Snow Angels!

Snow Suki!

Snow Leif (He looks unhappy, but he asked Toby to carry him back up the hill like this!)

This is only a small part of our drive way!! It’s easy to get lost in your own world when you are out in the country.  We are only 10 miles from downtown Asheville, yet in times like this, when the rest of the world is going about their usual daily lives and we are still snowed in on our mountain, you forget that things are going on outside of our cove.

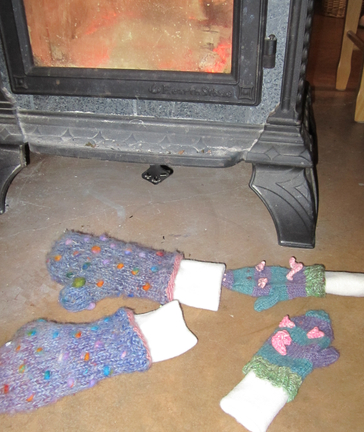
Drying Mittens.  Yes those are Leif’s little piggies that I just finished.  Both Leif and Kaia were getting snow up their mittens, so I sewed on soem stretch felt to make long cuffs.  Works like a charm!

Recharging

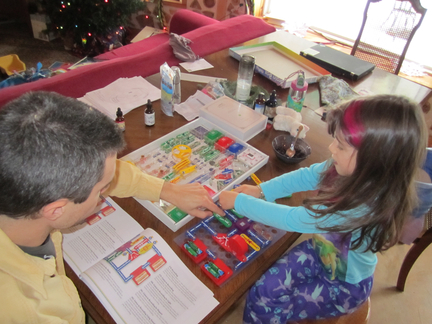
Learning about electricity with her dad.  She got this Brain Box as a gift and loves it!

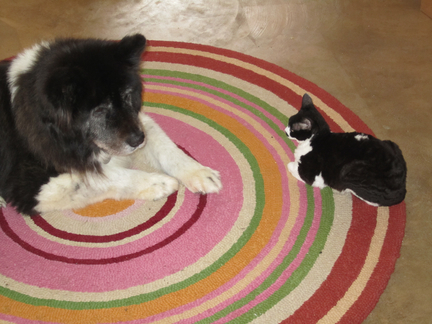
Temporary friends.  They agreed to share the rug since it is in front of the fire place.

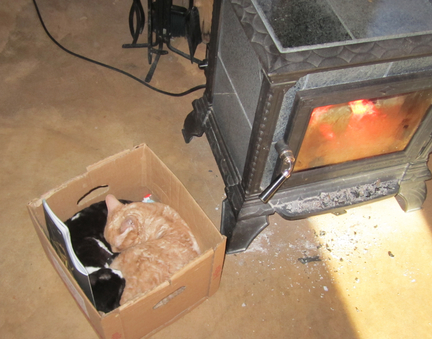
And these two will gladly share a box.

This crazy little man has discovered that he likes baking.

While I’m in the kitchen, and sometimes when I’m not, he will slide his stool up to the counter top, grab a pot, and get cooking!

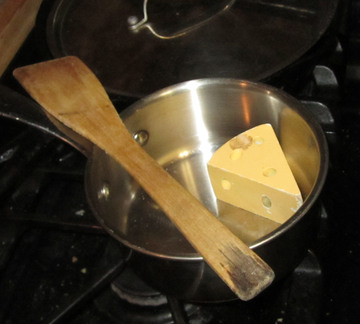
Yesterday evening, I found this waiting for me when I went to clean up after dinner:

I think he was starting on a fondue!  Yummy!!

Hope you are all having wonderful holidays!!

Pockets of all shapes and sizes!

I was really excited when Ikatbag began her Pocket series.

Being fairly new to sewing, I tend to go for patterns with a simple pocket.  But her series (with 25 posts!) covered all kinds of pockets, and how to create them, in very easy to understand steps.  If you are looking for a great pocket tutorial, check out her Pocket Series (this link is to the first post, following posts are on her side bar under November and December).  And look at this wonderful pocket quilt she created!  Wouldn’t that make a fabulous Story Board??!

Winter Begins

We had a lovely first day of winter here.  We celebrated by going to see a play, opening gifts, and having friends over for a feast.  So glad the days are lengthening again!

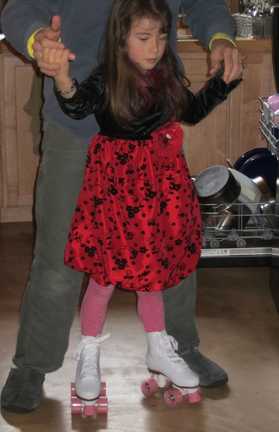
Kaia’s favorite gift this year has to be her skates.  She can’t wait to get to the skating rink to give them a try.

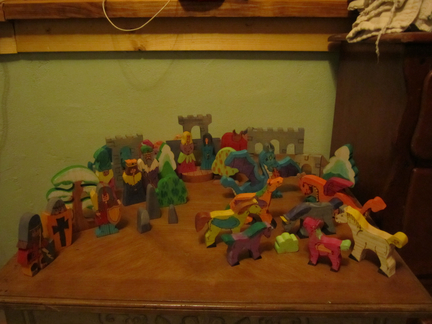
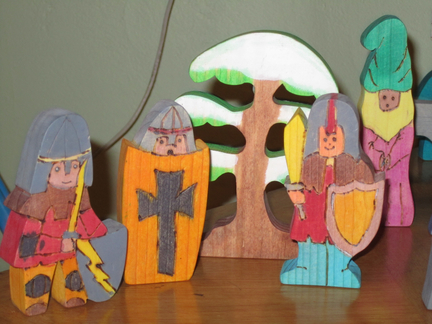
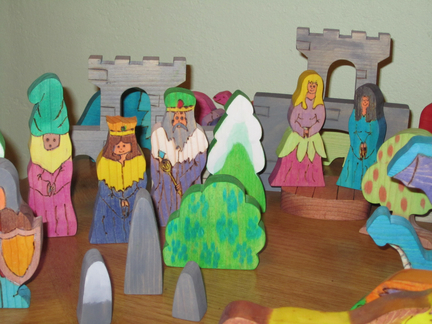
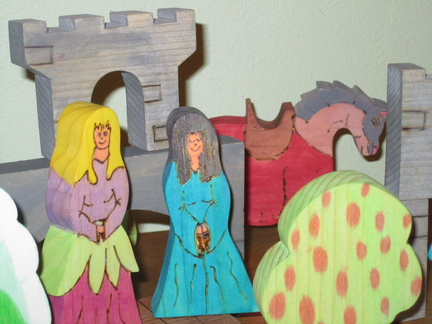
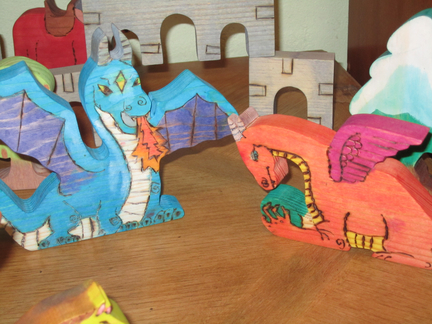
Leif finally got these wooden toys that I purchased over a year ago from Clickity Clack on Etsy.  They were sanded, had patterns burned into then, painted with water colors, then sealed with a beeswax varnish (the trees have winter on one side and spring or fall on the other).  His favorite thing to do with them is push them around in his new dump truck.

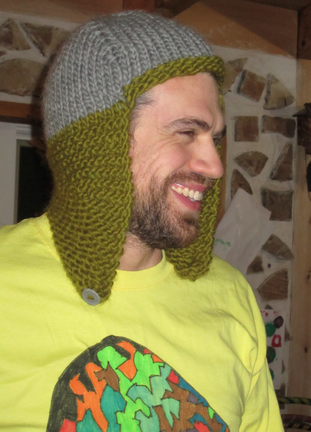
Toby got a new hat:

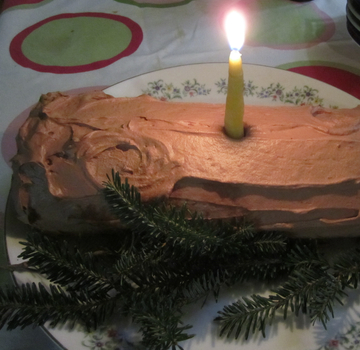
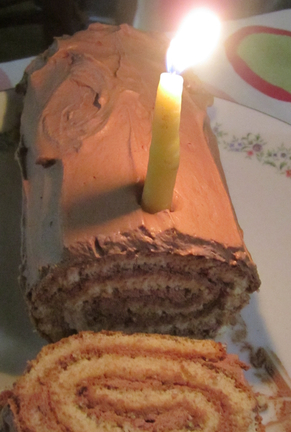
And we had a wonderful dinner (of which I forgot to take pictures) and fabulous yule log for dessert. (Recipe from Tenacious Lace).

Such a beautiful day!!

New Knits

I love these little patterns from Cheezombie!  They are completely adorable and quick to knit up.  Below are Sheepy and Wooly.   Two of Leif’s sweet new furry friends.  He loves them.

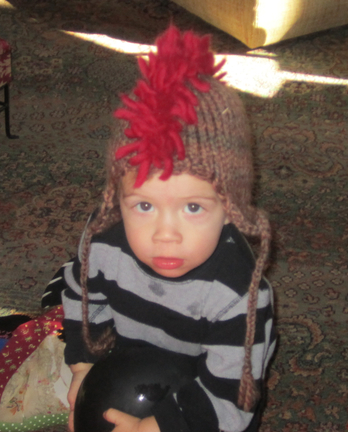
Is he a punk rocker?  A Roman Gladiator?  A rooster?  (yes, that is a balloon he is biting!!)

Picture update

My posting has been fairly sporadic, I know.  But life is full and I don’t have much time to spend blogging.  So, here are some pictures to catch you up on our ‘doings’.  Hope you are all doing wonderfully and enjoying fall!

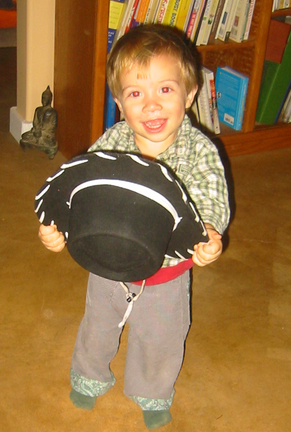
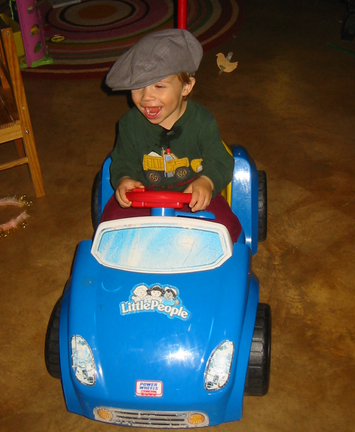
Leif's moved from a shoe obsession to hats.

Cowboy hat!

Paper boy hat! (And his delivery vehicle)

Attack!

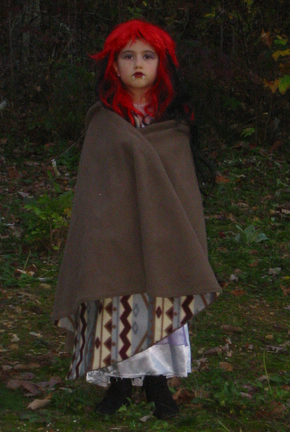
Kaia's ghostly pumpkin

Scar face

Vampira

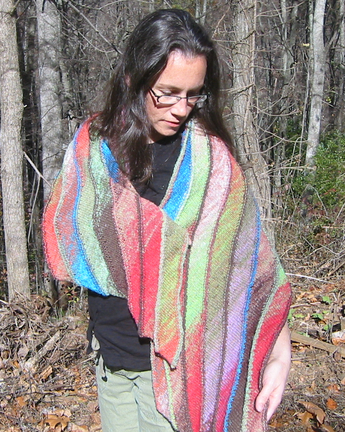
My awesome new scarf!! (Just finished last night)

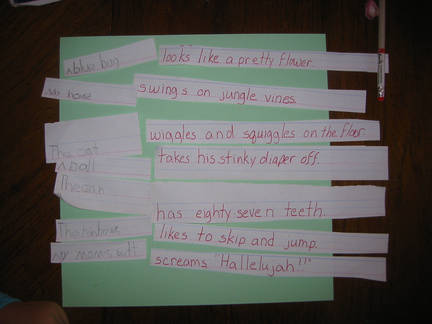
subjects and predicates

This was a really fun lesson.  Kaia asked to do this over again and again.  She wrote the subjects and I wrote the predicates.  Then we put them in hats and drew out one of each.  In case you can’t see the last one it says “My mom’s butt – screams ‘Hallelujah!'”

All tuckered out!

Him too!!

The Faeries’ Guide to Green Magick from the Garden – A Review

Earlier this month, I was asked if I would like to review a newly published herbal on my blog.  “Sure” I said, “sounds like fun”.  Though I have to admit that part of me was apprehensive to spend my sparse free time looking through yet another herbal journal.  I have a gazillion of them at home already and most of them repeat the same basic herbal information.  Still, it sounded interesting so I thought I’d give it a whirl.

I’m happy to report that The Faeries’ Guide to Green Magic from the Garden by Jamie Wood and Lisa Steinke is a wonderful herbal journal that stole my heart from the get go.  Really, after receiving it, it was a few days before I actually read any of it.  The illustrations, done by Lisa Steinke, are so breathtaking that I had to take my time absorbing each of them before I could move on to the words.  Each of the 33 herbs in the book is represented by an image of a faerie that is absolutely captivating.  It’s hard to take your eyes off of them.  But if you move to the edges of the faerie figure you notice the images of the plant they represent.  You don’t really see it when you first look at the picture because your eyes are drawn to the faeire, but if you focus you see wonderful detail in each plant picture.  (And of course my faerie loving daughter needed to take her time devouring each picture before I could have the book back to read!)

I also really liked how this book was designed … each page adorned with flowing leaves or swirls.  This certainly isn’t necessary, but being a homeschooling mom who often doesn’t get out of my pajamas all day, it is nice to feel pampered when I’m reading a book.

Ok, so on to the words.  The beginning of the book does a brief but solid job of describing Green Gardening, Complementary Medicine, Faeries, and how they are interrelated.  I especially appreciated the mention of why Magick is spelled with a ‘k’ and what a faerie is.  I was not brought up with religion or taught much spirituality as a youngster, so believing in something I can’t see has been hard for me as an adult.  I thought the authors did a nice job at explaining faeries in a way that most people would be able to understand and not just see the image of Tinkerbell in their heads.

As I’ve mentioned, the majority of the book focuses on 33 herbs that can be easily grown in the house or garden.  Each herb description contains it’s scientific name, common names, and the parts used as well as a description of the plant.  I especially enjoyed reading about the energetics of the plant and the history.  (I love to hear how people in the past used plants, whether for physical medicine, spiritual use, or in cooking.)  There is also a recipe associated with each herb.  They range from edibles (Lavender Truffles!!) to cosmetics (Nettle Hair Tonic), to medicinal (Comfrey Salve), and spiritual (Cinnamon Protection Splash) recipes.

I’ve enjoyed this book.  It packs a lot of information into an enchanting design.  I think I’ll keep it in a prominent place among my herbals (if I can just get it back from my daughter).

(Note: I have not been paid for this review and have no association with the authors or the publisher.)

Squashes and Sweet Potatoes, Oh My!

Well, the harvest is complete and most of the veggies have been canned or frozen for the winter.  The pantry looks pretty good and we have lots of soups to savor when it’s cold and bitter outside!  But, we also have many pounds of winter squash and sweet potatoes strewn about on the floor (we don’t have a basement or root cellar to store them in).  I’ve already canned up lots of squash soup and I have many gallons of puree in the freezer.  Unfortunately, I really don’t know what else to do with these veggies other than pies.  I’ve found a few yummy recipes on the internet that I’ve already tried, but I would love to hear some of your favorites!  Can you help me build my file of recipes?  Feel free to leave it in the comments, or if you post it on your blog, be sure to leave a link.

While the mice are away, the cat will do stuff!

Okay, well only one mouse was away … Kaia went to her Nana’s house for a few days.  But even with the other little mousey around, this ended up being the weekend of getting stuff done!  Maybe it’s the energy of fall making me want to put my house in order.  Or maybe I’m just a glutton for punishment and try to do too much.  (Probably more of the later.)

Friday morning Leif and I headed out to a local farm and picked up a few bushels of apples and 5 gallons of apple cider.  The 5 gallons of cider went straight into the carboy (big glass jug) along with 2 pounds of honey and 2 packets of champagne yeast.  It now sits on our counter while it ferments into a yummy and sweet hard apple cider. Mmmm! (Note:  I let the cider come to room temperature before adding the yeast and honey.)

After that was taken care of, I went outside with Leif and Heidi and scraped a bunch of lichen off of branches that had fallen in the woods.
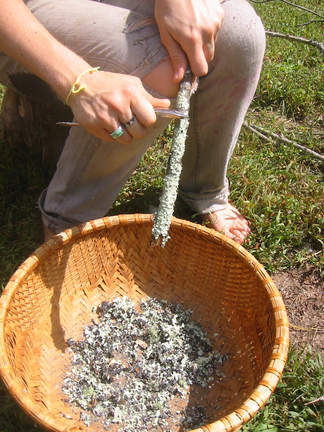
Why would I spend my time doing something so seemingly pointless, you ask?  Well, because when you boil this funny little plant, it creates a wonderful rusty brown color to dye fiber with.

I have two skeins of white alpaca/wool mix that I want to use to make this vest for Leif.  So, I thought I’d make it a more seasonal color first.  We soaked our fiber in hot water while bringing the Lichen to a boil (we ended up having about 4 cups of lichen and wrapped this in muslin cloth before putting it in about 2 gallons of water).
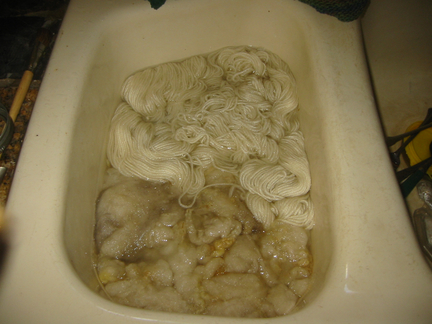
I had 2 skeins weighing about 7 ounces and Heidi had about an ounce of unspun wool.  The rule of thumb when using lichen is 2:1 lichen:wool.  We ended up using 4 cups (I don’t know the weight) of lichen to 8 ounces of wool.  If we had gone by weight I’m sure the color would have been stronger.

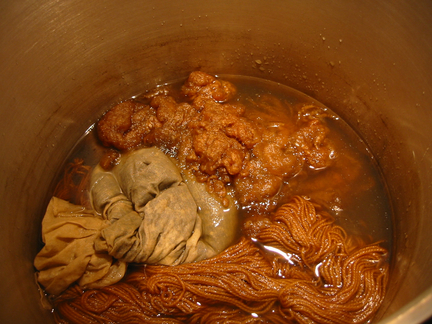
The lichen boiled for 30 minutes, then we turned it down to simmer for an hour and added 2 big pinches of salt (to help the dye set).  Then we tosses the fiber into the pot and let it simmer for a few hours.  Once the heat was turned off, it was left to sit overnight.
While all this stuff was boiling, I decided it was time to reorganize my art closet.  It had become a huge clutter … and I don’t like clutter.  So, once Leif was down for his nap, I dove in.  I even had enough boxes to organize our medicine section of the closet.  I know I didn’t include the before picture, but believe me, it looks much better!
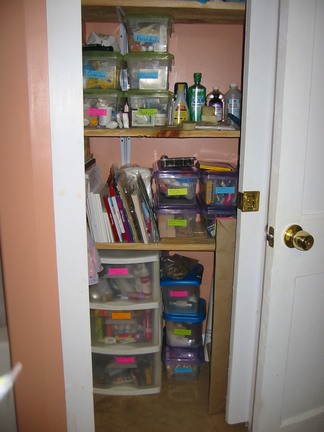
Leif was very helpful with my projects as long as I kept him supplied with crackers and apple cider (the non-alcoholic kind!)  He even let Suki clean up after him.

Saturday, I drained the fiber and rinsed it in warm water.  It came out a nice earthy brown color.
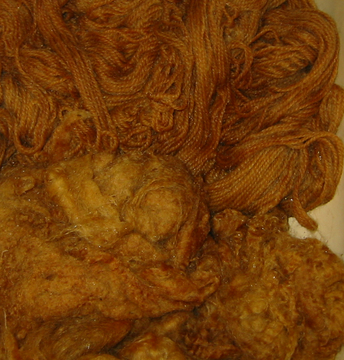
Heidi took her wool out, but I wanted a bit of yellow in there, too.  So, we decided to do a second dye with marigolds.  First we needed to boil the wool in Alum (Alum is used a lot in dying as a mordant, or a chemical that is added to the dye to make the color stay in the fiber).    We stirred 2 ounces of Alum into about 2 gallons of water.  (We were using ~10 ounces of fiber, my two skeins of yarn and Heidi added more undyed wool.  The general rule is 3 ounces of alum and 1 ounce of cream of tartar per one pound of wool, but Marigold doesn’t need cream of tartar.)   Then we tossed in the fiber and brought it to a simmer for one hour, stirring occasionally.
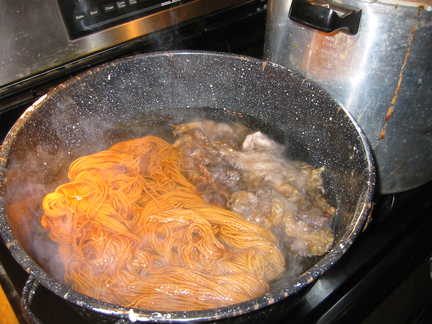
Once it had simmered, I tossed in a basket full of Marigolds

(yeah… so, I’m not so good a measuring out everything… but if you want to, the general rule when it’s not Lichen is 1 pound of plant/dye material per one pound of fiber) and let it simmer for a few hours, until I got the color I wanted.
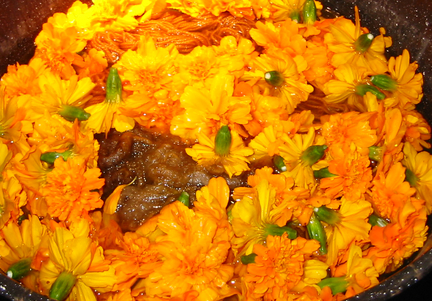
Of course, doing all this wasn’t enough for me (I really do like projects!)… I had to cook and can 8 quarts of Emeril Lagasse’s Potato Leek soup, too! (Can you say YUMM?) (edited to add: the dairy was left out of this recipe for canning.  I add it when it is being reheated for a meal.)
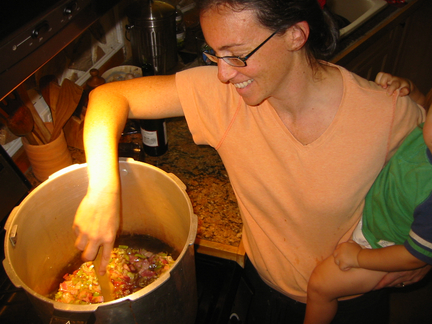
All the while, the fermenting cider bubbled along…

Sunday I rinsed and dried my yarn.  It came out perfectly!  Just the color I had envisioned in my mind.  I think it looks like pumpkin pie.  It will make a lovely ‘little man vest”!

Lichen-Marigold Yarn

With that out of the way, it was time to tackle some of those apples.  So, I peeled and sliced up a bunch and tossed them in a pot to make cinnamon apple sauce (17 pints), apple pie filling (6 quarts) and dehydrated apples.  And I still have about a bushel of apples left!  Shesh!  Got any good apple recipes?

Taste testing apple sauce

I think I’m going to go put my feet up!

Fall Bonfire and Chocolate Awesomeness!

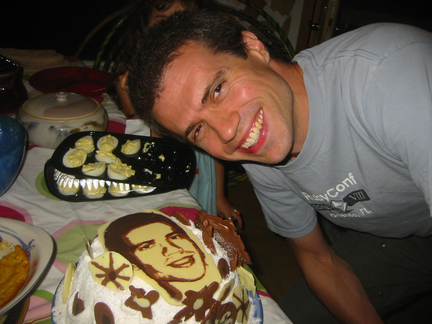
Every year around this time we have a bonfire to celebrate the coming of Fall and Toby’s B-day. But this year, we are also celebrating Kaia’s speedy recovery from the snake bite, and Toby’s new job! We have a lot to be thankful for.

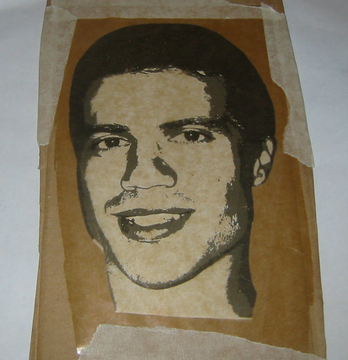
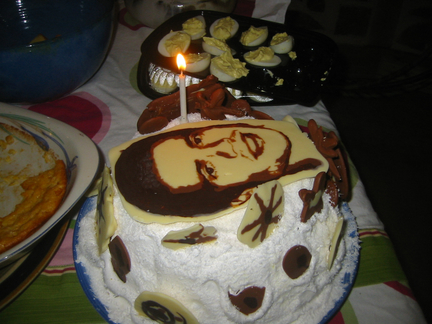
When I saw this post a few months ago on painting with chocolate, I knew I had to do it as a topper for Toby’s B-day cake!! I can’t believe how simple it was and how freaking awesome it turned out!!

I found a good picture and altered it according to the video in the post above. Then taped the picture to cardboard and covered it with wax paper and taped that down too.

The Original Picture Under Wax Paper

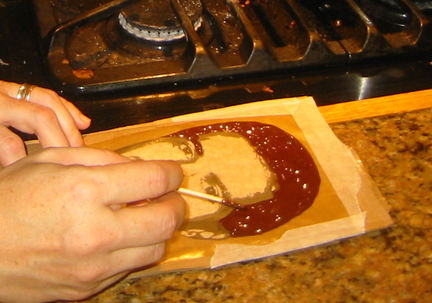
I put the dark chocolate in a plastic ziploc bag and melted it in hot water. Then I filled in the larger areas of the darkest parts of the picture. Here you see me using a tooth pick to add chocolate to the detailed areas.


Dark Chocolate Details

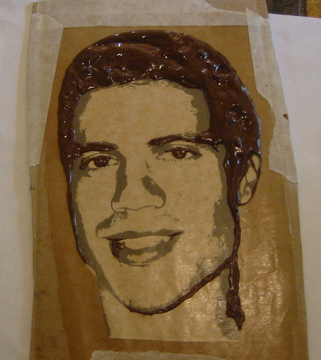
This is the final picture of the dark chocolate before I put it in the fridge to harden.

Dark Chocolate Layer

I mixed the dark chocolate with white (lots of white, only a little dark) to get a nice brown color and filled in the shadowed parts of the picture.

Light Brown Chocolate Layer

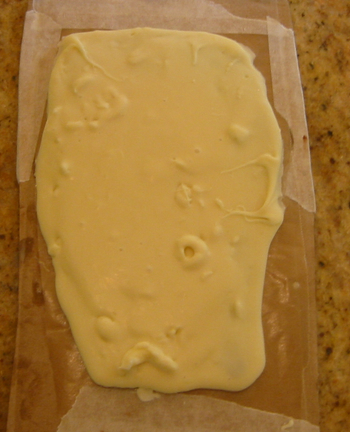
Then, after cooling it again, I used the white to cover everything with a nice thick layer, and returned it to the fridge.

White Layer

Once it had time to harden I took it out and flipped it over to reveal his chocolate handsomeness!!

Final Freakin' Awesomeness!

Kaia also took her turn making flowers and designs to decorate the cake.

Kaia's Side Decorations in Chocolate

Toby loved it! It now sits in the freezer so that it’s staring at you when you open the freezer door! Don’t know if we will ever eat it. 🙂

This morning we celebrated his real birthday with breakfast in bed and a hike.  Happy Birthday Sweet Stuff!

July Harvest

  • 365 eggs
  • plums
  • peaches
  • tomatoes
  • green beans
  • eggplant
  • cucumber
  • squash (yellow and zucchini)
  • mint
  • black berries
  • red raspberries
  • blue berries

And I put up 5 quarts of ‘mock’ apple pie filling, 5 pints of cucumber relish and 4 quarts of green beans.  My counter tops are covered with squash and cukes!  I need to do more processing!!  We are eating squash burgers, squash casserole, squash waffles, and squash muffins!  Got any good squash and cuke recipes???

Also, sorry posts have been so sporadic.  I’m trying not to spend so much time at the computer!  We are cleaning house, cleaning the yard, getting rid of things that aren’t needed, trying to simplify.  See, Toby recently left his job and has been looking for work (work that would also include benefits and a good salary and possibly working with others!)  But, for the last 2 months, we thought that meant we were going to have to move!   AND I’ve moved 14 times in the last 18 years!!  I am SOOOOO ready to be settled.  So of course, at first, we were not excited about the idea of moving.  Yet, I’ve thought this was my dream life for so long, and now that I have it, I’m resenting it.  I look at my friends who get to play on the weekends or relax when they are done work and I just wish I could have some time off.  We are always tending to something here… animals, buildings, land, gardens… People are always saying to me “I have no idea how you do everything that you do.”  I guess that should be my first clue that I’m doing too much.  Now we need to look at all we do and figure out what truly brings us joy and drop the rest of it.  Really, when we built our homestead, we went about it wrong.  We built so many structures and have half-assed our landscaping.  Now it all needs to be tended and that’s not what I want to do.  I realize that, as we settle in here and the kids get older, the stress load on us will lighten.  But the idea of moving almost seemed like an ‘out’.  We could start over and try to do it better.

BUT!  Don’t worry folks!  In the midst of interviews as close as Raleigh (3 hours away) and as far away as Hawaii, Toby was approached by a friend who may (prospects are good!!) have an opening for Toby that would have benefits, a good salary, let him work with his friend, and allow us to stay where we are!  I have to say, even though we were getting excited about getting a place in the city with no yard, we are relieved now that we won’t be moving!  But all of this has started us seriously paring down what is not needed in our lives, fixing up the yard and house to make it closer to what we want and require less tending…. and it feels good!!!  Today we moved a pile of wood and another pile of rocks, started planning out our patio and retaining wall, cleaned out closets, the fridge, and my apothecary, rearranged dining and living room furniture… Tomorrow we will tackle Kaia’s room!!  (That may take all day 🙂

June Harvest

As a part of my plan to try to simplify things in my life, I am no longer weighing out all of my harvest…. Though the anal side of me really wants to know exactly how many pounds of summer squash I picked, and how many ounces of herbs, it’s just not a priority.  So, I’ve let it go.  I did, however, write down what I’ve harvested this month.

June Harvest

  • Lettuce (now bolting)
  • Basil
  • Parsley
  • Edible Flowers
  • Garlic
  • Onions
  • Berries (Blue, Black Raspberry, and Red Raspberry)
  • Peas
  • Summer Squashes
  • Nectarines
  • 336 eggs

I also put up 11 quarts of Kale Soup  (and we still have stuff in the pantry from last year!  YAY!)

What have you harvested?

Re-evaluating

We’ve had a great spring here on our land.  Things have felt really productive.  But, I have to tell you, we are beat!  I wake up in the morning, jump out of bed and get going.  Laundry, taking care of the animals, garden care, kitchen clean up, etc. all comes before breakfast.  Most nights I spend preparing for Kaia’s schooling, sewing, cleaning, or researching one thing or another on the internet.  Weekends we do chores around the land (and we usually don’t get done with our list of ‘to do’s).  I’m not complaining.  I’m simply stating how things are right now.  But I’m starting to feel resentful that we have very little down time, fun time, or time to play with the kids.  We have been working towards this life and lifestyle for years.  We now have our own land (25 acres!), our own house (built with our own hands and very earth friendly), we have chickens and gardens and orchards and bees and cottages.  And each of those things requires upkeep.  Well… we are tired!  We are re-evaluating this life style.  We want to live more gently, but this is definitely not more simple.  We don’t have time or energy for those bonfires and potlucks with friends that we wanted.  We have little time for travel and very little time to relax and read.  Having Heidi here helps tremendously, but she has been gone for much of 2010, and we won’t always have her here.  So, we are taking a look at our life and trying to decide what things we truly desire in it, and trying to figure out how to have those things and keep a simple and earth friendly life.  There may be some changes in store…. we’ll see.

Toby's new shirt

garlic and onion harvest

veggie gardens

more veggie gardens

Kaia got some goggles for swimming… Leif stole them!

Yes, the goggles work more effectively if you stick your tongue out.

Weekend projects

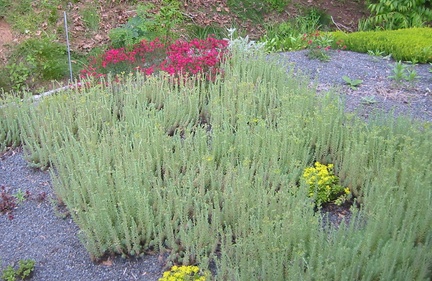
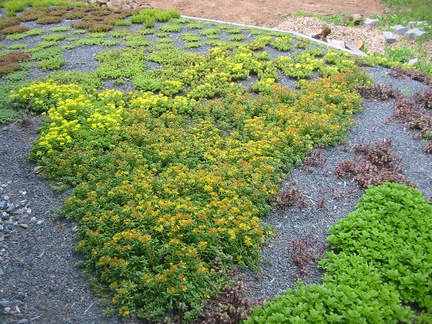
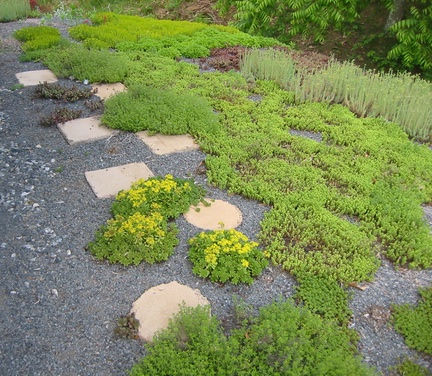
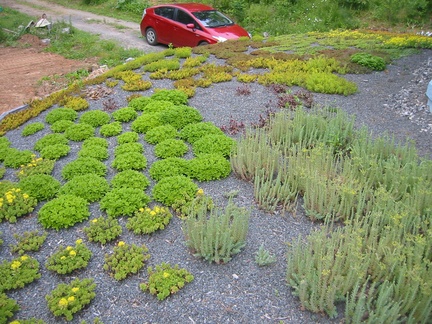
The 2 year old roof.

Spots are filling in pretty well.  I think I’ll give it one more year and then plant a few more things if needed.

I absolutely love all the color on the roof right now.  It’s like a patchwork quilt!

And the yard is coming along, too.  After 2 years of having huge piles of dirt and rubble in the yard, we finally had it leveled.  Now I have the perfect spot for my berry garden!!!  Yum Yummy!!

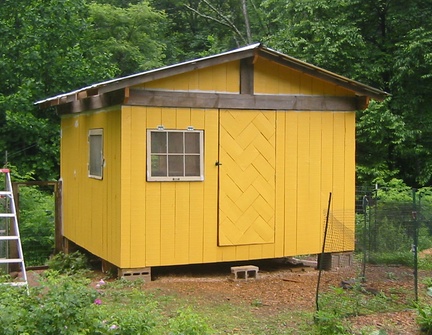
We also put up a bear fence for the beehives that are coming this week.  I finally painted the chicken coop… I just need to trim it in yellow and put some color on the windows… green or blue maybe?

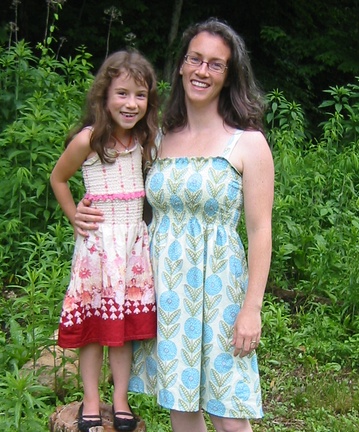
I also made myself a Medicino sundress.  I love this pattern!  It’s so simple and such a cute dress!  Kaia wanted to pose in her dress with me.

Kaia has one more week of ‘official’ school left.  We will continue with math and reading through the summer, and add in whatever else she is interested in.  We are definitely going to do a few lessons on Greek Mythology!

A new dress

I love, love, love this fabric and how Kaia’s new dress turned out!  It’s a really simple pattern by Heather Ross, and it was also my first time working with elastic thread (fun!).  The pattern is actually for adults so I altered it for Kaia.  Isn’t it sweet!  I’m definitely going to be making more, for her and me!

The first pose was my idea.  Kaia then decided she wanted to do something a little more sweet and innocent:

Sensory Doll

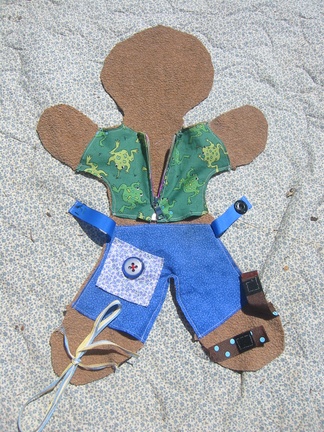
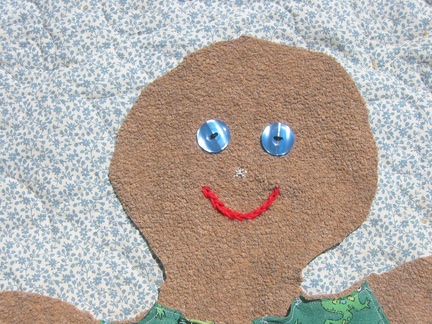
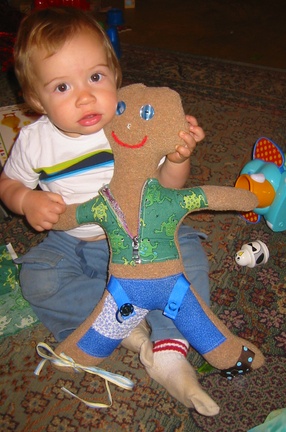
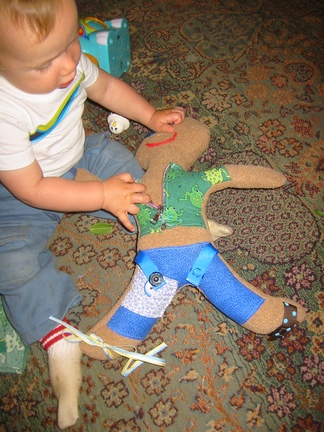
I’ve been wanting to make Leif this doll for a while now.  He’s so into taking things apart, pushing buttons, pulling levers…. I thought he’d enjoy it.  It was a lot of fun to make!

If you want to make one for your favorite little explorer you’ll need:

  • fabric for the body (I used an old sweater that was given to me… it has a great texture and reminds me of a teddy bear)
  • Contrasting fabric scraps for the shirt, shorts and pocket
  • buttons, string, or whatever you would like to create the face
  • 5″ zipper (with a large zip for little fingers)
  • 10″ ribbon for the belt
  • easy-open snap for belt
  • large, bright button for the pocket
  • 6″ ribbon for foot strap
  • velcro for foot strap
  • ~2 feet of string/shoelace for the other foot
  • bells
  • crinkly paper
  • small beans (~1 cup)
  • stuffing

(Here’s something major!!  If your little one is still into putting things in his mouth, you may want to hold off on this doll since there are so many buttons and choking hazards!)

First cut out your pattern (download it here.… don’t let your printer ‘scale it to fit page’.  You want it at 100%.  And some of it is drawn really close to the edge of the page, so just be sure to compare what’s on your computer to what printed out… sorry about that!  It’s very hand made!)  You should have these pieces:

You will need to tape the four piece for the body together before cutting it out.  Lay down #1 first, then #2 on top, and so on…

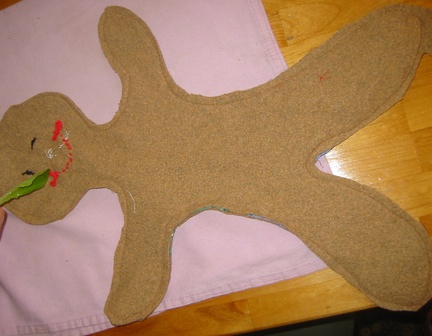
Iron your fabric.  Then, using the pattern, cut out your fabric.  You will need two body pieces.  I only put clothes on the front, but you could cut a second set of clothes and dress the back if you want.

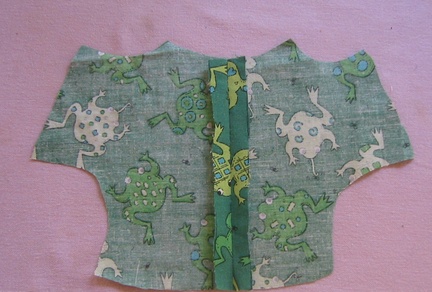
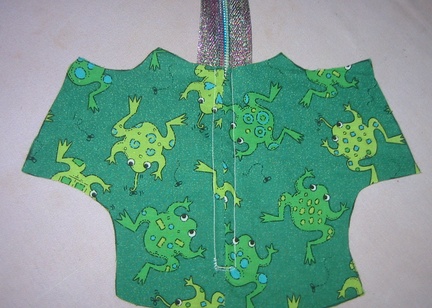
Put the right sides of the shirt pieces together and sew 1/2″ seam.  I used a baste stitch for all but the last 1″ closest to the waist.  That was a regular stitch.  Then unfold the fabric and press the seam open.

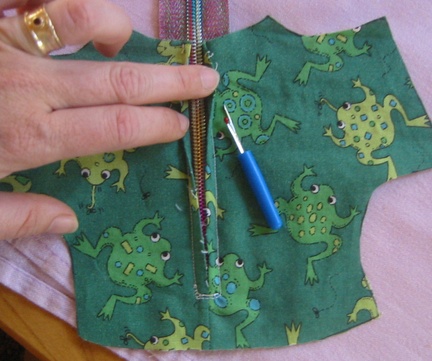
Sew the zipper to the wrong side

Then rip all but the last 1″ of seam.

Trim the excess zipper.  Fold the zipper and neck seam and sew 1/4″ seam.  Sew 1/4″ seams at the arm holes and waist.  Then sew a 1/4″ seam at the pants waist and leg holes also.  Sew 1/4″ seam all the way around the pocket, and measure and make your button hole.  Measure out where you want the button to go so that it will match up to the button hole on the pocket, and sew the button to the pants.  Then, sew the pocket to the pants so that the button matches up.  (was that too much???  Does that all make sense?)

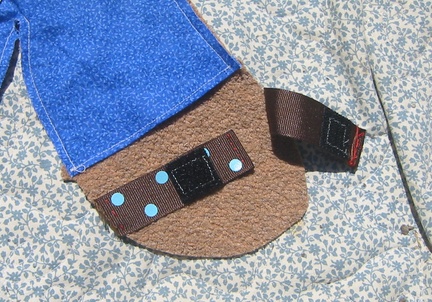
Pin the pants and belt straps to the body front (matching the waist and leg corners to the triangle tabs on the body).  Sew 1/4″ seam on the sides of the legs, leaving the wast and leg holes open.

Measure out where you would like the snap to go on the belt.  Trim the excess belt (leaving 1/2″ or so extra so you can sew a seam on each end)

Sew belt end seams and sew on snap.

Place ribbon on foot (either one) and sew them onto the edge of the leg.  Then attach and sew the velcro (making sure that the upper and lower pieces meet up then the strap closes).

On the other foot, sew a piece of shoe lace to the edge of each foot.  Make sure the pieces are long enough to tie into a bow.

Sew on a face.

Place the right sides of the body together.  Pin and sew the body front and back, (with a 1/2″ seam) leaving a large enough hole to turn the doll inside out.  Trim off excess fabric.

Yes… Toby is feeding the doll some salad!

Turn it right side out.  I put little beans (about 1/2 cup each) into the feet for texture, followed by stuffing.  Then I placed ~4 bells into one arm, and crinkly paper into the other, followed again by stuffing, so that nothing moved around.  Then stuff the rest of the body.  The sweater material I used was nice and stretchy.  I love the way the finished doll looks like he’s wearing clothes 3 sizes too small!

Hand stitch the hole closed and give him a proper name!  You can certainly give him hair, or a hat… I like our man bald!

Then pass him on to your favorite little one!

Kaia said he looked like a hippie.  I couldn’t really see what she meant.  She said “you know… the tight clothes he’s wearing”.  I said, “I don’t get it”.  She said “you know… a Hippie... those people who walk like this… ” and she proceeds to saunter in a sultry way through the living room.  This went on for most of the afternoon with me trying to figure out how this doll looks like a hippie.  Then, as we were sitting outside playing, she said, “OH WAIT!!  I MEAN A HOTTIE!“  I bust out laughing!!  I have made Leif a pimped out Hottie doll for him to dress and undress! Great!!

Passing on the tradition

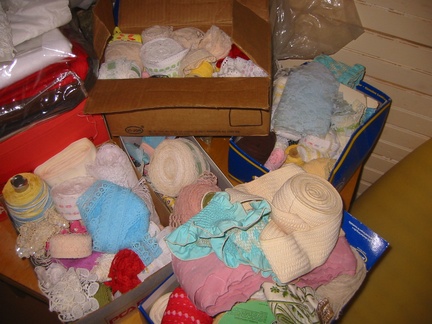
Last week, my father-in-law passed on boxes of sewing goodies from his mother’s stash (so, that would be Kaia and Leif’s great-grandmother)! She was an avid seamstress and had some fabulous stuff! Look at this:
There were 4 boxes of lace like this!
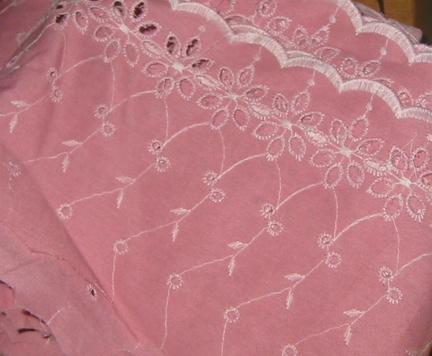
This is just begging to be the hem of a frilly dress or skirt!!

Look at this lovely lace!

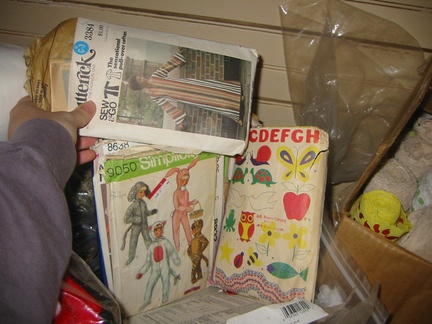
And there are all kinds of patterns!  Some obviously from the 70’s.

Kaia and I are going to use some of this to make some Greek goddess outfits when we study Mythology this summer.

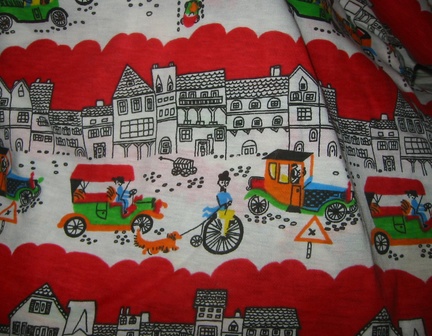
And there was a nice chunk of this fantastic fabric!!  I’ve already made Leif a pair of pants (I call them his Party Pants) and might make a skirt for myself.

Here’s what happens when you wear your party pants to sleep!  Not a good idea to party when you are sleeping.