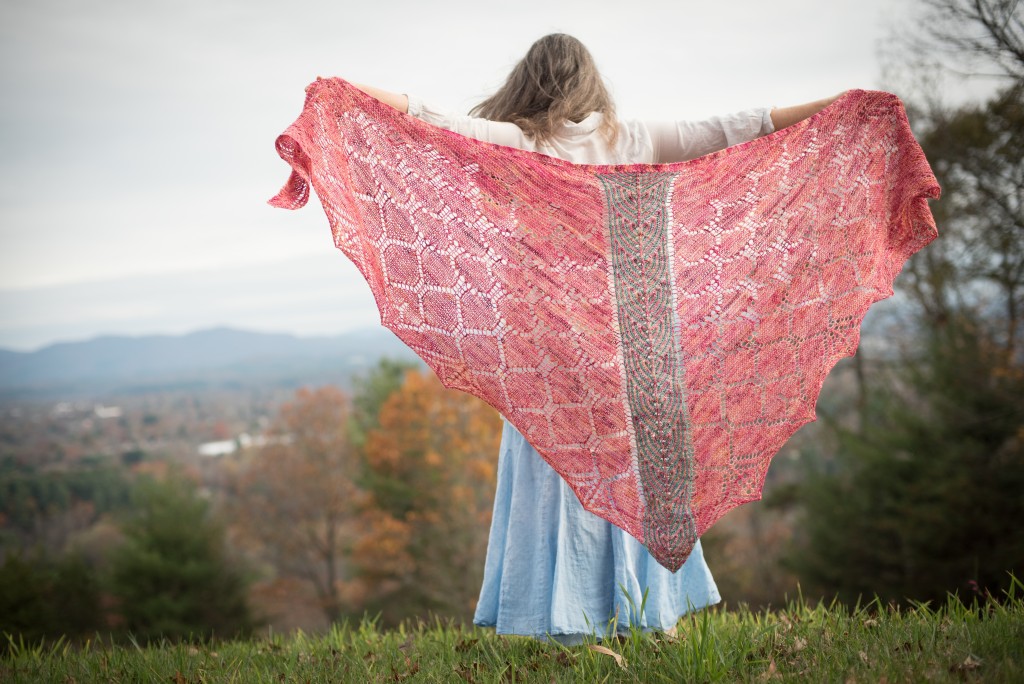
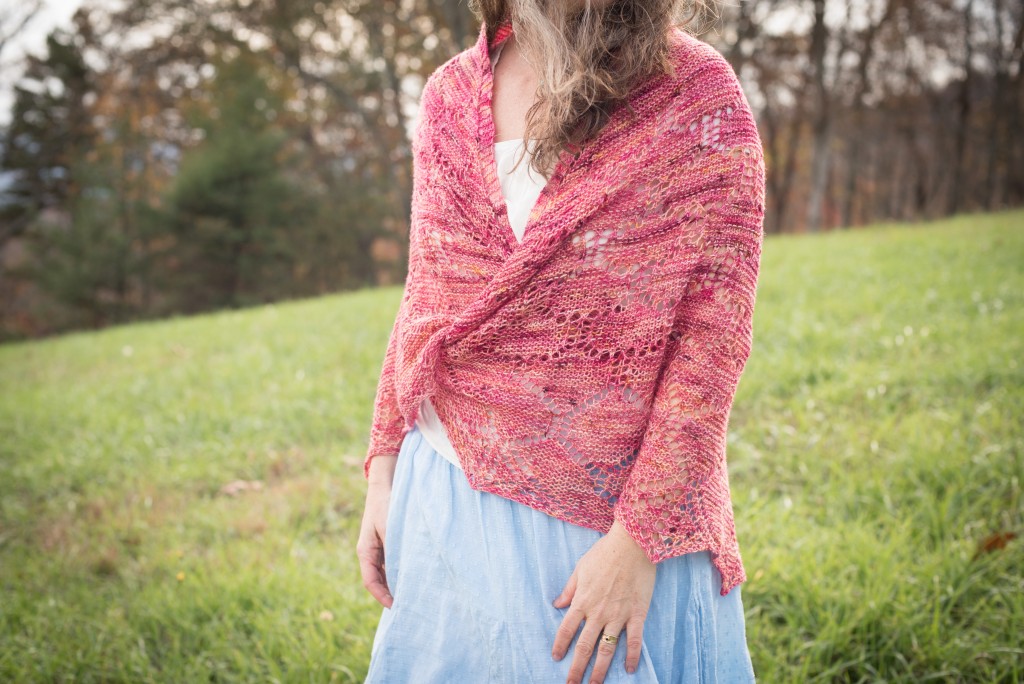
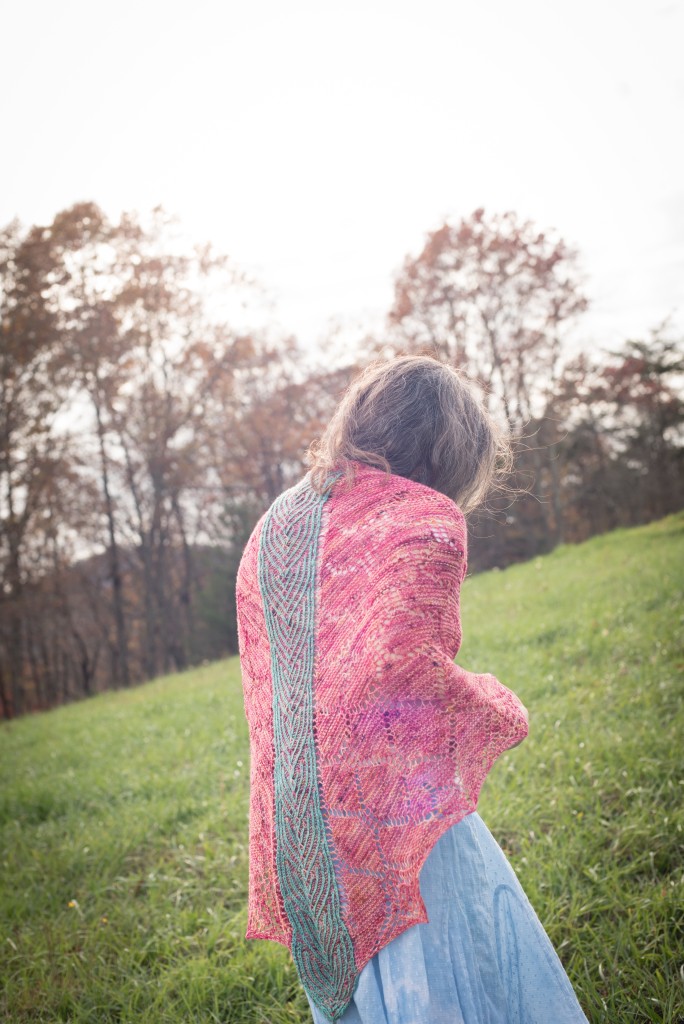
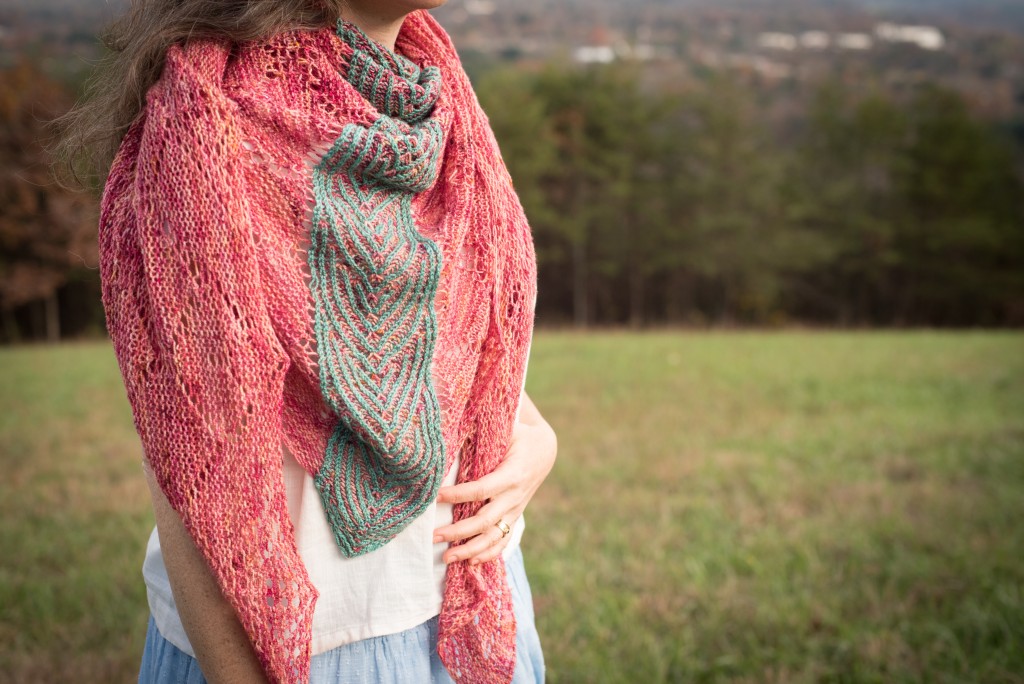
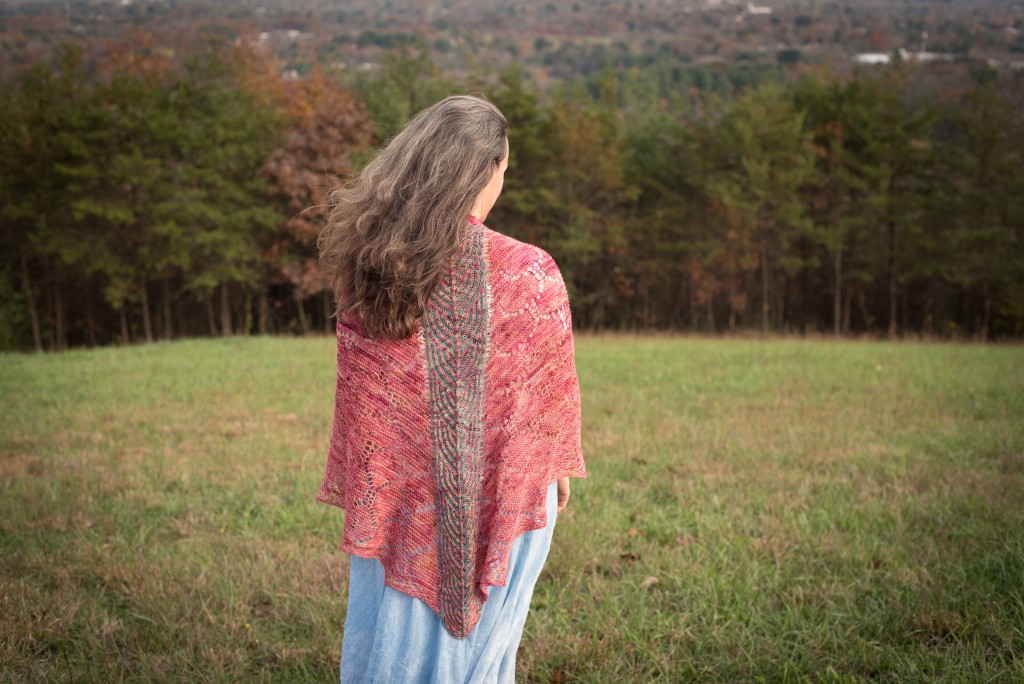
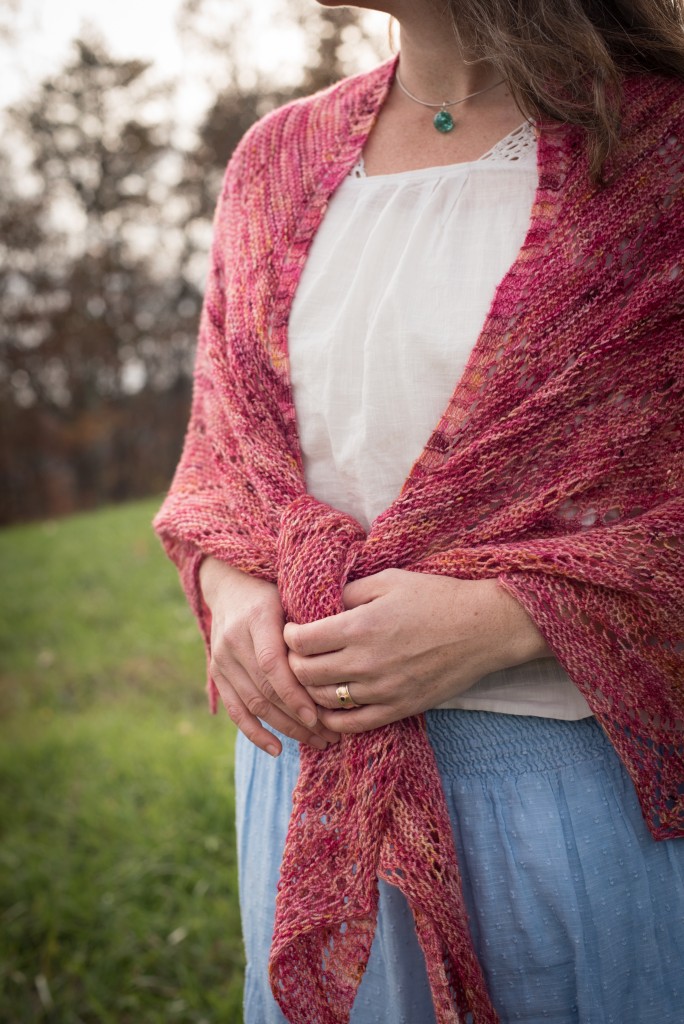
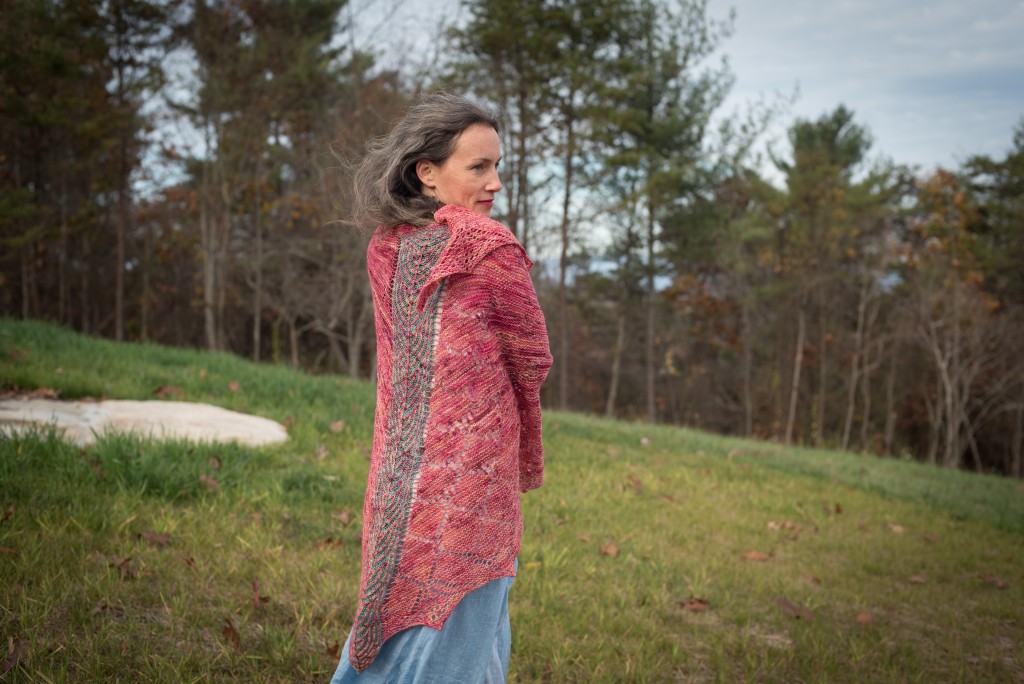
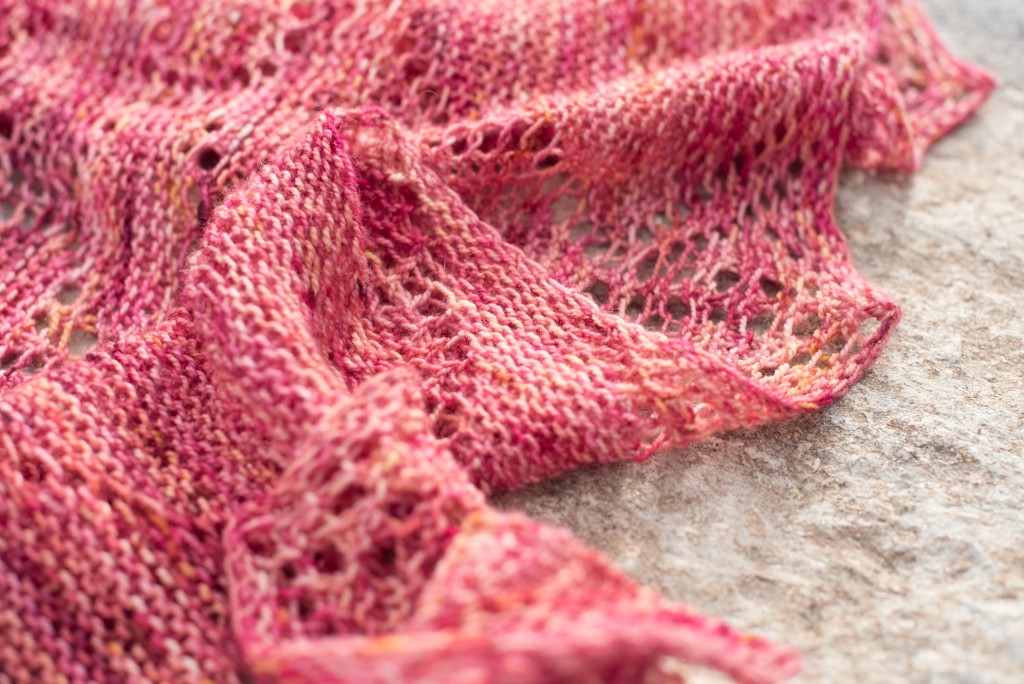
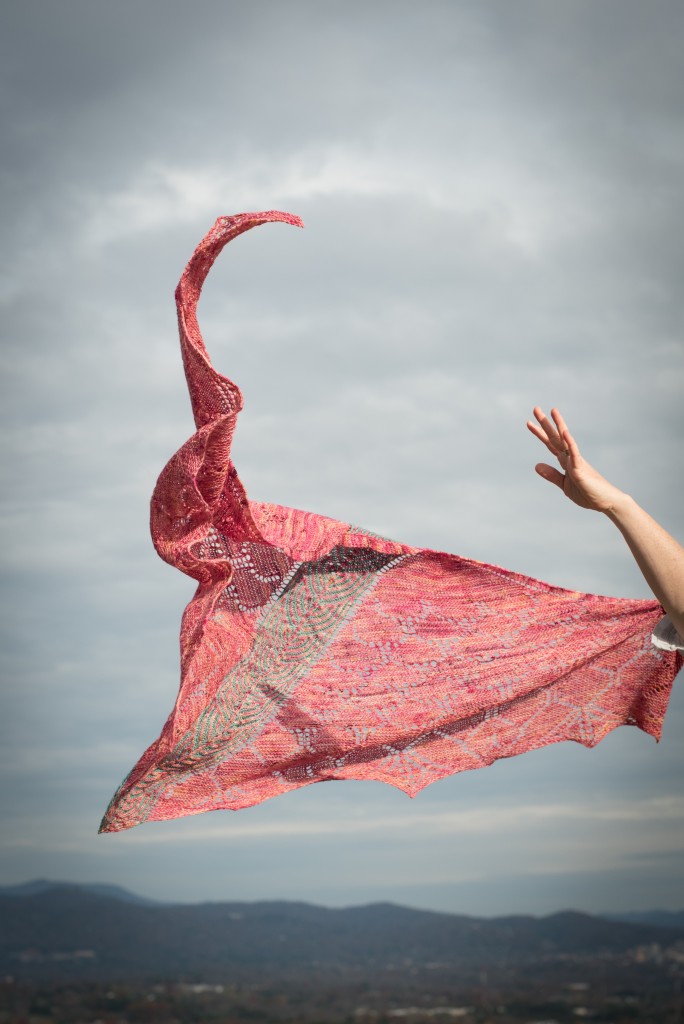
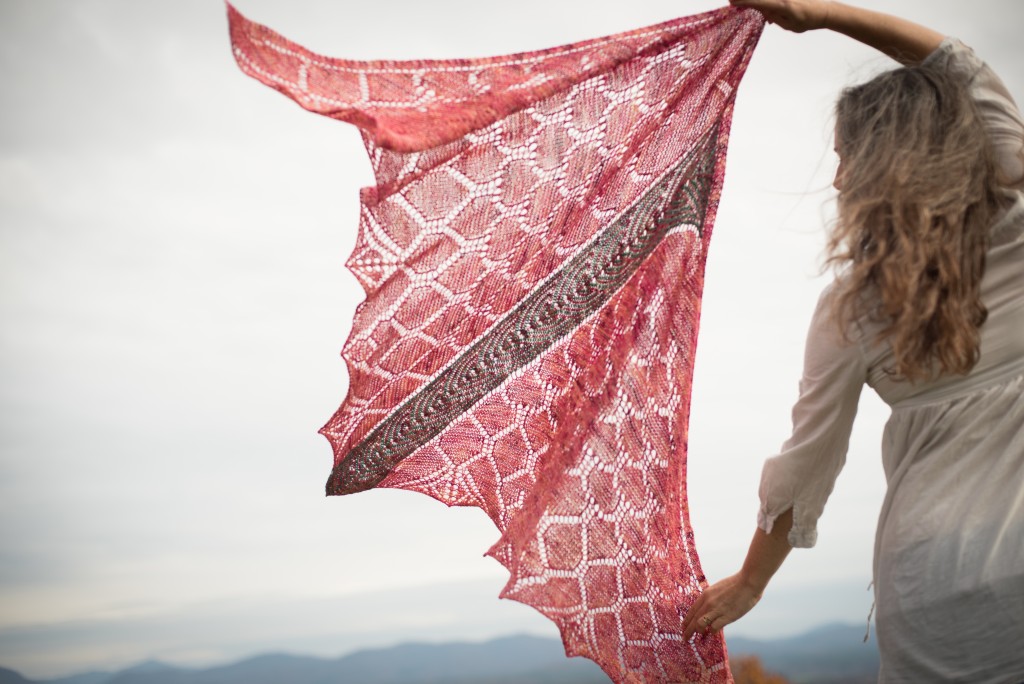
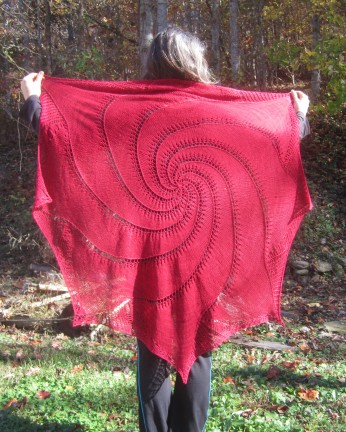
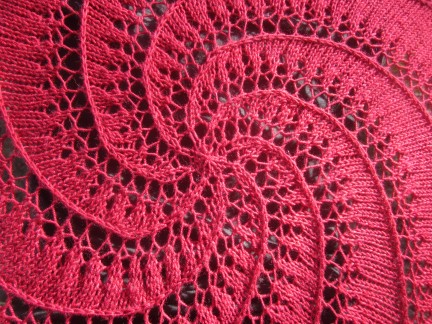
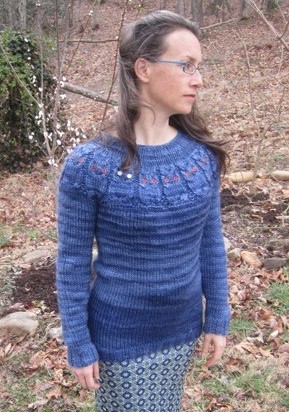
Hello there!  I realize that my posts here are coming very infrequently in the past few years.  It’s been almost 12 years (!!) since I began this little blog and life has become busy in many other ways and my energies are going elsewhere.  I’m using Instagram as one of my ‘blogging’ outlets more often now, and you can find me there as Ninja.Chickens as well as on my new website where I also podcast: Ninja Chickens. In the mean time, I wanted to leave you with a sneak peak at my new Shawl Design.  It is called Drekin and is a Faroese style shawl with lace and brioche.  I spent almost 4 months dreaming, designing, and editing.  I am so excited about this.  It will be coming out on January 1st on Ravelry and in my etsy store.
Category Archives: Knitting
Dyeing with Fresh Indigo
 The dye garden is doing fabulously this year!  The Hopi sunflowers are over 10 feet tall, the madder is prolific, and the indigo is lush.  Our indigo (Dyer’s Knotweed or Polygonum tinctorium) grows very well in the North Carolina mountains and this week was indigo harvest time!
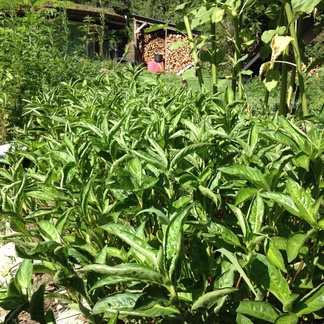
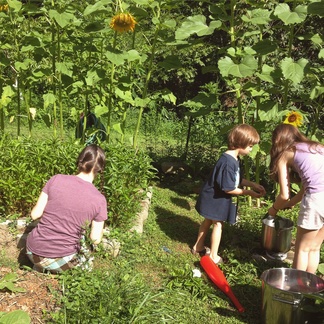
Nikki (my Fern Fiber partner in crime), my kids, and I worked quickly to cut the stems above the 3rd or 4th node and strip the leaves off.  (Cutting the stem here lets the indigo grow back for a second harvest in the fall!)  The leaves were weighed and then added to some cold water.  We were hoping to get 4 pounds of leaves to dye 2 pounds of yarn.  But, we ended up with only 3 pounds.
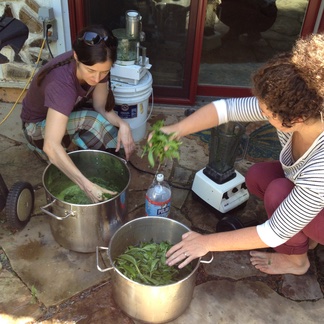
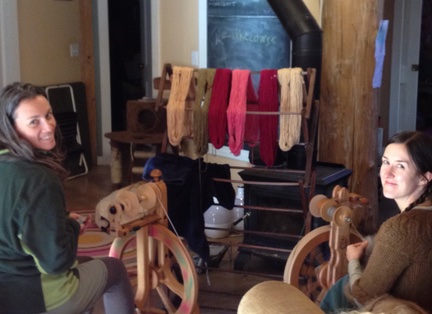
We were joined by our friend, Sarah, as we began chopping up the leaves in the blender with more cold water and blending them to a pulp.
We stirred in 3/4 cup white vinegar. Â This is supposed to help pull out the pigment and keep it from breaking down too quickly. Â We let this sit for 30 minutes.
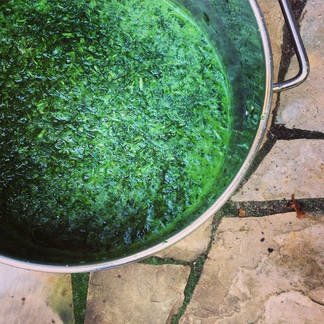
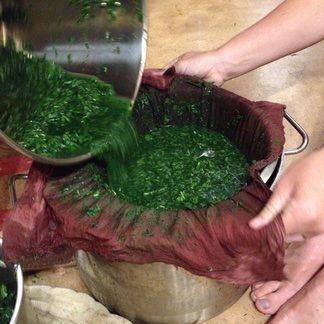
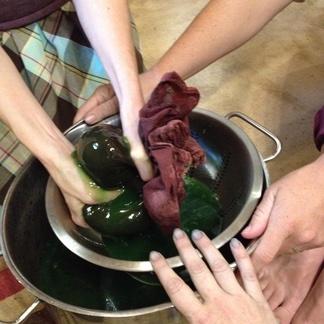
Then we strained it through muslin cloth and put the strained liquid to the side in my super large dye pot while we soaked the plant matter a second time in more cold water and let it sit for another 30 minutes.
Once the second batch was strained, all the liquid went into the big pot…
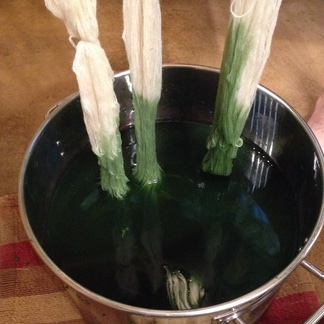
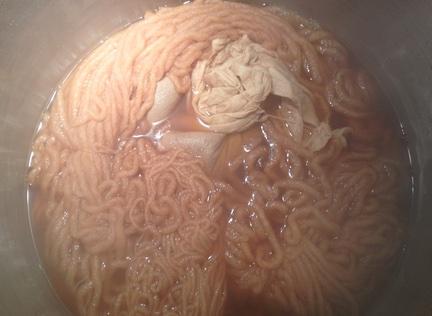
and the yarn was added. Â (This is organic merino wool that we soaked overnight in water.)
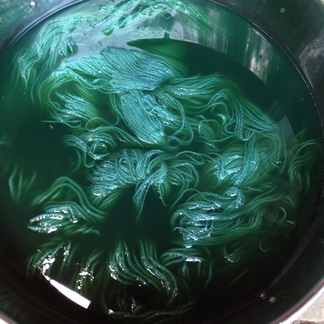
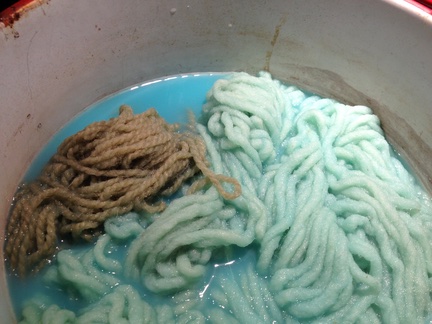
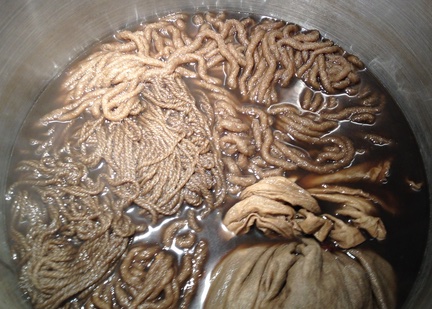
After one hour of soaking, you can see the color of the bath and yarn had become more blue.
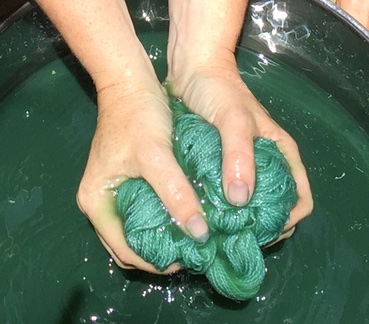
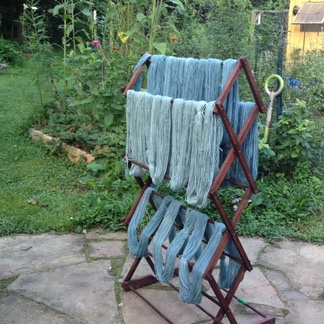
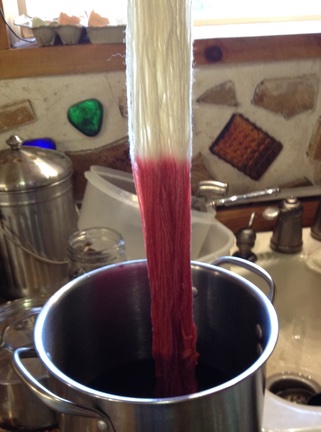
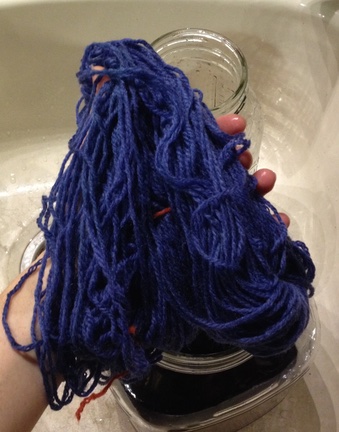
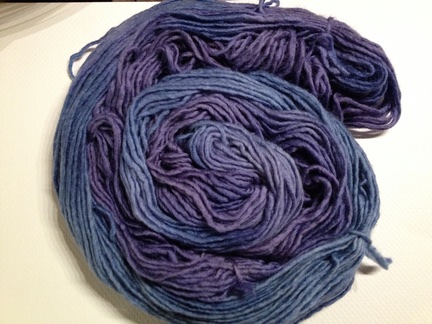
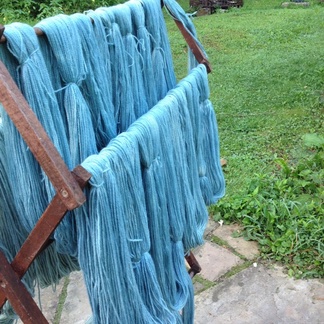
We gently squeezed the yarn out and hung it up to dry. Â Within seconds, you could see the air oxidizing the pigment and changing it to blue!
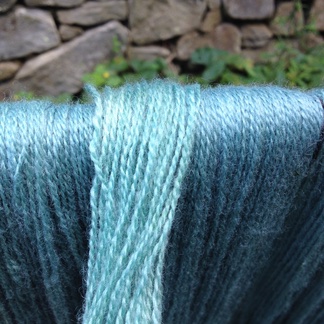
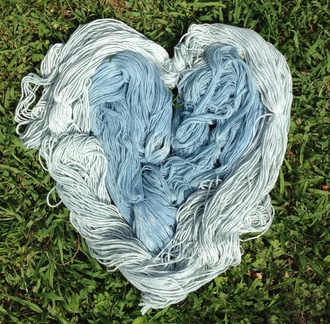
The lighter blue on top was just out of the dye bath. Â The darker had been out in the air for a few minutes. Â Look at the difference from the picture above, too!
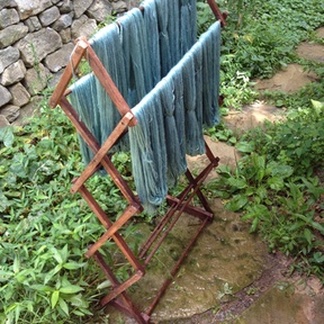
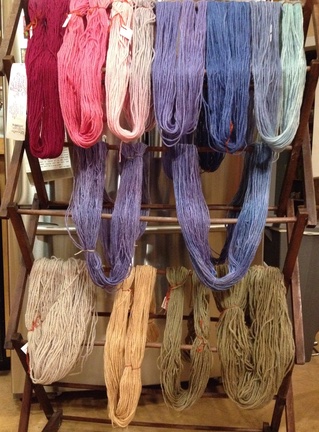
Drying in the shade, you can still see all of the color dripping onto the rock below!
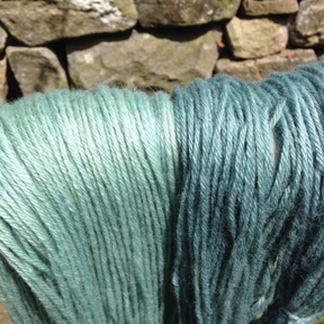
We had been worried that we wouldn’t get enough color for the amount of yarn we wanted to dye. Â I’d read that you should have 2 times the amount of plant material and we only had 1.5. Â Despite this, there was still so much color left in the dye bath, we decided to add more yarn (another full pound that we’d had soaked and ready… just in case). Â This sat in the dye for another hour. Â The yarn on the left was from the second batch. Â Only slightly lighter, but still super gorgeous!
 There was still so much color in the dye bath, but no more yarn to toss in there. Â I decided to put the strained indigo plant material back in the bath to see if I could ferment it a bit to pull more color out. Â I’ll let keep you posted on those results!
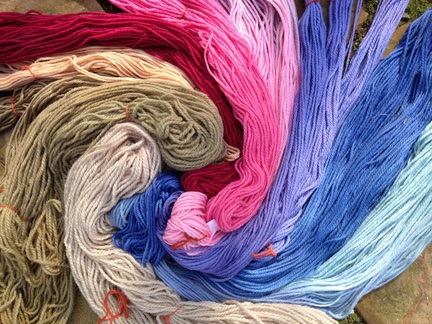
The yarns cure/dry for at least 2 days before they are washed.  Once the are dried again and reskeined, we’ll put them in our Fern Fiber naturally dyed yarn store (well, not all of them.  Sometimes us dyers take our payment in skeins of yarn!! 🙂 )
PS. I know I haven’t been posting nearly as much on my blog, but I do have a pretty active Instagram account.  If you’d like to follow my homesteading, homeschooling, and fiber frenzy, you can also find me at @ninja.chickens and our Fern Fiber naturally dyed yarns can be followed at @fernfiber.
Natural Dyeing
I am having so much fun experimenting with natural dyes these days.  Every time I see a bright flower, or a colorful tree, I think, “Oooooh, I wonder what color dye that would make?”  This weekend, I got together with Nikki of Woolen Violet, my fiber partner in crime, and we trashed the kitchen! 🙂
Let me back up a sec. Â Before we could begin our dyeing, some prep needed to happen. Â We planned to try out black beans, cocoa bean chaff, cochineal (actually a bug!), and two woods: Indian Rosewood and Purple Heartwood. Â Some of these things needed time to soak, so I started the prep a few days ahead of time.
On Wednesday, I chipped up the wood into small pieces. Â I’m very thankful for the help of my hubby as both Rosewood and Purple Heart are very hard! Â I put the wood into separate pots and filled them about 3/4 full with water (I used our tap water, which is well water with a pH of about 7). Â The water was simmered for 1 hour, then taken off the stove and left to sit until dye day.
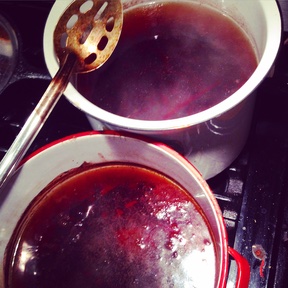 The top pot is the Purple Heartwood the bottom is Rosewood. Â Both woods put out a good bit of oil, but once the dye bath cooled down it was easily skimmed off of the top.
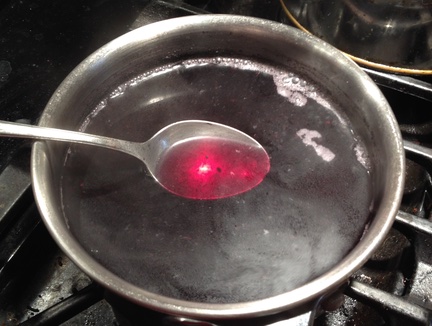
On Thursday, I began my cochineal extract. Â I put 1/2 oz. of cochineal in a sauce pan and covered it with 3 inches of water. Â I brought this to a simmer and let it bubble lightly for 30 minutes. Â Then, I strained the cochineal through a muslin cloth and put the dye water to the side. Â I placed the cochineal back in the sauce pot, covered it with 3 inches of water and repeated this process a total of 4 times, always reserving the dye water. Â This would be the dye bath.
The morning before our crafty date, I put the black beans to soak in a large pot of water, stirring them often. Â (Cover them with lots of water, because they expand!) Â And I pre-mordanted my yarn. Â Mordants are a very important step in dyeing as they help the dye bond to your fiber. Â We used Alum (15% per weight of fiber) and Cream of Tartar (6% per weight of fiber). Â The mordants were dissolved in water and simmered, along with our fiber, for 1 hour. Â I left my yarn in the mordant bath overnight.
First thing on dye party morning, I gave the beans one last stir. Â You want to let them sit for a few hours before you use the dye water so that all of the bean matter settles to the bottom.
When Nikki and family arrived, she and I bounced around like giddy little kids in a candy shop!! Â There were ‘ooooooo’s and ‘aaahhhhhhh’s all day long as we watched colors change and chemical reactions happen.
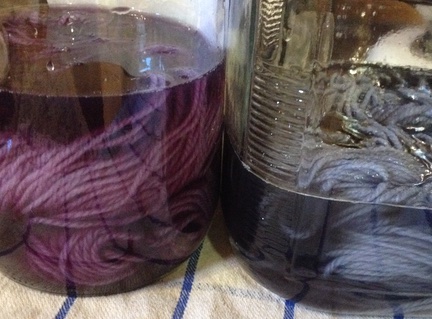
We started by scooping off some of the black bean dye and pouring it in mason jars along with our pre-mordanted yarn (Quick note: we used 100% wool for all of our dyeing). Â The jar on the left is straight black bean. Â The one on the right has a small amount of baking soda added (changing the pH).
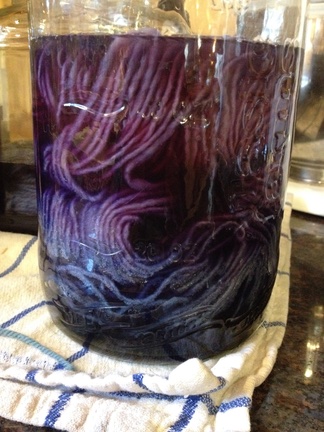
This one has more baking soda on the bottom and the plain bean dye bath gently poured on top…
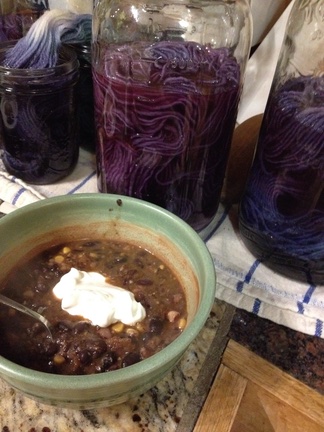
This skein has black bean, vinegar, baking soda, and copper on the left and bean, baking soda and copper on the right (I meant to put just vinegar on the left but flubbed it up).
And what our sweet hubbies made for us while we were slaving away in the kitchen…. some delicious black bean soup from the beans we soaked for the dye bath.!!
Dyeing with black beans is a cold process. Â Adding heat will change the color (to brown, I hear). Â So, you put the fiber in your black bean dye and let it sit over night before rinsing and drying it.
Next we moved on to our woods. Â We were very surprised when we put the yarn in the pots that the vibrant colors produced pale brown yarn. Â Both the rosewood and the purple heartwood. Â So undramatic was the change that I didn’t even take a picture. Â We were waiting for more color to come out as it simmered (for one hour). Â Not much happened. Â We decided to do some experimenting and pulled out some of the dye bath in small cups. Â We added baking soda to one, vinegar to another and baking soda and copper to a third. Â The Rosewood turned sky blue with baking soda and copper. Â Crazy Blue! Â So, we tossed some of this in our main dye bath to see what we could get with our yarns. Â It ended up being kind of a weak coffee brown. Â Not a bad color, but not the blue we had hoped for.
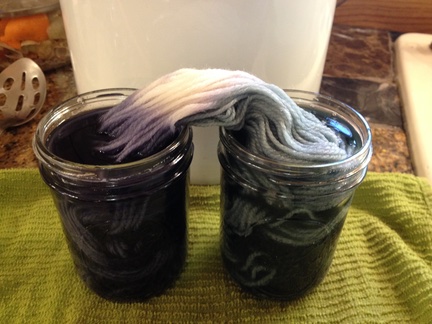
The skein on the left was the Rosewood. Â The one on the right was a white skein that was tossed in to see if it would pick up some blue. Â Once it was rinsed it was fairly pale in color.
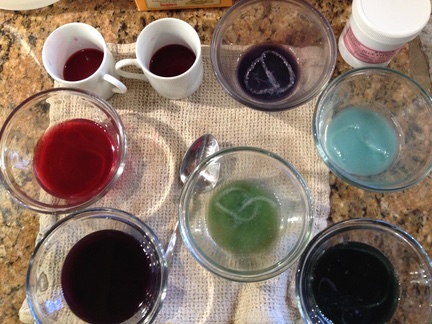
Here are some of our sample experiments. Â We’d pull dye bath out and add things to them just to see what colors we might be able to get in the main bath.
I’ve read that the Purple Heartwood actually turns more purple when exposed to the sun’s UV rays. Â So, maybe on a hot summer day I’ll stick the yarn outside and see if there is any color change. Â From laying it out today in our cold winter sun, it did seem to get a bit of a purple tone to it, but definitely nothing dramatic.
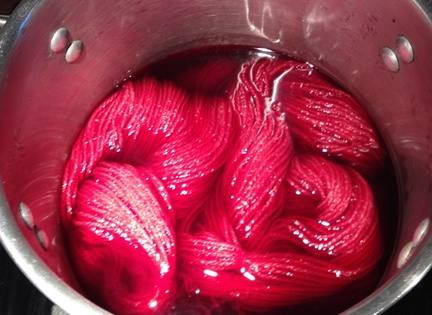
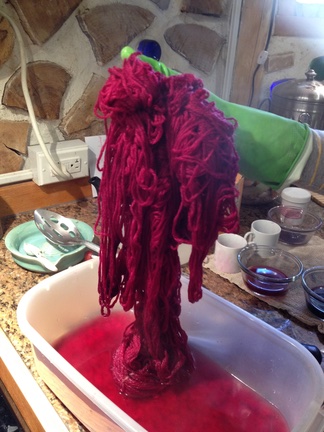
The “Instant Gratification Award” definitely went to the cochineal!! Â The second the yarn hit the dye bath it became a vibrant pink!
Cochineal simmered for one hour.
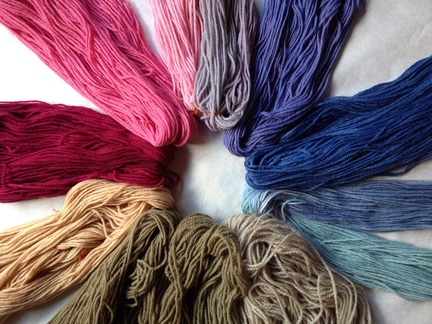
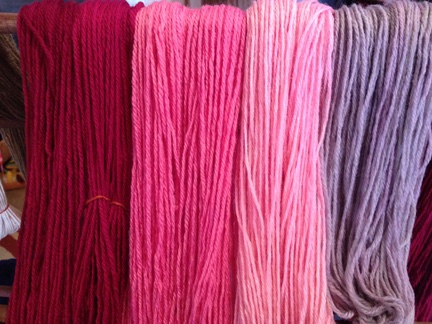
There was so much color left in the dye bath that we tossed in another skein and simmered it for 20 minutes. Â Then we did it again! Â Then we did it a 4th time with a little baking soda thrown in! Â Isn’t it GORGEOUS! Â (Yes, I’m shouting!)
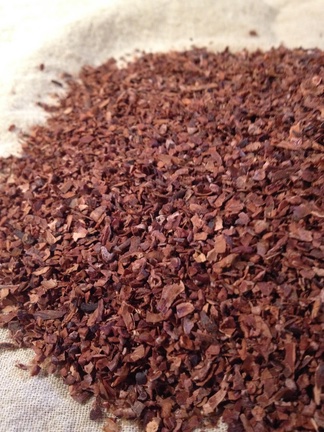
Finally, we set up the cocoa chaff (lovingly donated by the amazing French Broad Chocolate Factory).  As we  poured the chaff into a muslin bag, the smell of cocoa filled the air, and once the simmering began we were all craving chocolate!!
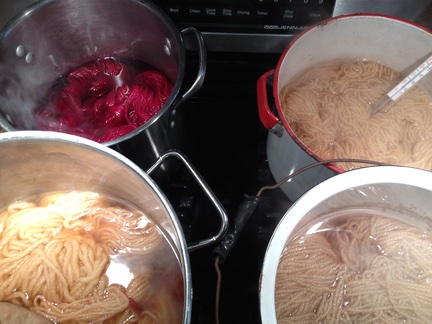
Top left – Cochineal, Top right – Rosewood, Bottom left – Cocoa, Bottom right – Purple Heartwood
Cocoa
Cocoa with some baking soda and copper added.
We got in a bit of spinning while things dried. Â I have to admit, my feet were tired by this point. Â We’d been standing ALL DAY watching the yarns simmer.
But we soon filled our bellies with a delicious black bean soup with a pear and blueberry crisp for dessert!
To be honest, I had a very hard time not pulling the black bean yarn out of it’s dye bath early. Â But, I forced myself to go to bed and woke up bright and early (thanks to one 5 year old) the next morning, ready to wash up some lovely blues!
This is the yarn dyed with black bean and baking soda:
Nikki’s mix that had the baking soda on the bottom of the jar. The purple hues are black bean by itself with the blue coming out when the baking soda is added.
This is the skein that I had in black bean, vinegar, baking soda, and copper (blues) and black bean baking soda and copper (greens)
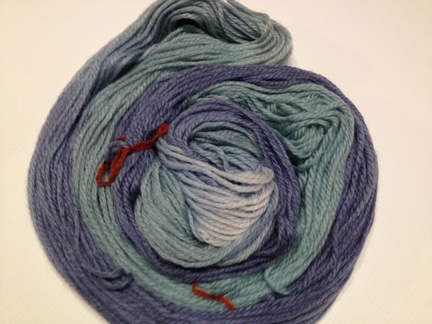
All of our lovelies hung up to dry.
I think we are really hooked now!!! Â Someone please send us a million white skeins to play with!! Â We need more! Â MORE!! Â 🙂
Giveaway!! And my new baby!!
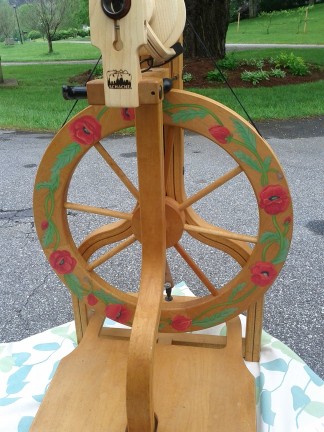
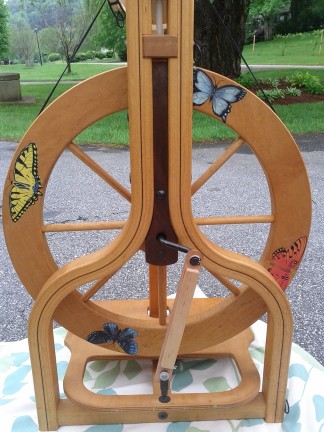
No, not a human baby, but a new spinning wheel!!! Â Woohoo! Â Isn’t she amazing?
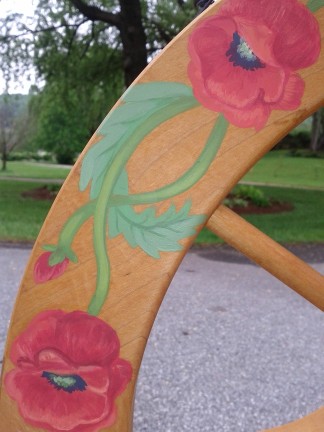
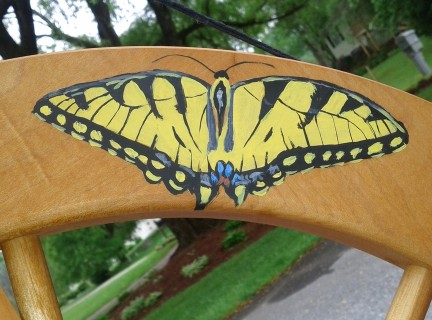
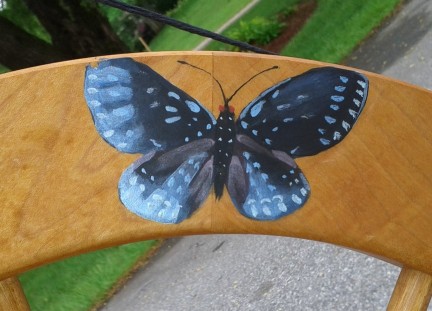
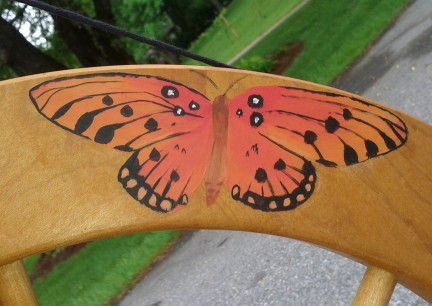
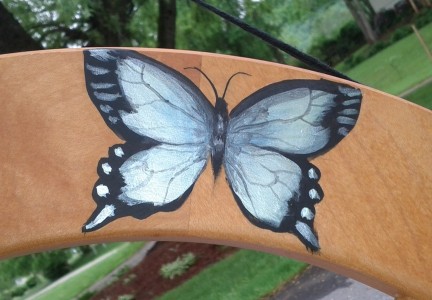
I’ve been borrowing a wheel from a very generous friend for the past year and a half.  I figured it was far past time that I get my own.   I began the hunt this winter and couldn’t pass up the opportunity to get this lovely wheel.  It was owned by an amazing artist who passed away 8 years ago and has been sitting unused ever since.  For the past couple of months I’ve been waiting on parts that I needed to make her work and then passed her on to a super talented friend who decorated her with poppies and butterflies.  I got her back this morning and finally had a chance to sit down and spin.  Wheeeeeeeee!
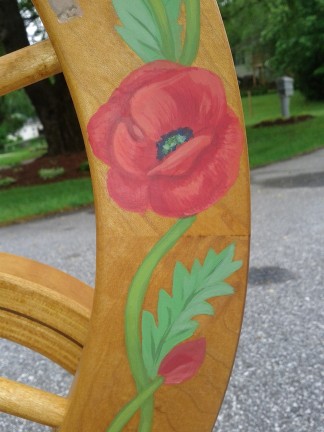
The wheel is made by Schacht and is called a Matchless….. but that just won’t do. Â She needs a proper name. Â Here’s where you come in! Â CONTEST! 🙂
I’m having a naming contest on my FaceBook page.  What do you think I should name her?  Leave me a comment on my facebook page and, if I like your name best, you will win a hand spun, wire core bracelet from my etsy store (or I’ll spin you one in your favorite colors)!  If you share the contest on your page you get a second chance to win!!  Don’t have a FB page?  Just leave your comment here on my blog.  Easy Peasy.
Like a kid in a candy store!
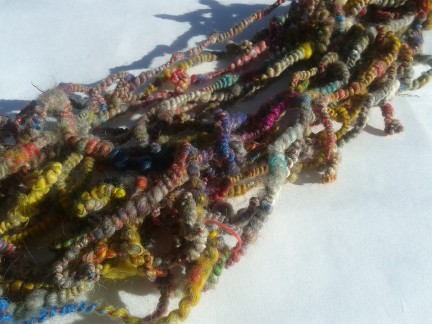
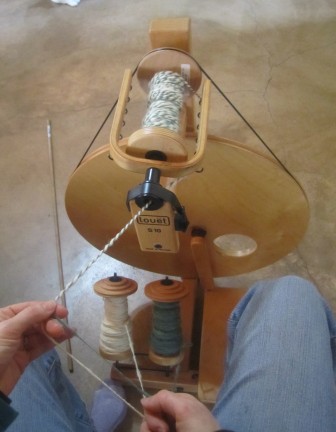
Hello Friends!  Sorry for the hiatus.  Has it really been almost a month?  Well, I kind of dove head first into the fiber world and am having a blast.  Colorful batts, art yarns, funky fiber jewelry, squishy knits… So much fun!  The kids are also enjoying getting their hands on the fibers and spinning on my wheels.  I have to let go of my selfish urge to hog all of it for myself!  🙂  Oh, and did you notice I said wheels?  YES, I have two.  Well, there are two in my house, but I have neither, yet.  The first wheel is a Louet S-10 that was graciously loaned to me by a friend.  I’ve had it for over a year now and felt like it was time to return hers and get my own.  Then, along came another gracious woman who offered me a Schacht Matchless (‘the cadallac of wheels’) for an insanely inexpensive price and I couldn’t pass it up!  So, it’s at my house for a test drive and I hope to pay for it this week.  Such a beautiful machine!
Here are a few images of what I’ve been making lately. Â I’ve got them for sale in my etsy store, but if there’s something you would like in a different shade or color, I’d love to make it for you!!
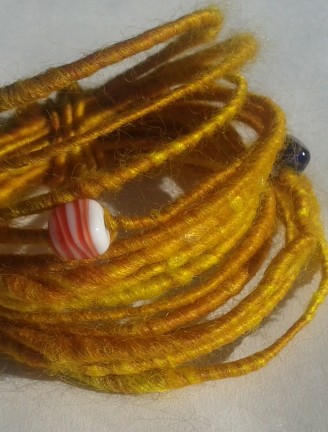
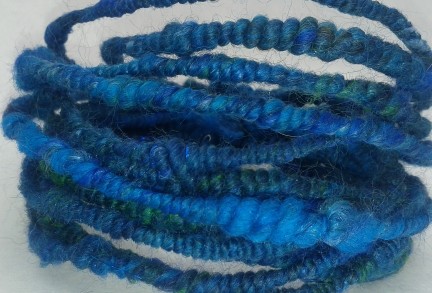
Fiber spun onto a wire core and wrapped into a bracelet!
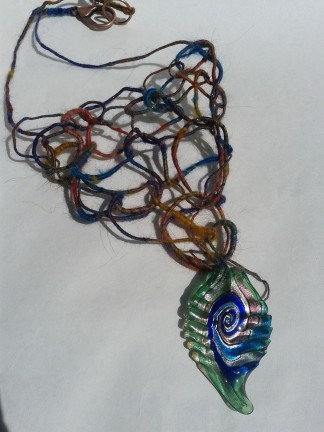
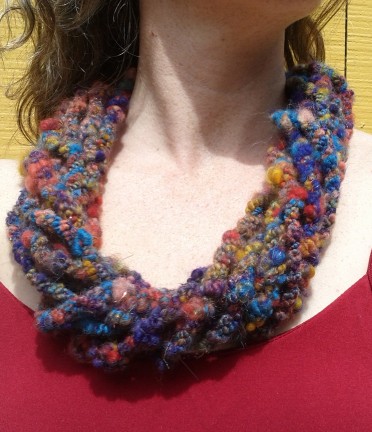
Fiber spun onto a wire, then knitted into a necklace!
Another lovely bracelet.
Art yarn twisted into a necklace.
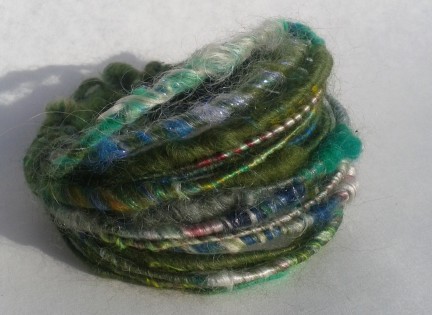
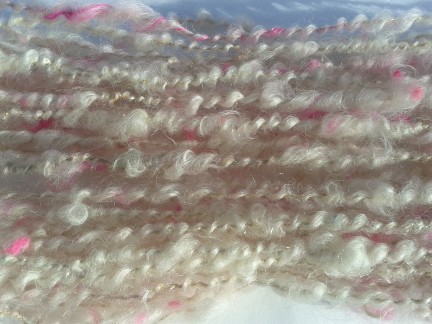
Art Yarn
Another lovely bracelet.
More art yarn.
Enjoying a fabulous day at a spinning weekend/camp with Pluckyfluff.
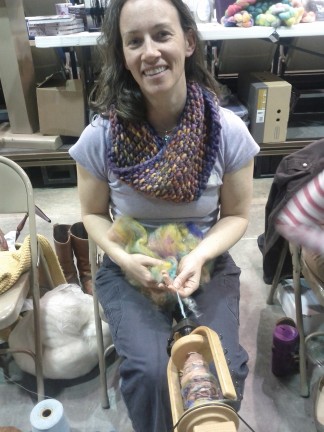
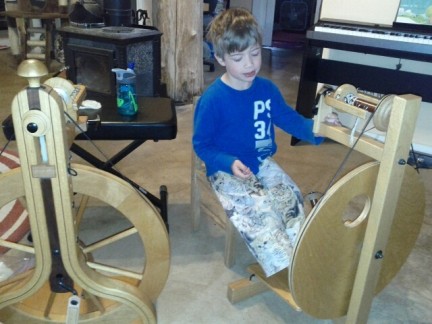
Little man decided that this was his motorcycle and spun for most of the day. Â He is on the Louet and my new Matchless is on the left. Â I can’t keep calling her the Matchless, though…. she needs a name. Â Any suggestions?
DIY Blending Board
Thanks to Nikki and her birthday gift, I’ve been having a wonderful time spinning art yarn. Â But, to make art yarn, you need art batts. Â These can be on the pricey side when you are just learning how to spin. Â So, I thought I’d make them myself. Â Usually they are made using a drum carder. Â I don’t have one of these and they cost just as much as a new spinning wheel (expensive). Â But, last year, something new appeared on the market called a blending board. Â It’s less expensive than a drum carder, but still pricey. Â So, in an attempt to create my own batts to spin, I’ve made my own blending board for under $100.
I ordered a piece of blending cloth from Natural Fiber Yarns. Â While I waited for it to arrive, Toby found an old cabinet door that was the perfect size to attach the cloth to. Â He trimmed one end a bit and removed the knob.
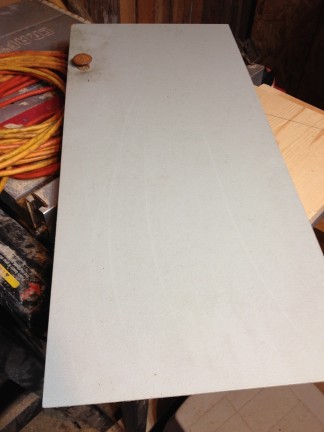
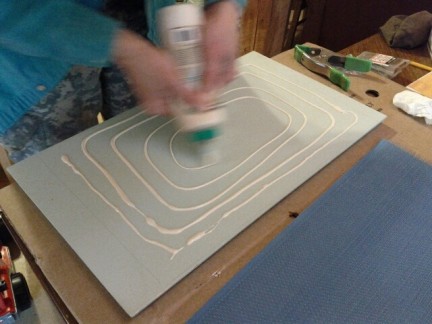
Once we had the cloth, we put some wood glue on the door and placed the cloth securely onto the glue.
After the glue dried, Toby used tiny screws to attach the cloth on all edges. Â You could also use a staple gun, but we had lots of little screws laying around.
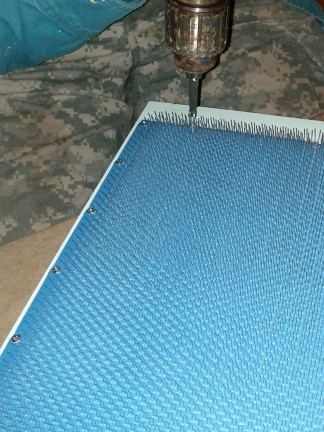
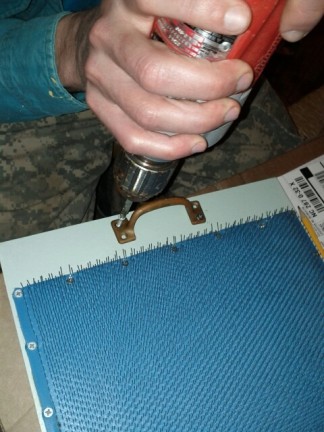
Then, he attached a cabinet handle to the top edge so that it will be easier for me to carry and hold on to when I’m blending fiber.
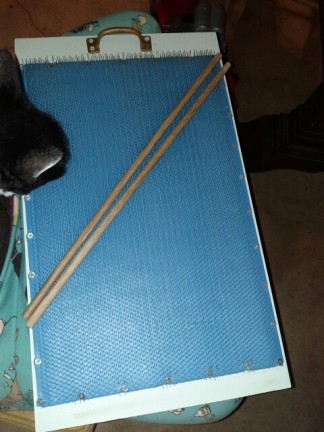
I found a 3 foot long 3/8″ dowel that I had laying around the house and cut it in half (photo bomb by the kitty!) Â These will be used to roll the fiber up into a batt.
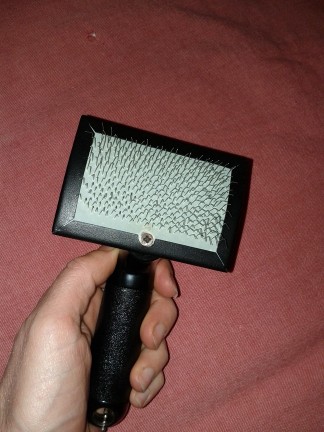
And I found a cat brush to help with pushing the fiber into the blending cloth.
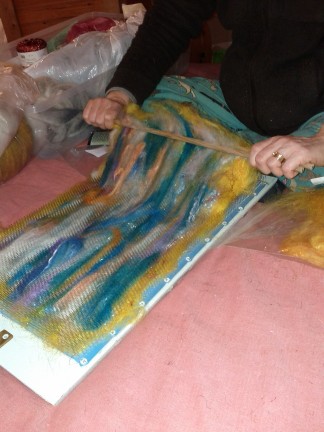
 Then I got to blending. Â Here’s how the process looks. Â I gathered all my goodies and began ‘painting’ them onto the blending board.
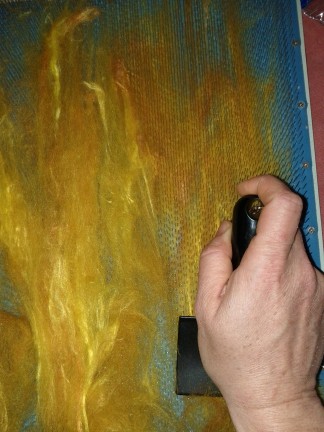
First was a beautiful yellow that the kids and I had dyed with turmeric (wool and bamboo). Â You drag it along the pins so that it catches and stretches.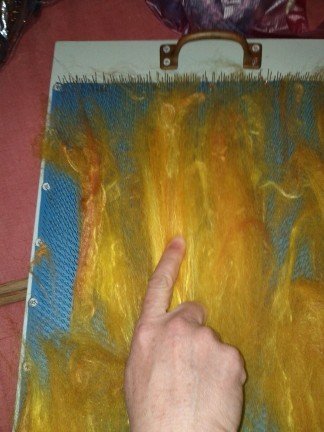
Then, you can use the cat brush (The pins are at an angle so you use the brush upside down so it doesn’t pull the fiber right back out) to push the fiber deeper into the pins.
Keep adding stuff until it’s full. Â These are blue and white mohair locks.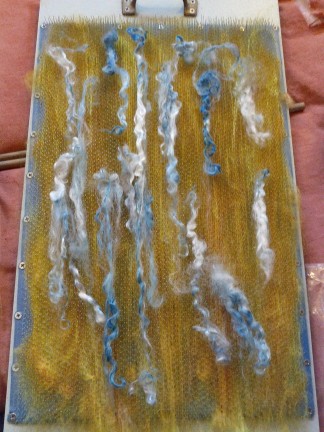
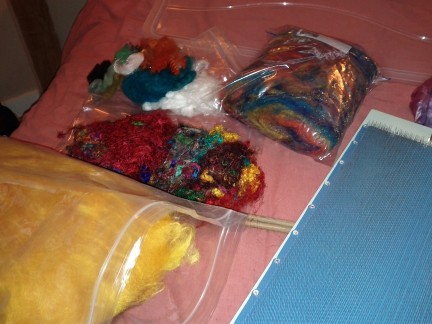
I added sari silk, silk cocoons, tinsel, more wool of different colors, and whatever else I could find.
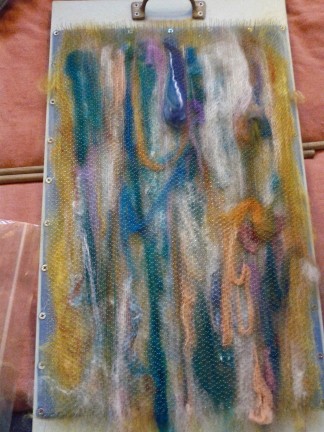
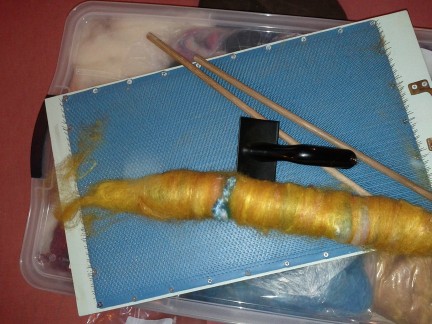
Once it is full, you pull up the end a bit to loosen the fiber. Â Then you place the dowels, one on each side of the fiber, and begin rolling it.
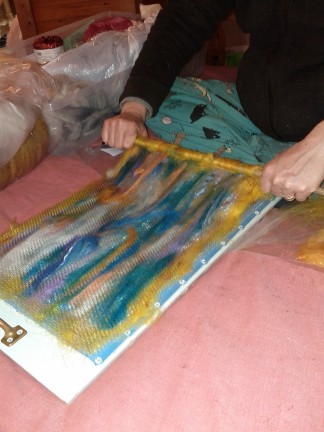
Some of the fiber may stay stuck in the blending board. Â You can pull those up with your fingers or the cat brush and wrap them into the rest of the fiber.
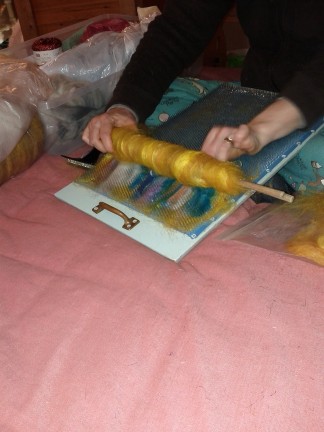
Once you are done, just slide the dowels out and you have yourself a mini batt. Â You pull from one end to start spinning your art yarn.

That’s it! Â Now, I must get to spinning!
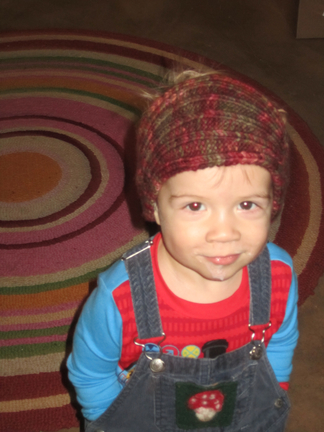
Homespun Hat
Filling our days
We seem to have no trouble filling our days with fun indoor activities while the weather is cold outside. Â I’m glad. Â I don’t care to hear the kids moan, “I’m bored!” (I’m sure my mother felt the same way about me 🙂
We’ve been writing letters and numbers in shaving cream on a cookie sheet….. and on his pants, and on his arms, and on his sweater, and on his socks…. (Kaia got into it, too, writing in cursive).
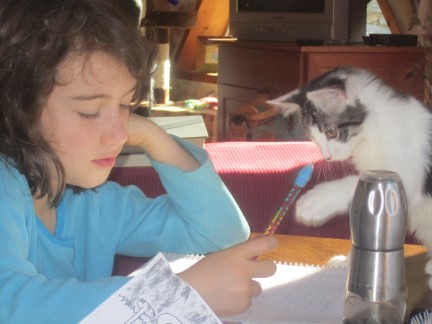
Right now, it’s actually easier for her to write in shaving cream than on paper. Â The kittens are a little too interested in her wiggling pencil.
Kaia and I took a spinning class a few weeks ago and I’m having a blast practicing. Â A friend let me borrow her wheel and this is what I made today. Â It’s my second skein. Â Next, Leif says I have to spin some bright blue yarn so I can knit him a Perry the Platypus hat.
My Vortex Shawl
I started this during the Summer thinking it would be a fun little side project. Â Little did I know that it would consume me for months! Â This thing was a beast. Â I don’t think I’ve ever made anything so large, or knit with such thin yarn (I’m a worsted and bulky kind of girl). Â But, I love how it turned out. Â Now I just hope I wear it! Â You can see my details on Ravelry.
I pinned it to the bed and sprayed it lightly with water to help it keep it’s shape.
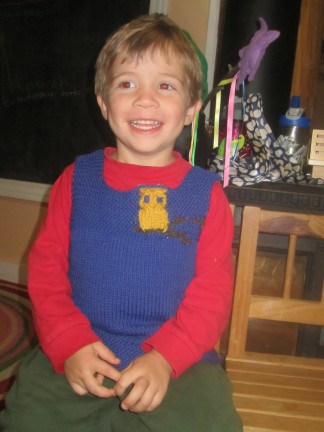
Leif’s new vest
Well, I couldn’t make Kaia a sweater without making something for Leif. Â He loved her owls so much he insisted that I knit him a vest with an owl on it. Â I think it turned out nicely. Â I knit it a size too big so he could wear it for more than one winter.
The pattern can be found on ravelry here.
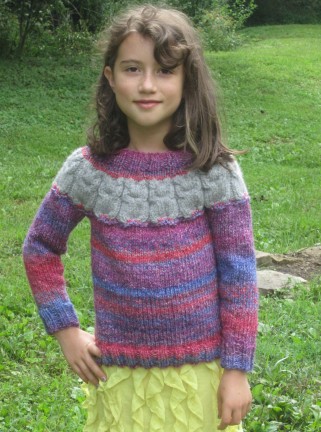
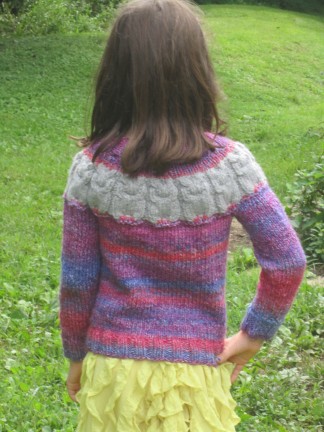
Kaia’s Owl Sweater
After knitting myself an Owl Sweater last winter, Kaia has been asking for one of her own. Â It’s such a fun and quick knit, how could I refuse? Â Here is the kids owlet pattern.
Kaia picked out the colors and I love how it turned out! Â You can’t tell in these pictures, but the grey has silver sparkles in it!!
She wanted to wear it today, but it was up in the 80’s! Â She may have a good lesson in patience if this heat continues through this month!
Knitting for kids
I’ve been knitting for less than 4 years, but I love it so much! Â It is such a soothing thing, the repetitive motion of the needles. Â And seeing the finished product, this thing that I’ve created with my own hands, gives me such satisfaction. Â I think this is such an important life skill for our kids to know. Â Not just with knitting, but with the creation of anything from their own hands. Â So many adults feel powerless to do things because they were never given the skills as kids. Â “Oh, I can’t build something like that. Â I don’t even know how to use a hammer.” Â “I don’t think I could ever learn how to knit/sew/cook/build/craft”
This semester, at Kaia’s homeschool co-op, I’m teaching a kids knitting class. Â I have 10 girls between the ages of 7 and 15. Â Some have knitting experience, but most are beginners. Â Right now, we are simply learning the basic knit stitch but it’s so wonderful to see their faces light up when they get it. Â They may only get a couple of rows knit in the hour long class, but each class they build on that and their confidence in their new skill grows. Â I’m hoping that, like me, they will find the joy in it to continue even after the class is over.
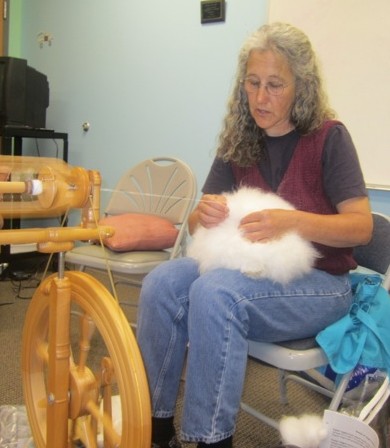
In today’s class, we took a break from the actual knitting to learn a little bit about where the yarn comes from.  A generous spinner, Lorri Helms, brought in her spinning wheel and two of her angora bunnies and volunteered her time to give us a spinning demonstration and talk about angora fiber.  The kids (and adults!) had a blast!
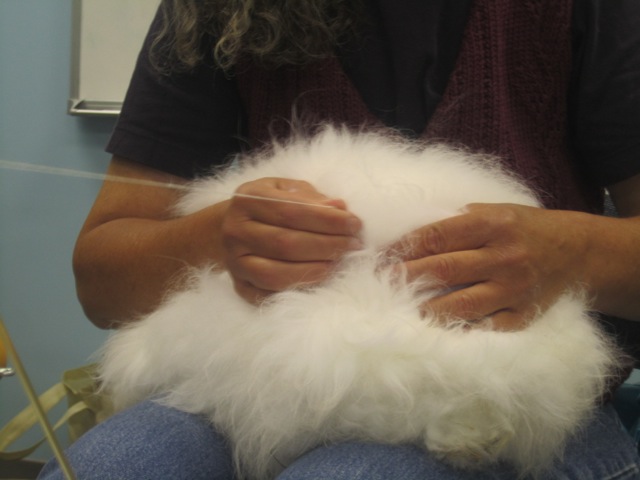
Yes! Â That is a bunny on her lap that she is spinning from! Â The loose fur comes right out.
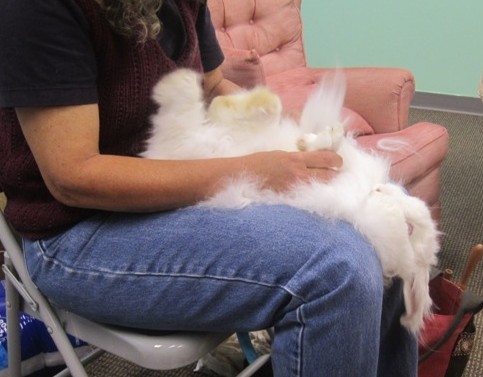
She also talked a bit about caring for angora bunnies, and demonstrated the art of nail clipping. Â Too funny! Â He seemed to enjoy relaxing on her lap.
The girls then got to try their hands at spinning.
But, most of all, I think they liked petting the incredibly soft bunnies.
It’s done!!
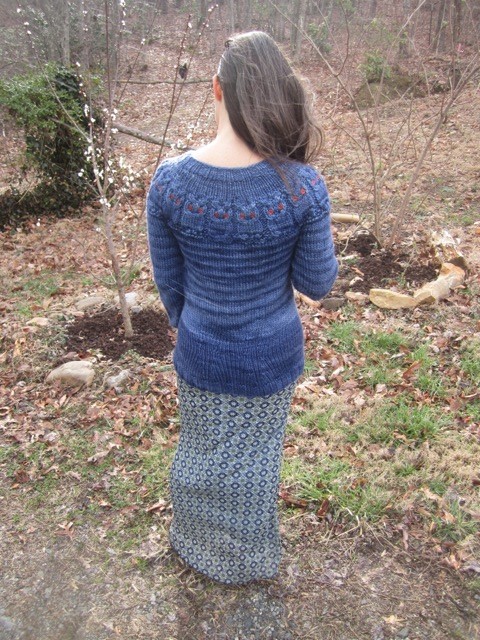
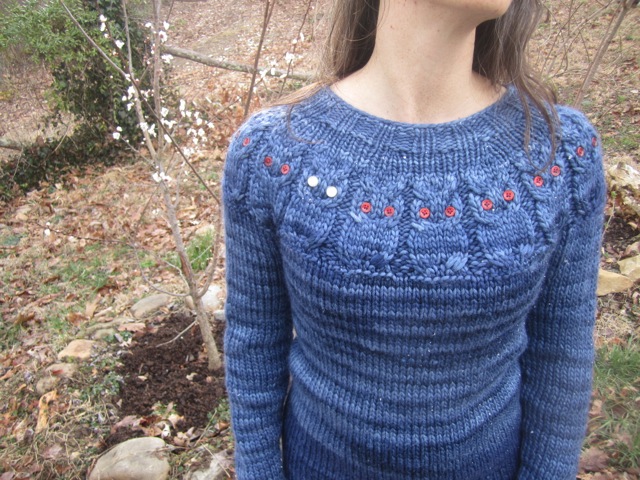
Finally, I’ve knit myself a sweater! Â I’d been eyeing this pattern for a while and decided to take the plunge a few weeks ago. Â I’m so happy with the way it turned out. Â My only problem is that people notice it when I wear it, so I can’t wear it everyday like I’d like to, or they’ll think I never change 🙂 Â Here is the pattern for the Owls sweater.
Yes, one of the owls has different eyes. Â He’s the leader of the pack! Â He needed something to distinguish himself from the others 🙂
Toby was so impressed that he’s asked me to knit a sweater for him. Â I’ve chosen the Cobblestone Pullover, but I’m going to knit all the way up, instead of changing to purl. Â I’m excited to get started so I need to drag him to the yarn store this weekend to pick out his yarn.
Hand Made Holidays
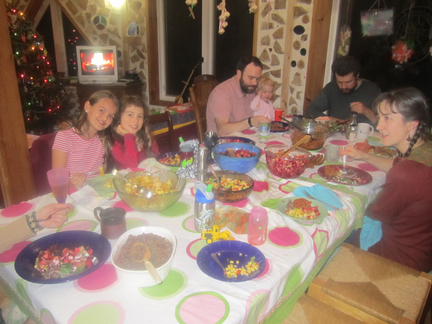
What beautiful holiday celebrations we have had this year! Â I am so grateful for the time that I have been able to spend with my friends and family. Â We’ve spent many days traveling to others houses to participate in their revelry and had a wonderful time! Â At our own home, we had a small Winter Solstice dinner with friends, old and new.
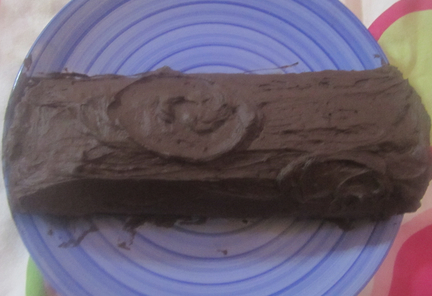
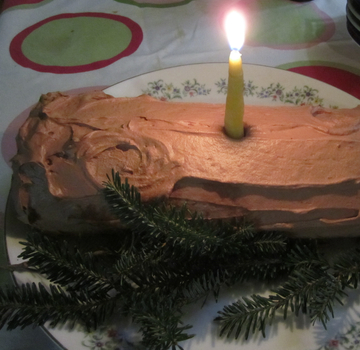
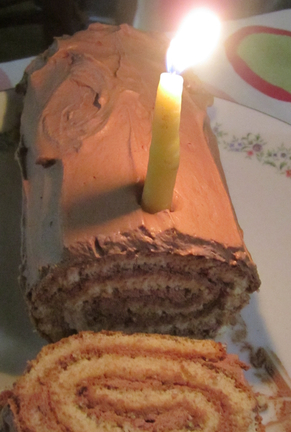
Followed by a decadent, chocolate yule log cake, of course.
Ok, and I have definitely been feeling uber-crafty this year. Â I love to give hand made gifts!! Â I feel like they ooze with love and comfort… I hope the recipients feel that, too, cause this year, we couldn’t help ourselves. Â There was…
Rum infused with Banana and Vanilla
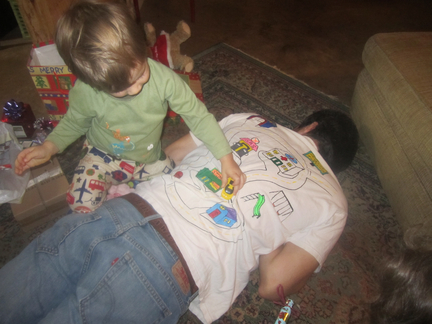
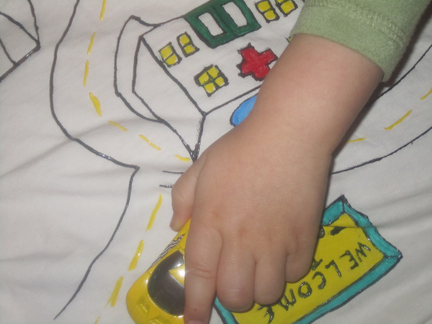
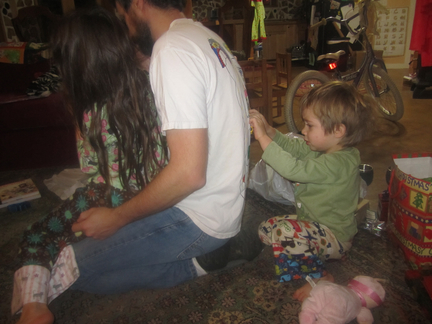
A Car Shirt for Dad to enjoy massages more often
And even when Toby sat up, Leif just kept on driving!
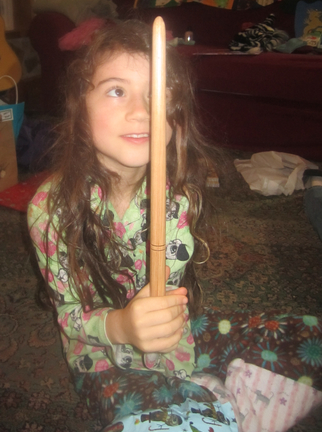
Toby turned a magic wand for Kaia
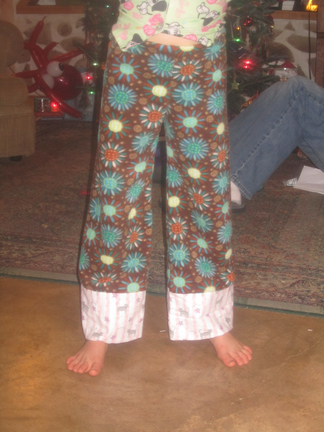
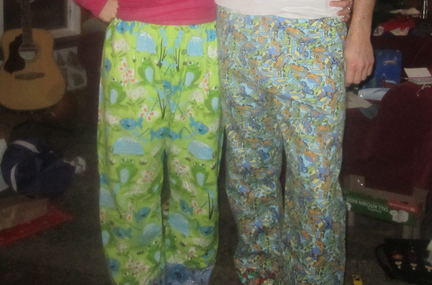
We all got some new flannel or fleece pajama pants
And Leif also got some winter pants. Â Both were corduroy on the outside. Â One was lined with flannel and the other with fleece. Â (and in case you are wondering, Leif did chose the cupcake fabric!! Â In fact, he begged me for it!)
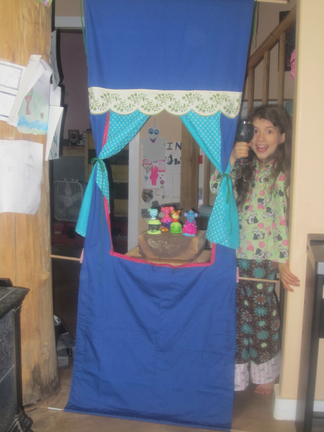
There was also a puppet theater that you can hang in a door way.
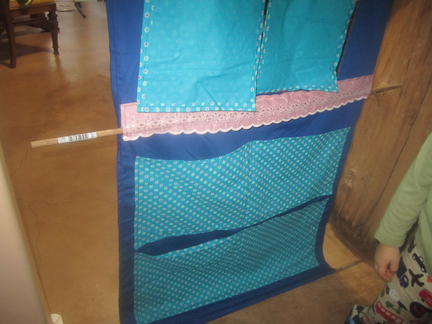
The other side has pockets to keep your puppets in.
Holiday Cards
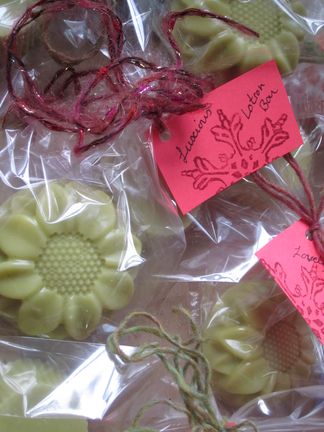
Wintermint Lotion Bars
Vanilla and Candy Cane sugar scrubs (made by Kaia)
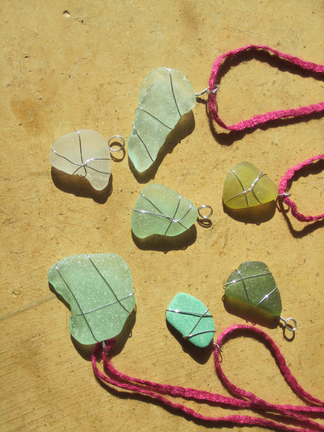
Sea Glass Pendants
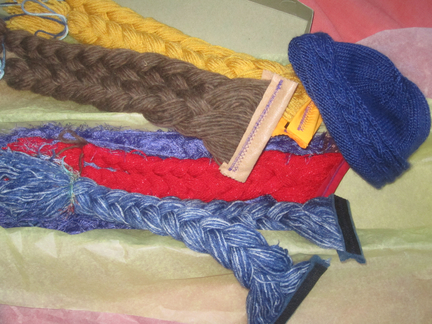
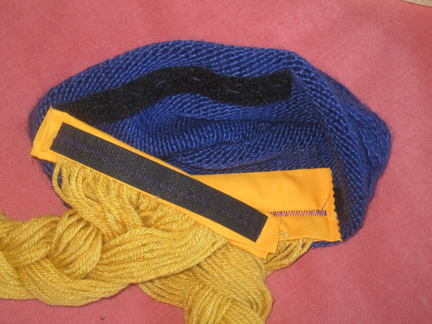
Hand knitted hat with velcro detachable hair for a little friend going through Chemo.
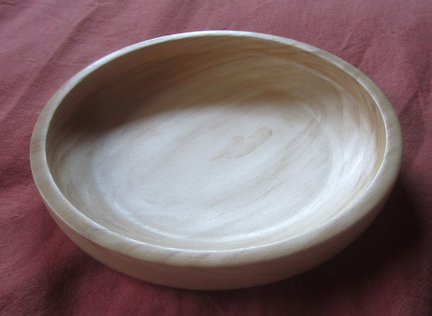
Hand turned wood bowls by Toby
Flannel pajama pants for Pop and a knitted purse for Mom
Now that the holidays are over, I don’t know what to do with myself. Â I feel like I should be crafting when ever I have a spare moment. Â Guess I need to learn to try to put my feet up. Â Ha!
My newest addition
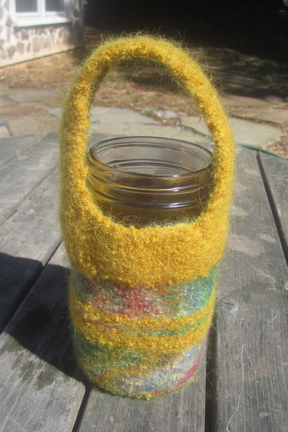
I can’t tell you how excited I am about my newest knit!! I love drinking out of a quart mason jar, but I always worry about dropping it. So, I’ve made myself a jar ‘cozy’. The pattern came from ravelry.
I’ve had a number of people approach me about it and some even ask me to make them one. Who wouldn’t want one?? It’s awesome!! Keeps the tea warm, the water cool, and protects it from falls. 🙂
Here it is pre-felting.
Leif was my ‘felter man’.
I know…
I’ve been seriously slack in posting here. That’s because I’ve not been slack in the rest of my life. We are working hard in homeschool, playing hard in the beautiful fall weather, reading great books, picking apples, eating well, and enjoying life! That’s how it should be, right?! I have a feeling new posts will continue to be sporadic. I love you sweet blog friends, but once the kids are in bed and there is little time to blog, I just don’t want to be on the computer. I’m trying to make it work, though, because I want to keep in touch with you all. I will often post new homeschool, craft, and food ideas on pinterest. You are welcome to come find me there!
So, here are a few pictures of what fills out life lately:
Late night dance parties with crazy dad.
Woah! Step back! He’s going turbo!
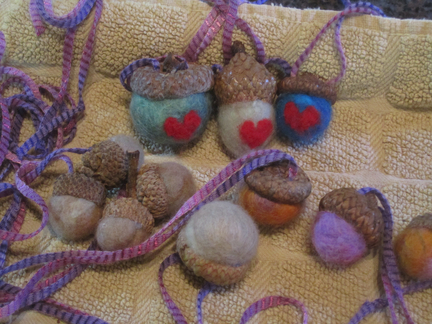
Acorn crafts of all sorts
Life from the perspective of a 2 year old (Leif spent an hour with my camera this afternoon to show you what he’s been up to. I think he’s a fabulous photographer!)
Snowed in and having a blast!
It was almost exactly this time last year that we had the big snow of ’09 and got snowed in for a week. Well, we are snowed in again and actually have been since Christmas. We’ve played in tents, made snow cream, baked, gone sledding, read, and just relaxed.
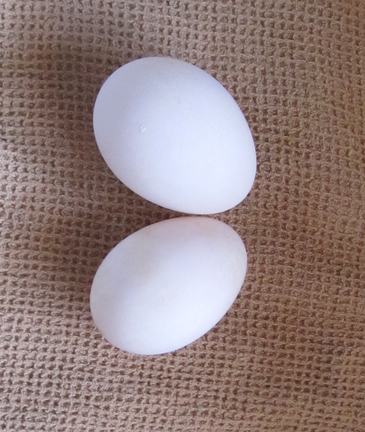
The duck surprised us on Christmas morn with their first eggs (finally!!)
I didn’t have any other eggs on hand for comparison, but these eggs were Large and Extra-Large! Can’t wait to see how big they are going to get after they’ve been laying for a while! Very tasty!
Snow Angels!
Snow Suki!
Snow Leif (He looks unhappy, but he asked Toby to carry him back up the hill like this!)
This is only a small part of our drive way!! It’s easy to get lost in your own world when you are out in the country. We are only 10 miles from downtown Asheville, yet in times like this, when the rest of the world is going about their usual daily lives and we are still snowed in on our mountain, you forget that things are going on outside of our cove.
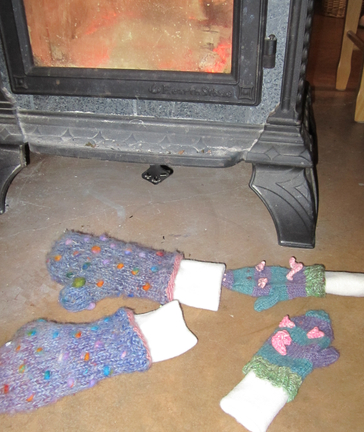
Drying Mittens. Yes those are Leif’s little piggies that I just finished. Both Leif and Kaia were getting snow up their mittens, so I sewed on soem stretch felt to make long cuffs. Works like a charm!
Recharging
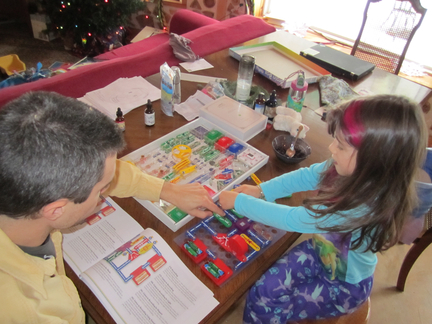
Learning about electricity with her dad. She got this Brain Box as a gift and loves it!
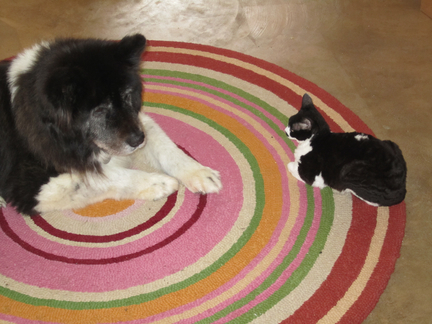
Temporary friends. They agreed to share the rug since it is in front of the fire place.
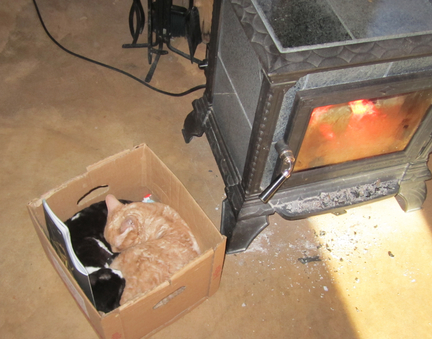
And these two will gladly share a box.
This crazy little man has discovered that he likes baking.
While I’m in the kitchen, and sometimes when I’m not, he will slide his stool up to the counter top, grab a pot, and get cooking!
Yesterday evening, I found this waiting for me when I went to clean up after dinner:
I think he was starting on a fondue! Yummy!!
Hope you are all having wonderful holidays!!
Winter Begins
We had a lovely first day of winter here. We celebrated by going to see a play, opening gifts, and having friends over for a feast. So glad the days are lengthening again!
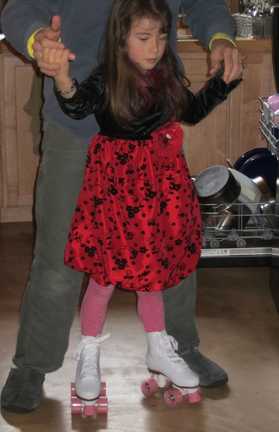
Kaia’s favorite gift this year has to be her skates. She can’t wait to get to the skating rink to give them a try.
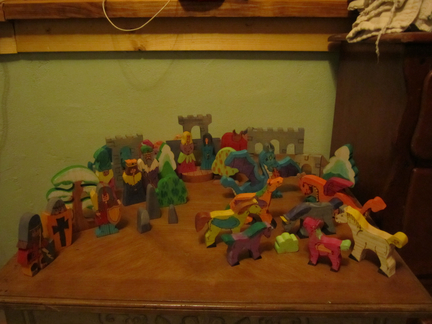
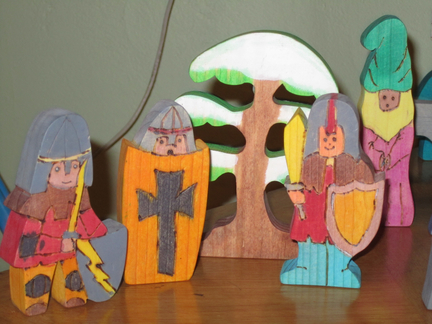
Leif finally got these wooden toys that I purchased over a year ago from Clickity Clack on Etsy. They were sanded, had patterns burned into then, painted with water colors, then sealed with a beeswax varnish (the trees have winter on one side and spring or fall on the other). His favorite thing to do with them is push them around in his new dump truck.
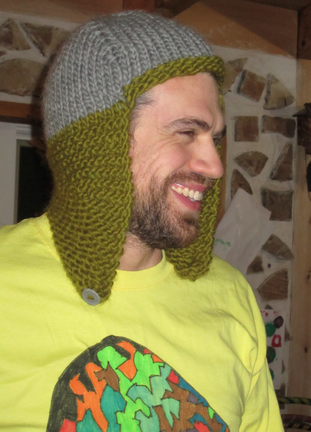
Toby got a new hat:
And we had a wonderful dinner (of which I forgot to take pictures) and fabulous yule log for dessert. (Recipe from Tenacious Lace).
Such a beautiful day!!
New Knits
I love these little patterns from Cheezombie! They are completely adorable and quick to knit up. Below are Sheepy and Wooly.  Two of Leif’s sweet new furry friends. He loves them.
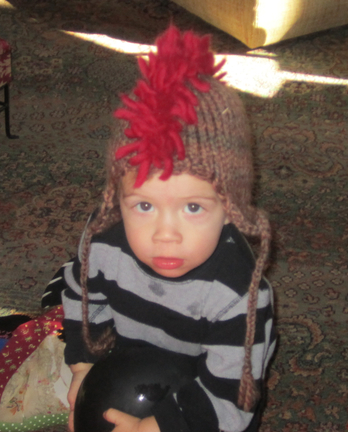
Is he a punk rocker? A Roman Gladiator? A rooster? (yes, that is a balloon he is biting!!)
Picture update
My posting has been fairly sporadic, I know. But life is full and I don’t have much time to spend blogging. So, here are some pictures to catch you up on our ‘doings’. Hope you are all doing wonderfully and enjoying fall!
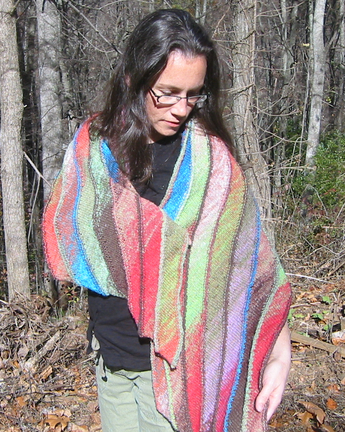
- My awesome new scarf!! (Just finished last night)
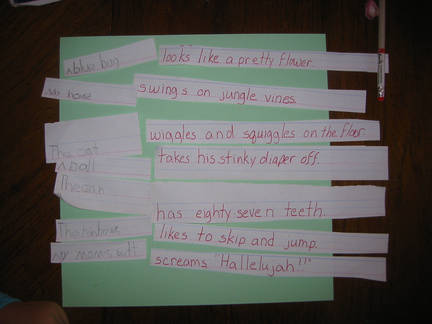
This was a really fun lesson. Kaia asked to do this over again and again. She wrote the subjects and I wrote the predicates. Then we put them in hats and drew out one of each. In case you can’t see the last one it says “My mom’s butt – screams ‘Hallelujah!'”
The Golden Fleece Vest
While the mice are away, the cat will do stuff!
Okay, well only one mouse was away … Kaia went to her Nana’s house for a few days. But even with the other little mousey around, this ended up being the weekend of getting stuff done! Maybe it’s the energy of fall making me want to put my house in order. Or maybe I’m just a glutton for punishment and try to do too much. (Probably more of the later.)
Friday morning Leif and I headed out to a local farm and picked up a few bushels of apples and 5 gallons of apple cider. The 5 gallons of cider went straight into the carboy (big glass jug) along with 2 pounds of honey and 2 packets of champagne yeast. It now sits on our counter while it ferments into a yummy and sweet hard apple cider. Mmmm! (Note: I let the cider come to room temperature before adding the yeast and honey.)
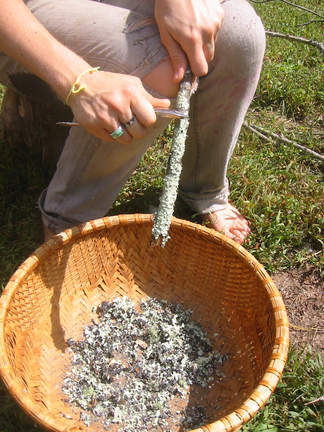
After that was taken care of, I went outside with Leif and Heidi and scraped a bunch of lichen off of branches that had fallen in the woods.
Why would I spend my time doing something so seemingly pointless, you ask? Well, because when you boil this funny little plant, it creates a wonderful rusty brown color to dye fiber with.
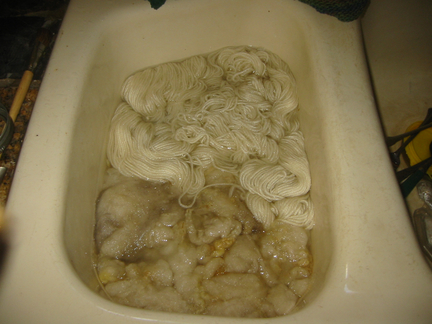
I have two skeins of white alpaca/wool mix that I want to use to make this vest for Leif. So, I thought I’d make it a more seasonal color first. We soaked our fiber in hot water while bringing the Lichen to a boil (we ended up having about 4 cups of lichen and wrapped this in muslin cloth before putting it in about 2 gallons of water).
I had 2 skeins weighing about 7 ounces and Heidi had about an ounce of unspun wool. The rule of thumb when using lichen is 2:1 lichen:wool. We ended up using 4 cups (I don’t know the weight) of lichen to 8 ounces of wool. If we had gone by weight I’m sure the color would have been stronger.
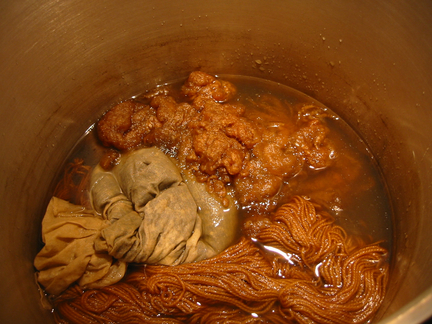
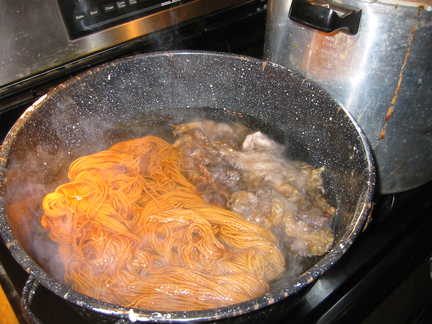
The lichen boiled for 30 minutes, then we turned it down to simmer for an hour and added 2 big pinches of salt (to help the dye set). Then we tosses the fiber into the pot and let it simmer for a few hours. Once the heat was turned off, it was left to sit overnight.
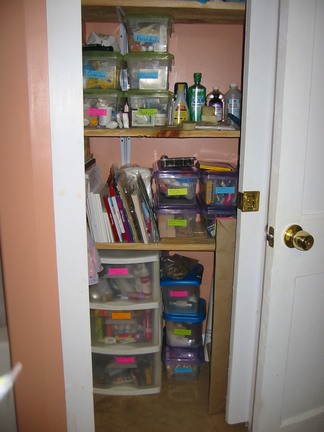
While all this stuff was boiling, I decided it was time to reorganize my art closet. It had become a huge clutter … and I don’t like clutter. So, once Leif was down for his nap, I dove in. I even had enough boxes to organize our medicine section of the closet. I know I didn’t include the before picture, but believe me, it looks much better!
Leif was very helpful with my projects as long as I kept him supplied with crackers and apple cider (the non-alcoholic kind!)Â He even let Suki clean up after him.
Saturday, I drained the fiber and rinsed it in warm water. It came out a nice earthy brown color.
Heidi took her wool out, but I wanted a bit of yellow in there, too. So, we decided to do a second dye with marigolds. First we needed to boil the wool in Alum (Alum is used a lot in dying as a mordant, or a chemical that is added to the dye to make the color stay in the fiber).   We stirred 2 ounces of Alum into about 2 gallons of water. (We were using ~10 ounces of fiber, my two skeins of yarn and Heidi added more undyed wool. The general rule is 3 ounces of alum and 1 ounce of cream of tartar per one pound of wool, but Marigold doesn’t need cream of tartar.)  Then we tossed in the fiber and brought it to a simmer for one hour, stirring occasionally.
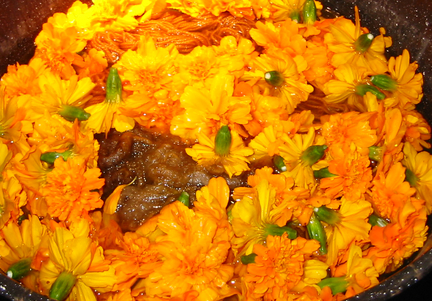
Once it had simmered, I tossed in a basket full of Marigolds
(yeah… so, I’m not so good a measuring out everything… but if you want to, the general rule when it’s not Lichen is 1 pound of plant/dye material per one pound of fiber) and let it simmer for a few hours, until I got the color I wanted.
Of course, doing all this wasn’t enough for me (I really do like projects!)… I had to cook and can 8 quarts of Emeril Lagasse’s Potato Leek soup, too! (Can you say YUMM?) (edited to add: the dairy was left out of this recipe for canning. I add it when it is being reheated for a meal.)
All the while, the fermenting cider bubbled along…
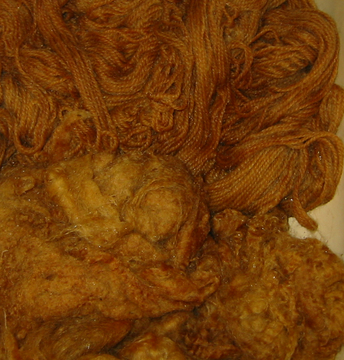
Sunday I rinsed and dried my yarn. It came out perfectly! Just the color I had envisioned in my mind. I think it looks like pumpkin pie. It will make a lovely ‘little man vest”!
With that out of the way, it was time to tackle some of those apples. So, I peeled and sliced up a bunch and tossed them in a pot to make cinnamon apple sauce (17 pints), apple pie filling (6 quarts) and dehydrated apples. And I still have about a bushel of apples left! Shesh! Got any good apple recipes?
I think I’m going to go put my feet up!
Our day in pictures
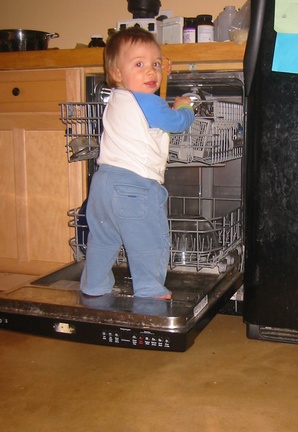
Let’s start our morning with some daredevil antics!
Don’t see anything wrong with this?
Let’s look again:
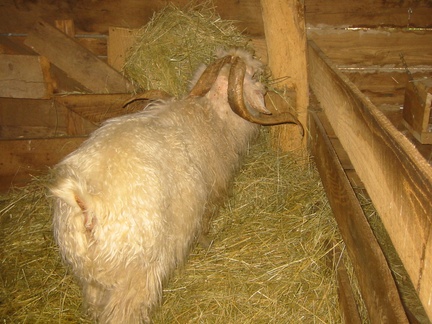
Then off to a sweet farm tour where we enjoyed some fabulous home made jellies and ice cream, and I scored an angora fleece from this guy:
Then we spent the rest of our day enjoying the beautiful spring weather:
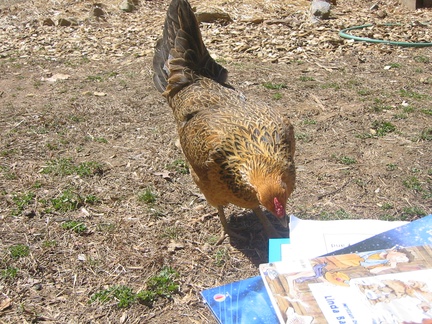
(You didn’t know chickens can read, did you? Well, our chickens can!)
What I didn’t get was pictures of the fabulous sand creation that we created! We got a bucket full of sand from the pile in our back yard and Kaia put all kinds of stuff in there. Then we all went dinosaur fossil hunting.  Even Leif was getting into it. At one point, Kaia pulled her hands out of the sand and said, “Hey mom! Coprolites!” I was thrilled that she remembered the word for fossilized dinosaur poop. Then, I looked at what she was holding in her hand and realized that it really was poop!! Turns out the neighbor cat has been using our sand pile as a littler box!! Needless to say, we all stopped playing archaeologists and went inside to scrub off!!! 🙂
Still, it was a fabulous day!
Leif’s new pants
Well, I think the internet might be back up… maybe… it’s slow and keeps going up and down, but maybe they are fixing it.
We’ve been snowed in, without phone and internet since the last snow 5 days ago. Let me tell you… After all the snow and indoor time in the past month, I’m getting to be one cabin fevery chick!!! OY!!!
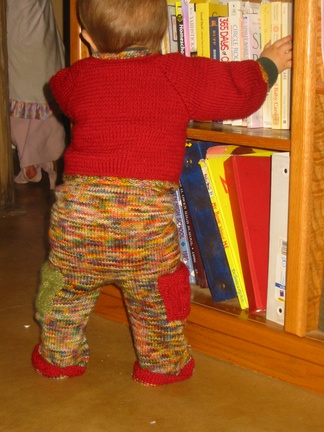
Well, I did finish a pair for pants for Leif, finally. I started this outfit this past fall, but just got around to the pants. And they are SOOOOO cute!!!
Can you tell he likes them?
I put two little pockets on them, one red and one green, with a little owl on it.
New hats
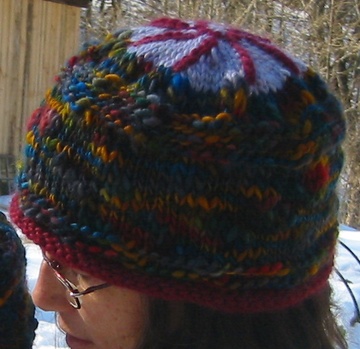
Well, my intention was to knit myself a new hat… one that completely covers my ears, because I can’t seem to get one that keeps my head and ears nice and warm. I found a great pattern and saw the finished hat in my local yarn store. But the pattern didn’t have a gauge (how many stitches per inch, etc.). I actually wanted to make it just like the hat in the store, so I bought the same yarn that they used and everything. Still, the pattern made a hat that fit Leif and not me. So, now Leif has a new hat. Still, I really liked the hat, so I adjusted the pattern and made one to fit my head too. You like?
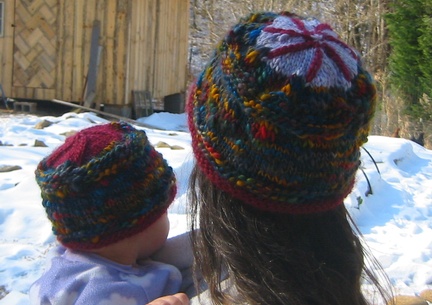
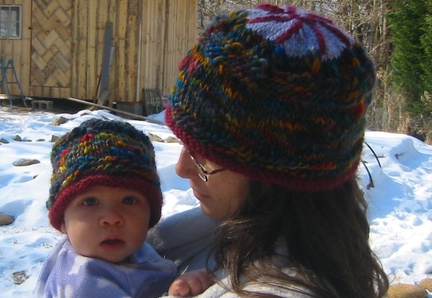
New Patterns
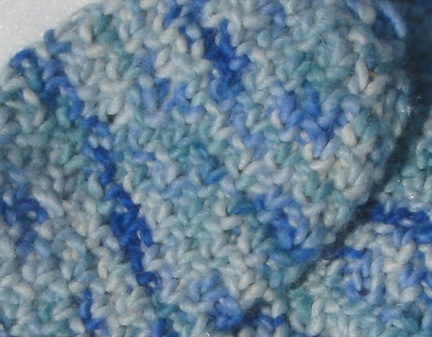
I’ve put up my pattern for Leif’s Mossy Mittens
And if you are looking for a fast gift, here is my pattern for Paper Clip Ice Skates

Blessed Winter Solstice!
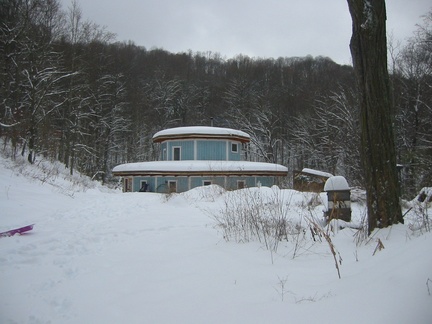
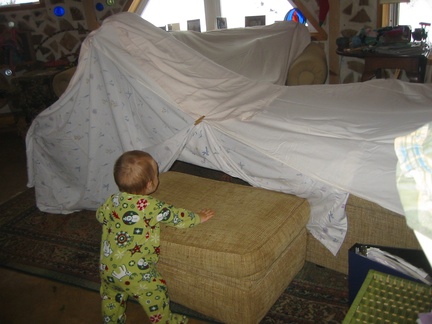
We have had such a wonderful last few days. Being snowed in has been a great adventure for all of us. The power was out for 24 hours, but we enjoyed the peace it brought and we kept ourselves fully entertained! There was tent building:
There was lots of snow play (sledding, snow men, snow ball fights)!
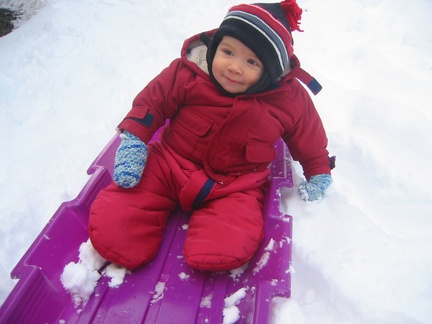
We’ve perfected our snow cream recipe and began experimenting with flavors!!

Snow Cream – basic recipe:
- 1 cup cream, milk, or other milk like substance (coconut milk, chocolate milk, rice milk…)
- 1/2 cup sugar (maple syrup would work nicely too)
- 1 tsp. vanilla extract
Mix well, and then add enough fresh snow to thicken like ice cream. Then enjoy!
Variations:
Mint-Chocolate Snow Cream:
To the above add:Â 2 Tbsp cocoa powder and 1/2 tsp. mint extract
Eggnog Snow Cream:
To the basic recipe add:Â 1 tsp. nutmeg and 1/2 tsp cinnamon
We all enjoyed opening our gifts this morning! I’m happy to say that Kaia considered her new skirt her best gift! (Take that Santa!) She’s worn it all day and we had to order her to take it off before she went to bed. When she loves something, she can wear it until it’s worn out very fast!
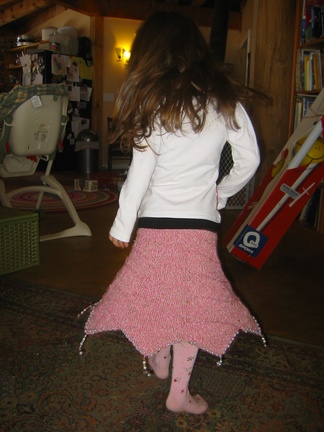
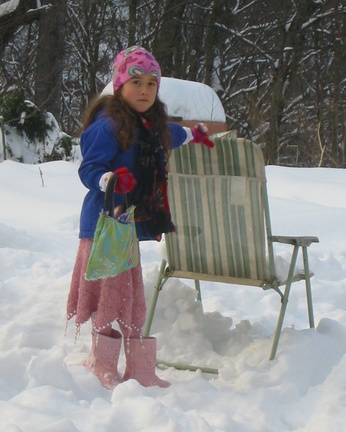
Toby’s gloves fit him perfectly and Leif likes his new stuffed, felt toys:
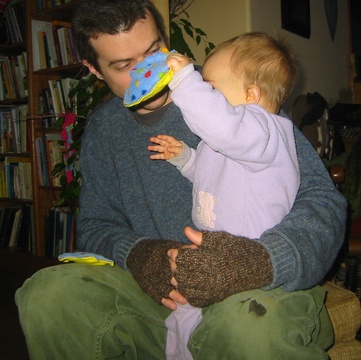
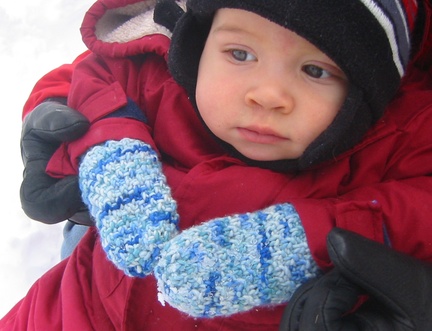
Leif also seems to like his new mittens (I’ll post the pattern soon. It’s really simple!)
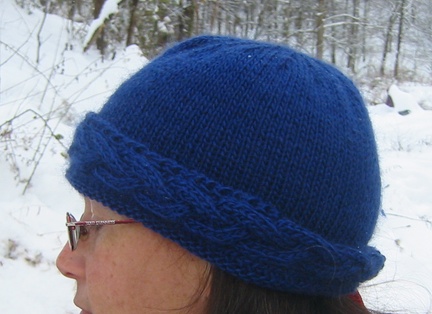
I knitted myself a new hat:
And Toby made me a oriental style shelf/unit to put above my computer!! (pictures to come once it’s installed)
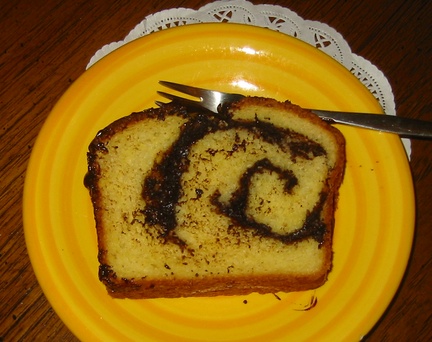
This evening, we ended with a lovely meal and a yule log bread (smothered and stuffed with chocolate!)
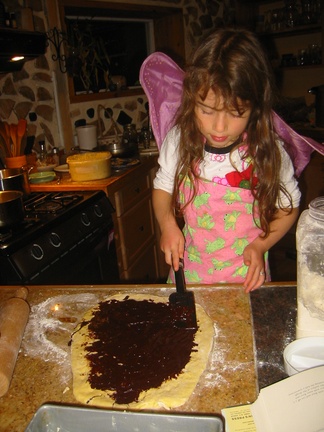
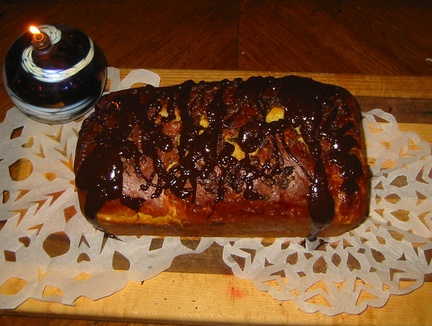
Have a beautiful winter!!! Hurray for the return of longer days!!
My first knitting pattern
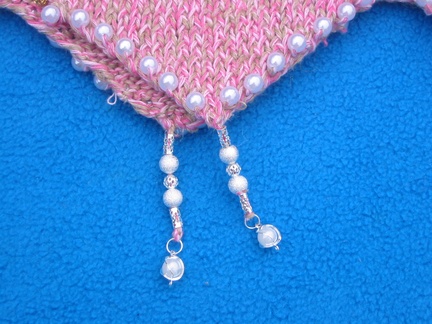
Here it is! Kaia’s Flower Fairy/Pearly Mermaid/ Blingy Princess skirt! It is a holiday gift for her and I can’t wait to give it to her!
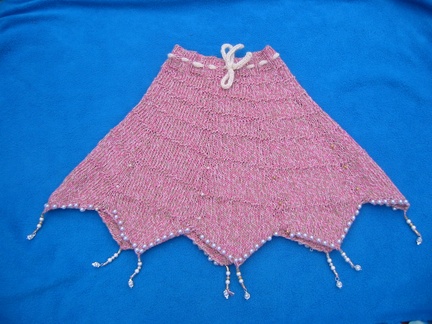
I’ve published the pattern, for free (yay!) in the links at the top of my blog! Enjoy!!
Yarn Whore!
That’s the only way I can describe the way I felt this weekend at my first fiber festival, the Southeastern Animal and Fiber Festival It was sensory overload as I walked through the huge arena full of rainbows of yarn, roving, fleece, and knitted garments. I had to touch everything and heard others moan and groan just like I did as I rubbed the fiber on my face.I wish I could have spent all day there!! I went Friday morning and took a quick look around at all the vendors. Then, I took Kaia back with me on Sat. eve and we got to see a spinning and a weaving demo, visit with the angora bunnies, pet sheep and goats, and watch the llama games! I will definitely be going back next year!
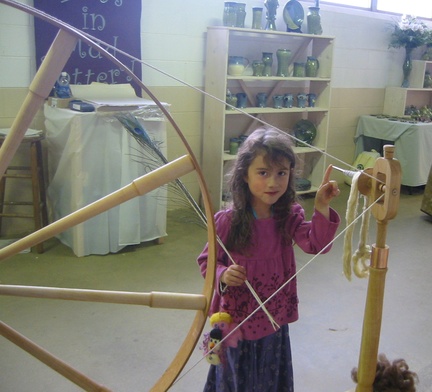

- The main arena
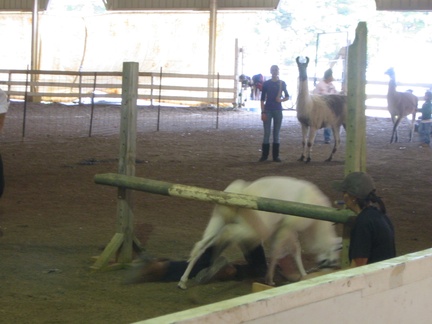
Llama Limbo!
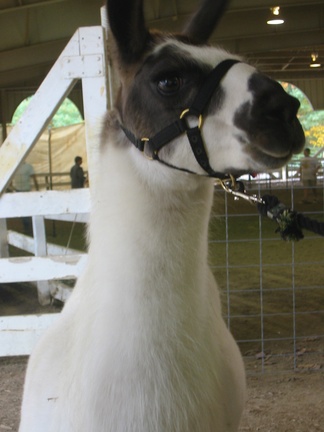
Beautiful Animals!
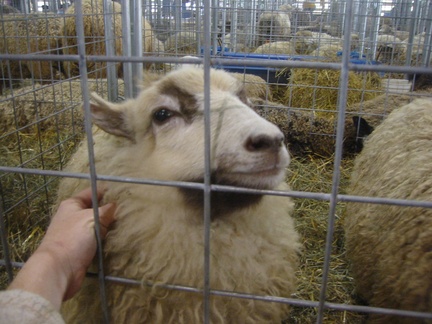
Sweetest little sheepy ever!
Having fun!
I’m writing over at Homemakers Who Work today! Stop by and see me there! You’ll find out what makes a sweet boy smile…

