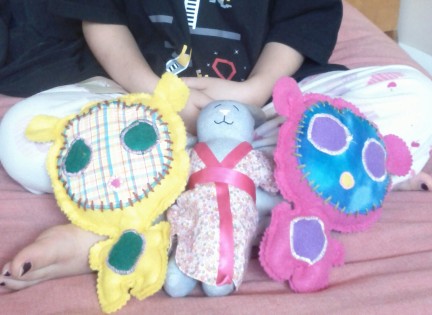
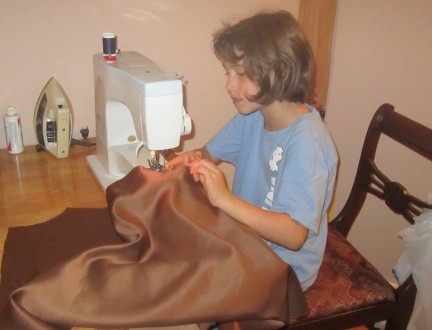
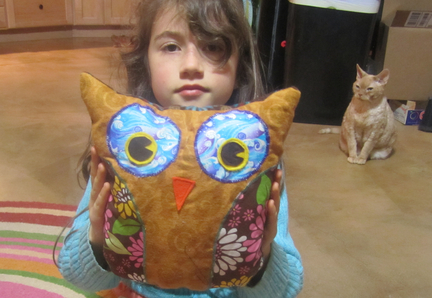
I posted a picture of Kaia’s fabulous doll creation on Facebook and a FB friend, that I’ve never even met in person, was so impressed with Kaia’s ambitious sewing project that she sent Kaia a care package. Â The package had doll making books, supplies, and even a hand made bunny! Â Kaia was so excited that she got to making one of the dolls immediately.
The pink one she made for herself and the yellow one she gave to her dad for his birthday. Â The little bunny was given to her in the care package. Â Aren’t they cute?!?
So, then I was inspired. Â The patterns in the book are so cute that I wanted to try to make one of my own.
Please meet The Dimples
 They are super easy and quick to make.
Here is the pattern (two pages) to download if you’d like to try one:Â dimple2Â Â Â dimple3
First cut the pattern and choose your fabrics. Â Pin your pattern and cut your pieces out. Â I used felt for the body and cut it with pinking shears. (Make sure to read through the instructions first. Â There are different ways to sew up the doll depending on if you are using felt or not.)
Be sure that you cut your legs and ears so that they match up. Â You don’t want two left legs…
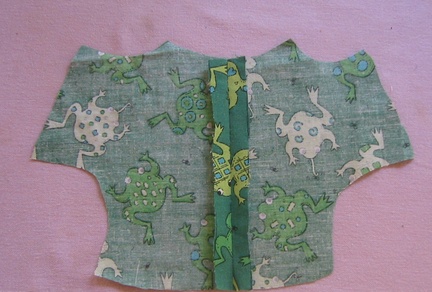
Lay out your pieces to make sure you like the fabrics you chose.
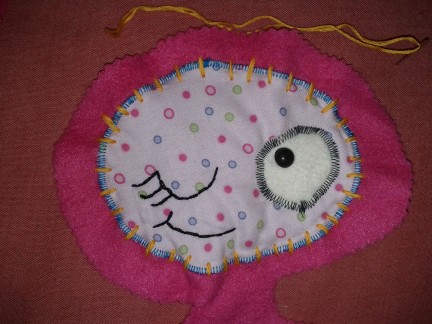
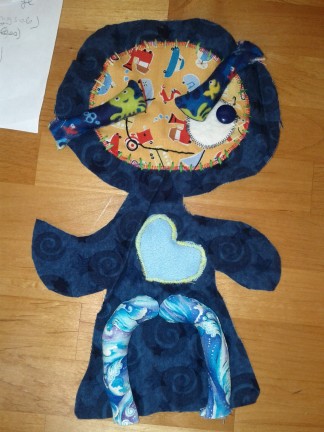
Once all of your pieces are cut, you will start sewing by attaching the face to one of the body pieces with a very close zigag stitch on your machine, or you can do a satin embroidery stitch. Â You will do the same with the eye and the heart. Â Using contrasting thread colors to make them pop.
Next, embroider on the face and attach a button for an eye.  I used a basic back stitch for the mouth and blinking eye.
Next, pick a contracting color of embroidery thread or yarn and make a wide whip stitch around the face.
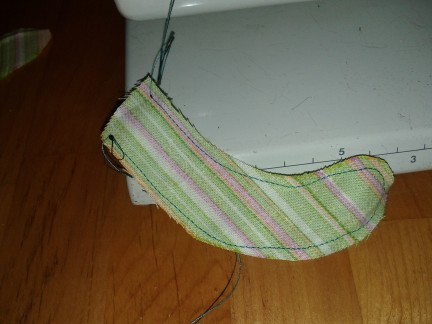
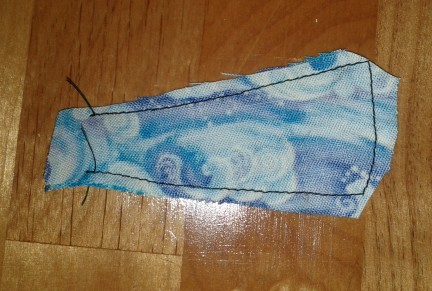
Next, you will sew up the legs and ears. Â Place the right sides together and stitch around, leaving 1/4 ” seam allowance. Â Make sure you don’t sew all the way around. Â Leave a space where they will be attached to the body to turn them right-side-out and stuff them.
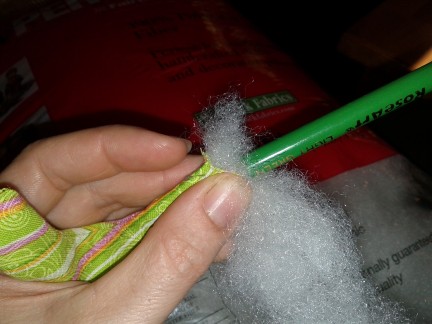
It helped me to use a chopstick to turn them right side out.
Trim the corners of your ears before turning them out.
Then stuff them leaving the end open.
Pin your pieces together making sure the ears and legs are tucked nicely between the front and back body pieces.
Sew it all together using a straight stitch in the same color as the body, and leaving an opening at the top to stuff.
Stuff your doll and sew it up, either with a straight stitch on your machine or by hand.
Now, if you want to use cotton fabric (or a non felt) you follow the directions exactly the same until it comes to sewing the whole thing up. Â You will need to lay it out with the ears and legs on the inside with the edges lined up, like this:
The ears and legs are place up on the top body piece and then the back body piece is placed, right side down, on top. Â Pin it well and sew it up leaving a space for stuffing and pulling everything right-side-out. Â Does that make sense? Â Here it is, ready to sew, with legs and ears tucked inside.
Stuff, and hand stitch it up with a whip stitch.
The pink one was made as a birthday gift. Â Of course, Leif and Kaia wanted one, too. Â Leif’s has an X eye, instead of a blink.
What do you think?
